
Jan 9, 2023
Tinning and Twisting UL1015 Wire
Tinning and twisting UL1015 wire is necessary to help create a solid and reliable electrical connection. Tinning the wires with solder improves their conductivity and corrosion resistance, while twisting the wires prevents them from loosening or separating over time.
The right tooling and equipment make wire tinning and twining quick, easy and efficient. Learn more about UL1015 wire specifications and the tinning and twisting process.
What Is UL1015 Wire?
UL1015 wire is a 600-volt PVC lead wire that technicians use in appliances and electronics. It’s also referred to as appliance wire, lead wire, PVC wire and 600-volt wire.
A key element on the UL1015 wire datasheet is its temperature rating. UL1015 hook-up wire is rated for 221 degrees Fahrenheit, a standard temperature rating for PVC-coated wire. An upgrade to Type E wire with polytetrafluoroethylene (PTFE) insulation will bring the temperature rating up to 392 degrees Fahrenheit. Other notable benefits of PVC coating include chemical and abrasion resistance, making this low-cost wire ideal for general electronics work.
Manufacturers measure a cable’s size in American Wire Gauge (AWG). This factor determines a wire’s current capacity and is an important consideration in selecting wires to buy. UL1015 is available in AWG sizes 10-24 and comes in a wide range of colors for easy coding. These colors include blue, brown, black, gray, green, orange, red, violet, white, and yellow. Spiral striping options are also available.
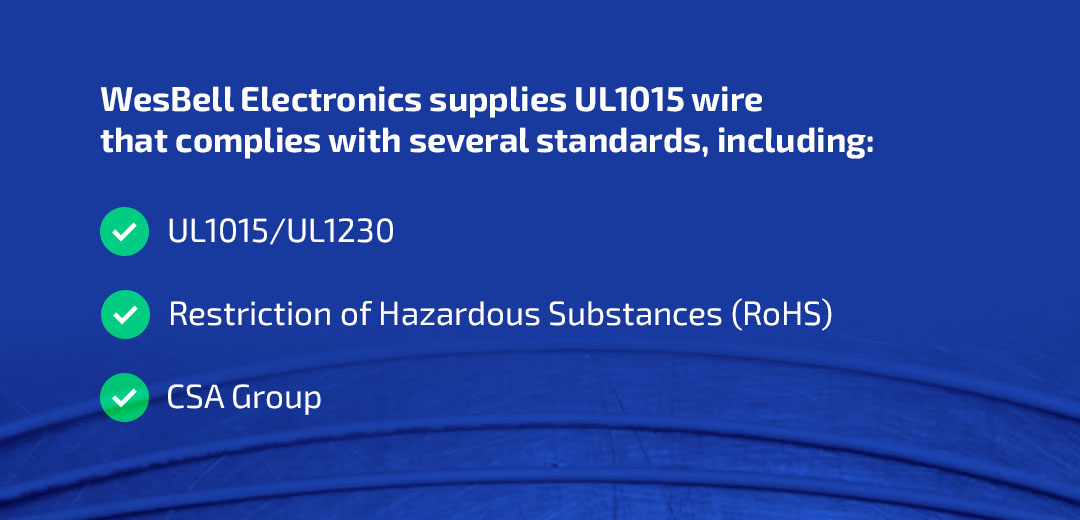
It’s essential to check that UL1015 wire maintains certain third-party specifications to ensure the quality and approval of your application. WesBell Electronics supplies UL1015 wire that complies with several standards, including:
- UL1015/UL1230.
- Restriction of Hazardous Substances (RoHS).
- CSA Group.
Similar Types of Hook-Up Wire
UL1015 wire offers great versatility, yet similar hook-up wire options may be more affordable or support higher temperatures. For example, UL1007 is often a cheaper option for low-voltage applications. It features the same PVC insulation with its temperature rating of 221 degrees Fahrenheit but supports a maximum of 300 volts.
If your application involves high-temperature conditions, PTFE insulation offers a temperature rating of 392 degrees Fahrenheit for indoor use and 600 volts of power. You’ll find this in Type E wire.
Each type of hook-up wire offers subtle differences to support unique applications. Discuss your project with your wire and cable supplier so that you understand what you’re buying and whether it will provide adequate conductivity and a long service life in your application.
Selecting Hook-Up Wire
PVC wire is a common type of electrical conductor. Electricians favor this wire for appliances and electronics across homes and businesses. It is much more cost-effective than many other wires and offers beneficial attributes like durability and water resistance. PVC wire is also available in a wide range of colors and sizes.
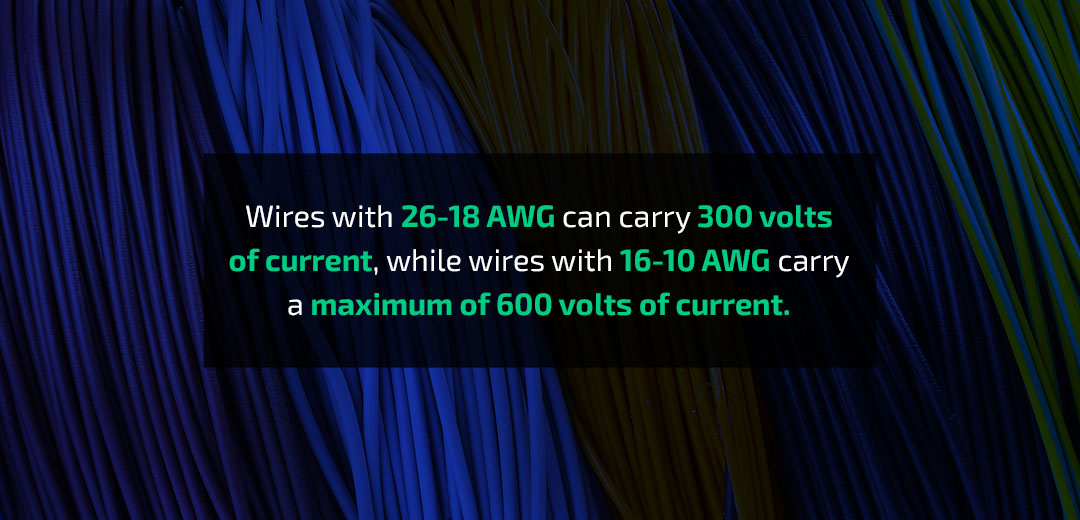
Most PVC wires can carry up to 1,000 volts because of their AWG. PVC hook-up wire is available from 26-10 AWG. Wires with 26-18 AWG can carry 300 volts of current, while wires with 16-10 AWG carry a maximum of 600 volts of current.
Manufacturers also categorize wires according to physical features. Wires can be flat, coaxial or hook-up. The structure of a wire enables certain functions. For example, coaxial wires are common in cables, while electricians prefer hook-up wires for home appliances because they can handle low-current appliances.
Another consideration is the jacket type of your hook-up wire, which helps insulate the heat and electrical flow. PVC is the cheapest and simplest type of wire jacket on the market. It can insulate heat up to 221 degrees Fahrenheit. If the wire gets any hotter, the PVC melts and destroys the wire.
This is why PVC wire usually only offers 300-600 volts of electrical flow and electricians typically use it in simple household appliances that only need low current flow. The problem with these wires is that they are not water-resistant, so be careful when using them.
You can find PVC and UL1015 wire in hardware stores and online. Purchasing wire online usually offers more custom options, such as different colors and cut-to-length sizing. You also benefit from free shipping.
Cutting UL1015 18-AWG Wire on a Machine
It’s essential to cut UL1015 18-AWG wire properly for a safe and reliable electrical connection. Cutting UL1015 18-AWG wire on a machine requires these simple steps to ensure a clean and accurate cut:
- Sharpen the blade: The blade must be in good condition so you can seamlessly cut and remove the insulation. A sharp blade prevents scraping, nicking or cutting the copper strands.
- Calibrate the machine: Take the time to calibrate the machine correctly to ensure a clean cut. Test the blade’s calibration by cutting a few sample pieces, and check that there is sufficient copper. There must be enough copper strands for conductivity, as applications require a certain amount of electricity to perform.
- Feed the wire into the machine: Align and secure the wire to begin the cutting process. Use the machine’s controls to set the cutting length and speed so each wire matches your application.
- Activate the machine: Once the settings are in place, you can start the machine and cut the wire.
- Inspect the wire: Once the cut is complete, inspect the wire to verify a clean, accurate cut.
Stripping the insulation on each end may result in numerous copper strands getting bumped and frayed while bagging, boxing and shipping. Most customers ask for each end to be tin-dipped, which groups the strands into a single, uniform bundle and reduces fraying.
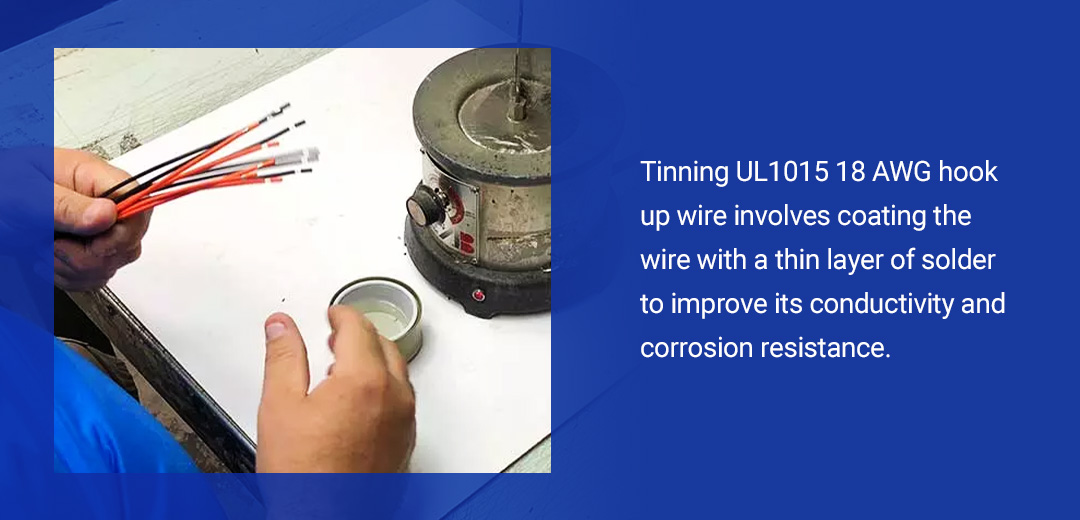
Tinning UL1015 18-AWG Hook-Up Wire
Tinning UL1015 18-AWG hook-up wire involves coating the wire with a thin layer of solder to improve its conductivity and corrosion resistance. Contract manufacturers must use lead-free solder in wire and cable product tinning to prevent the exposure of hazardous materials in the lead.
By properly tinning wire, you ensure a strong and reliable electrical connection. Before you begin the process, ensure you have enough flux — the clear liquid that eases the solder’s burning effect. Flux allows the copper strands to soak in the tin without burning from the high heat. You can then use the following steps to tin UL1015 18-AWG wire:
- Check the solder’s heat level and have a supply of flux prepared for dipping.
- Grab two to three wires at once.
- Remove the insulation slugs.
- Dip the wires into flux, then dip them into the tin pot.
- Repeat the process on the other side.
As you work through the tinning process, look for issues like large drips or globs of tin, sharp edges and bent copper strands. Frayed copper strands that haven’t yet been dipped pose the most significant issue. The solder pot will not straighten the strands, and the tin will land wherever the solid copper pieces lay.
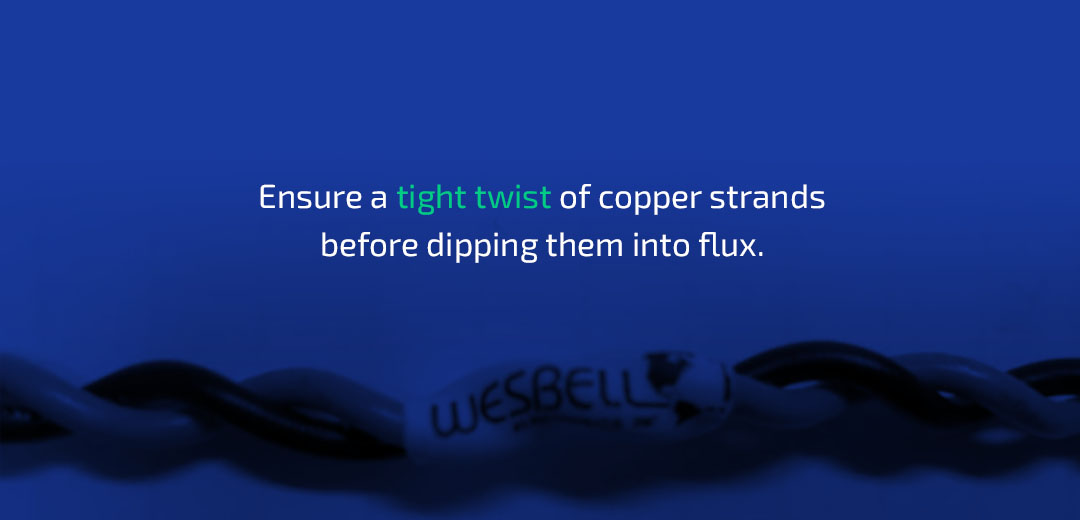
Ensure a tight twist of copper strands before dipping them into flux. A quick dip and release into and out of the solder is the best way to apply a tin coating free of globs or drips.
UL1015 18-AWG Solid vs. Stranded Wire
If the wire needs to be cut, stripped and tin-dipped, buying solid wire may be preferable. However, you will still experience better flexibility with UL1015 wire. For example, a 24î UL1015 18-AWG stranded hook-up wire can wrap around your wrist easily due to the 16 strands of 30-AWG copper. Compare this to a solid strand of 18-AWG copper wire that may bend around your wrist jaggedly.
Once the machine has cut and stripped the hook-up wire, dip the stranded copper into 800-degree Fahrenheit solder. While more labor intensive, this process allows customers to keep the wire’s flexibility without compromising the cut wire’s easy-to-use solid tip.
Cutting the wires with a hand tool takes much longer, mostly due to stripping each end’s insulation. You’d have to measure each piece for the overall length, cut evenly and consistently remove 0.25î from each end. Semi-stripping each end is more difficult because pulling the insulation requires pressure. Applying enough pressure to separate the insulation yet keep it attached to the rest of the wire can be challenging.
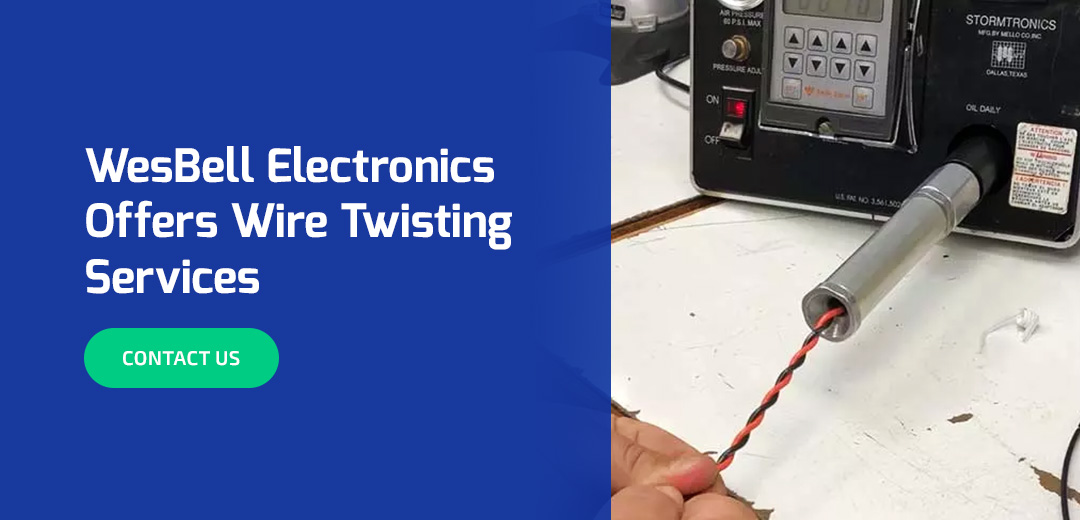
Twisting UL1015 18-AWG Copper Wire
Twisting UL1015 18-AWG hook-up wire involves twisting two or more wires together to create a secure and reliable electrical connection. Follow these steps for twisting wire:
- Take two pre-tinned wires and line them up at even heights.
- Push the wires into the twisting machine firmly and grip the ends tightly.
- Press the foot pedal until it stops. You must set the foot pedal to spin the wires a certain number of times based on their length and the desired twists per inch.
This ensures the customer receives a consistent product with a standard set of twists per inch that meets their application tolerances. Measuring the final product can be challenging, especially if the wire’s length changes after twisting. For example, if the specification sheet calls for a 6-inch wire harness after twisting, you must cut the initial pieces to 6.25 inches to account for the shortening that occurs during twisting.
To avoid wasting time and materials, cut a few samples and tin and twist them to see the final length before cutting and tinning all the wires. The samples will help you ensure the final product meets the required length and specifications.
Heat Shrink Tubing Printed Label Upon Request
Most contract manufacturers can add a label to the center of the wire assembly. Labels are either printed on a white surface that sticks to the harness or partially clear so it can wrap around several times.
Contract manufacturers can also print a piece of heat shrink tubing that shrinks down to the harness for a clean look. The tubing can hold the customer’s logo, part number, job number or any other important details that can fit on the label.
When using heat shrink tubing and a heat gun to shrink the tubing to the 18-AWG wires, the operator should line up the measurements for a consistent placement on each harness. For example, putting a 1î label in the center of a 6î wire requires something as simple as a few pieces of tape on the table. Two pieces of tape lay 6î apart, one at 2.5î and one at 3.5î. Then, the operator can simply put the harness on the table and see exactly where to heat the label without measuring every harness.
The heat shrink tubing label printer is necessary to create labeled heat shrink tubing markers. It’s the preferred method, as heat shrink tubing looks better and cleaner, and it shrinks down smoother than sticky labels.
WesBell Electronics Offers Wire Twisting Services
WesBell Electronics is a family-owned supplier of bulk wire, cable and tubing products. We also offer cable preparation and wire twining services to help you save time and money.
We’re happy to accept your custom wire or cable design specifications and fulfill your order. If you’re unsure what you need, reach out to us to discuss your application so we can help you determine the right product for the job. Request wire twisting and twining services once you’ve made a purchase for the ultimate convenience. We look forward to working with you!


