Aug 29, 2024
How to Wire an LED Light Using Kynar Wire Wrap (30 AWG – 26 AWG)
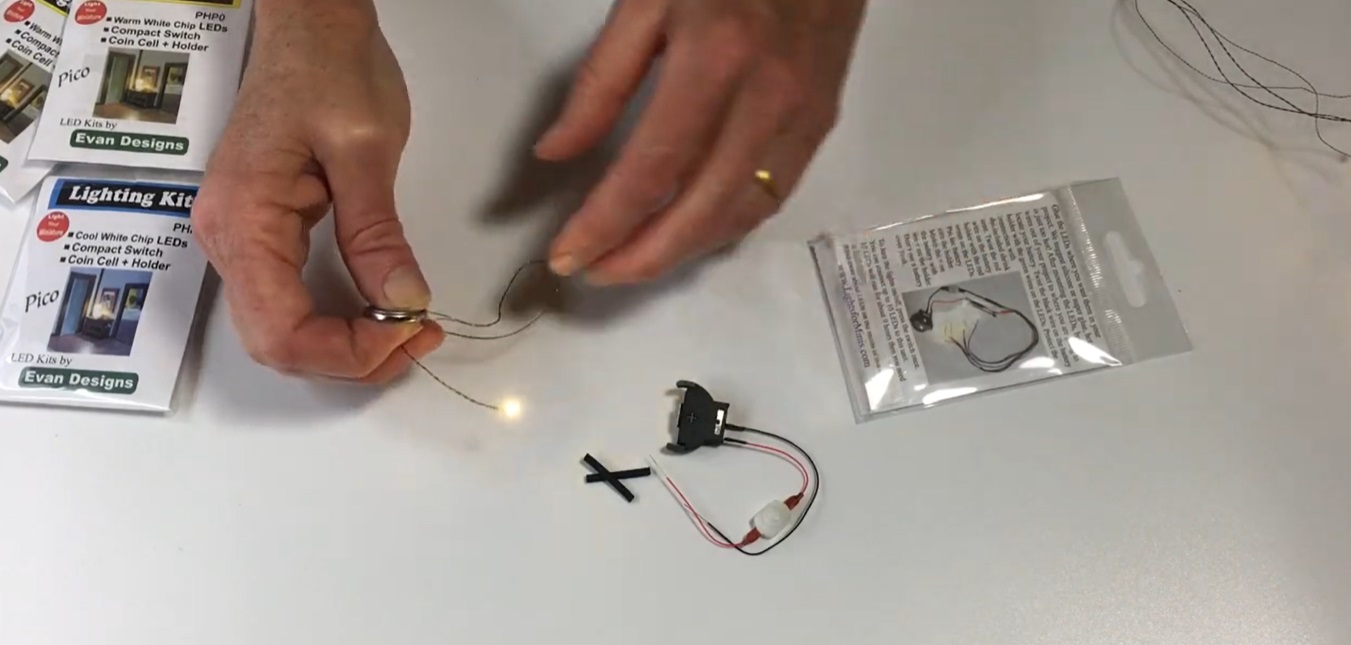
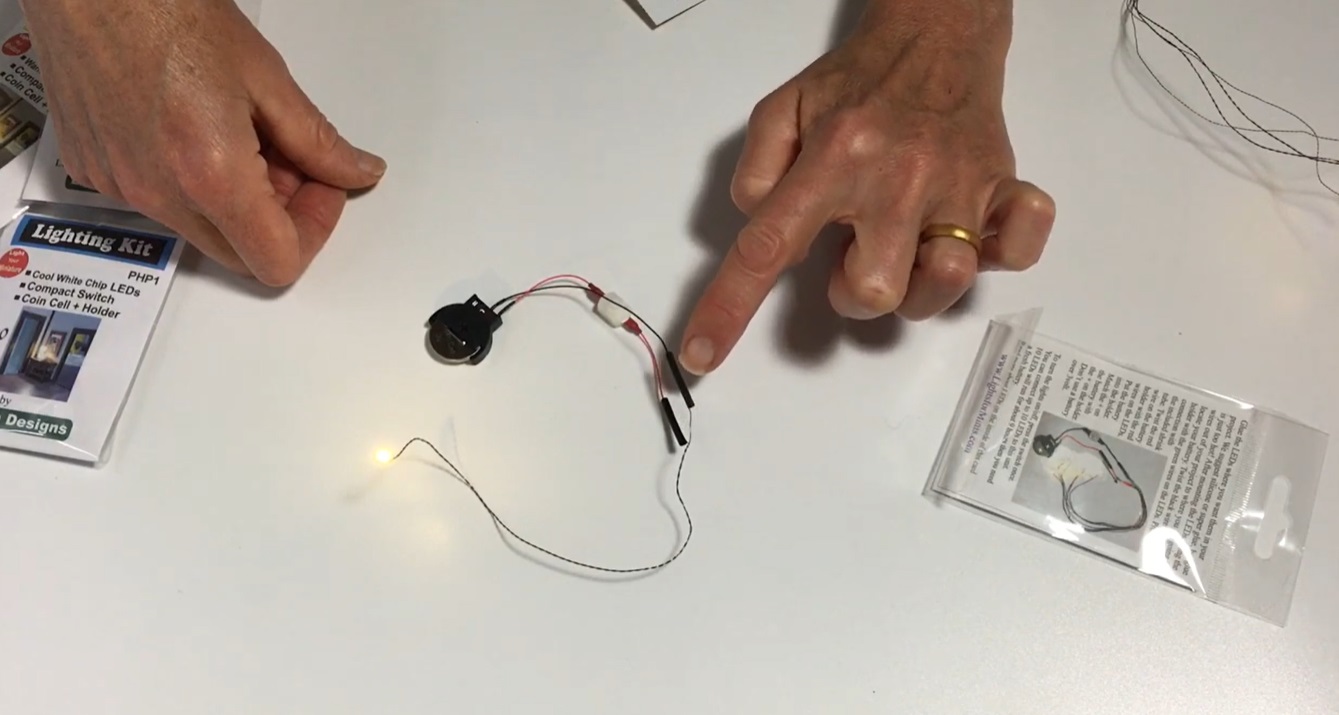
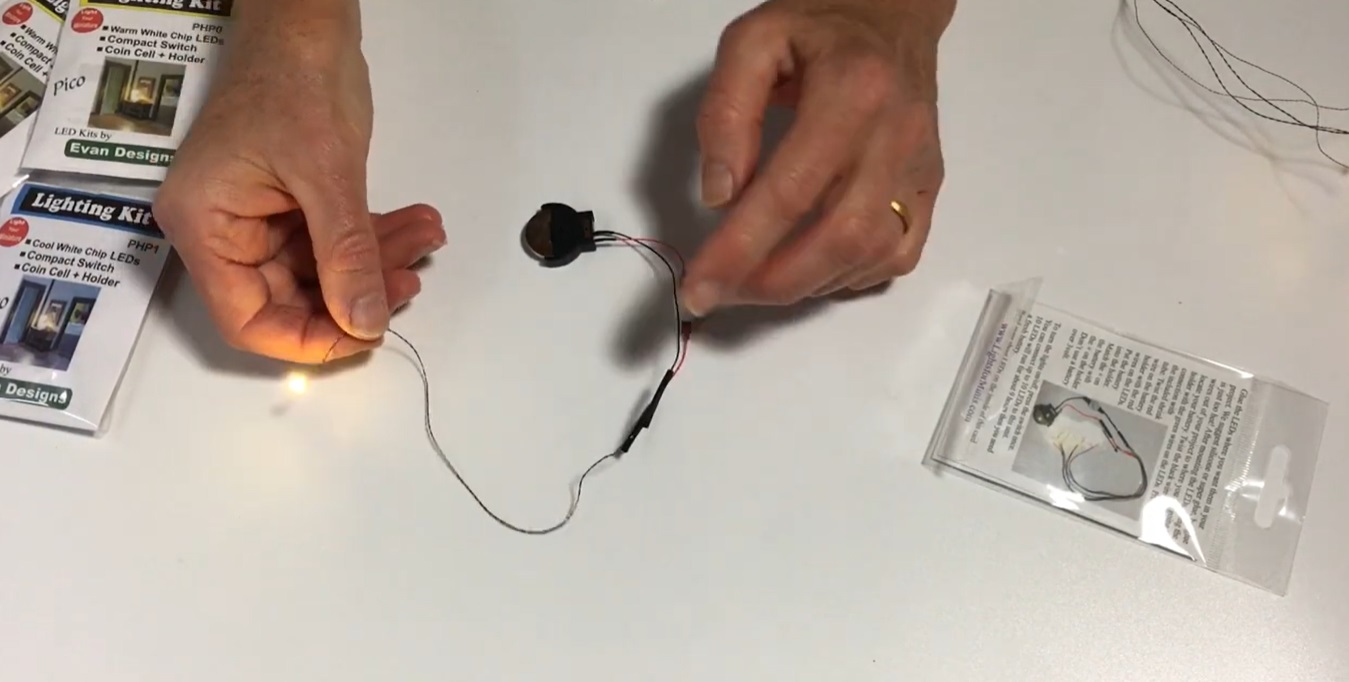
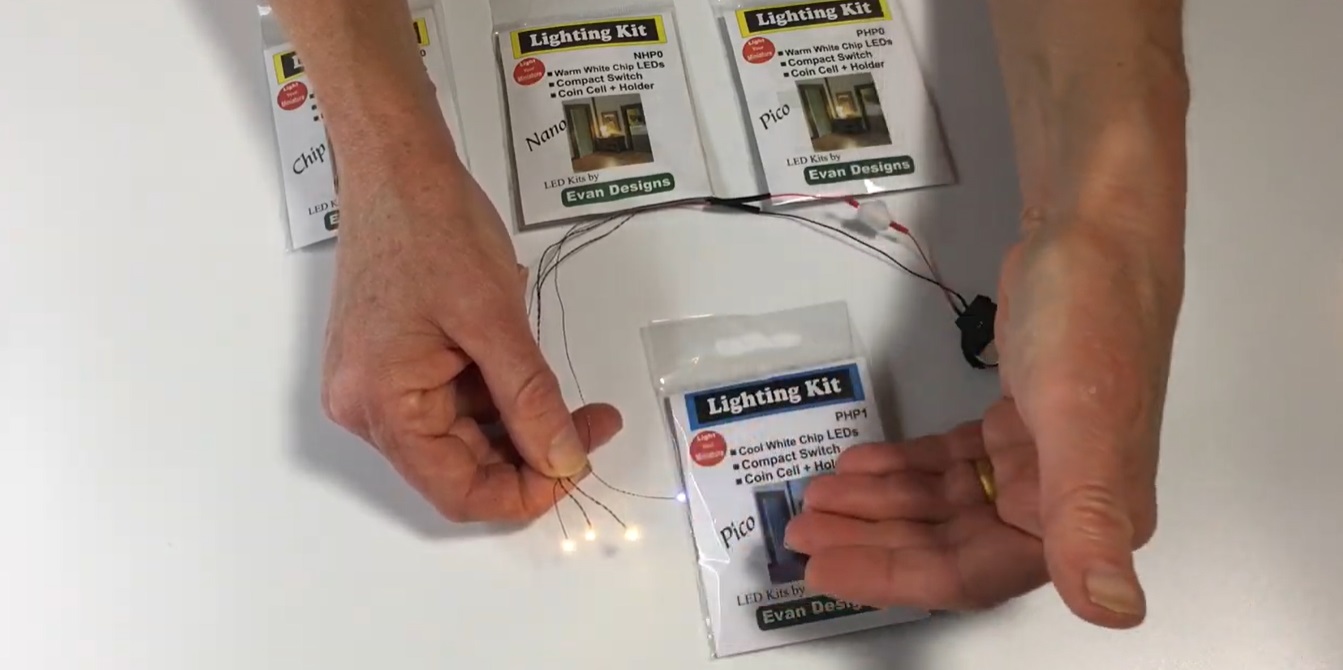
Assembling a battery-powered LED light kit using Kynar wire wrap, heat shrink tubing, and a switch can be a rewarding project, allowing you to create custom lighting solutions for a variety of purposes. This guide will take you step-by-step through the process, helping you build a reliable and clean setup. I’ll also explain the components you’re working with, ensuring you understand their purpose and how to use them effectively.
What You’ll Need
Before you start assembling your LED light kit, gather the following materials:
- LED (Light Emitting Diode): The LED is the core of the light kit, converting electrical energy into light. Make sure to choose an LED with appropriate voltage and current ratings for your power supply.
- Battery Holder & Batteries: This will be your power source. The type of battery holder depends on the type of batteries you plan to use (e.g., AA, AAA, 9V). Ensure it matches your LED’s power requirements.
- Switch: A simple toggle switch or push-button switch will allow you to control the power to the LED.
- Resistor: LEDs need current limiting resistors to prevent them from being damaged by too much current. The resistor value depends on the LED’s operating voltage and the power source.
- Kynar Wire Wrap: Kynar wire is a thin, insulated wire typically used in electronics for wiring connections. It’s ideal for this project because of its small diameter and ease of use.
- Heat Shrink Tubing: Heat shrink tubing is used to insulate and protect electrical connections. It’s essential for preventing shorts and securing wire connections.
- Soldering Iron & Solder: Soldering will provide secure, conductive connections between components.
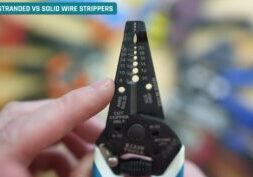
- Wire Strippers and Cutters: These tools will help you strip and cut the Kynar wire neatly.
- Heat Source: A heat gun or lighter to shrink the heat shrink tubing.
Understanding the Components
- Kynar Wire Wrap: This is a thin, insulated wire with a small diameter, often 30 AWG (American Wire Gauge). It is highly flexible and perfect for making connections in small electronics projects.
- Heat Shrink Tubing: This is used to cover and protect the joints or connections between wires, resistors, or other components. When heat is applied, it shrinks tightly over the connection, providing insulation and durability.
- Switch: You will use the switch to turn the LED on and off by interrupting the flow of electricity from the battery to the LED.
Step 1: Plan Your Circuit
The basic circuit for this project will consist of the following components connected in series:
- Battery → Switch → Resistor → LED → Ground.
Here’s a brief outline of what each component does in the circuit:
- The battery provides the power source.
- The switch controls whether the circuit is complete and allows current to flow.
- The resistor limits the current going into the LED, protecting it from burning out.
- The LED emits light when current flows through it.
Step 2: Prepare the Components
- Battery Holder and Batteries: Start by inserting the batteries into the battery holder. If you’re using AA or AAA batteries, check their polarity and ensure the batteries are seated properly.
- Resistor: Calculate the correct resistor value using Ohm’s law. Here’s a simple formula:
- R is the resistor value in ohms.
- Vbattery is the voltage of your battery.
- VLED is the forward voltage of the LED (typically 2-3 volts for standard LEDs).
- ILED is the forward current of the LED, usually around 20 mA (0.02 A).
For example, if you have a 9V battery and an LED with a forward voltage of 2V and a forward current of 20mA:
Choose the nearest available resistor value (in this case, a 330Ω resistor would suffice). - Cut and Strip Wires: Using your wire cutters and strippers, cut pieces of Kynar wire to connect the battery holder, switch, resistor, and LED. Strip about 1/8″ (3mm) of insulation off both ends of each wire.
Step 3: Soldering the Circuit
- Solder the Resistor to the LED: Start by soldering the resistor to the anode (+) of the LED. The anode is the longer lead of the LED, and it is where the positive current enters the LED. Ensure that the solder connection is solid but doesn’t have any excess solder that could cause shorts.
- Solder Kynar Wire to LED and Resistor: Next, solder a piece of Kynar wire to the other end of the resistor (the end not attached to the LED). This wire will eventually be connected to the switch. Solder another piece of Kynar wire to the cathode (-) of the LED. This wire will be connected to the negative terminal of the battery holder.
- Solder Kynar Wire to the Battery Holder: Solder a Kynar wire from the positive terminal of the battery holder. This wire will be connected to the switch.
- Connect the Switch: Now, solder the wire from the battery holder’s positive terminal to one terminal of the switch. Then solder the wire coming from the resistor to the other terminal of the switch.
- Test the Circuit: Once all the components are soldered together, connect the wires to form the completed circuit. Temporarily connect the wires to the battery holder and test your circuit by flipping the switch. If the LED lights up, everything is working correctly. If not, double-check your connections and polarity (ensure the LED is installed the right way).
Step 4: Securing the Connections with Heat Shrink Tubing
Now that your circuit works, it’s time to protect your connections using heat shrink tubing.
- Slide Heat Shrink Tubing Over the Connections: Before soldering your final connections, make sure to slip heat shrink tubing over the wires. You need to do this before the soldering because the tubing won’t fit over the soldered joints. Once soldered, slide the tubing over each exposed connection.
- Apply Heat to Shrink the Tubing: Using a heat gun or a lighter, gently apply heat to the tubing until it shrinks snugly around the connection. Be careful not to overheat and damage the wire or components. The tubing will contract, providing insulation and protecting the wires from short circuits or accidental contact.
Step 5: Final Assembly
With the electrical connections made and insulated, you can now assemble the final product.
- Arrange the Components: Place all components neatly within an enclosure if you have one. If not, arrange the battery pack, LED, switch, and wires in a way that’s secure and organized. You can use electrical tape or cable ties to hold the wires in place if needed.
- Test the Setup Again: With everything assembled, give the circuit a final test. Flip the switch, and the LED should light up when the circuit is complete.
- Secure the LED: If you’re using the LED in a specific location, such as in a model, on a display, or for decorative purposes, secure it in place. This can be done with glue, tape, or by fitting it into a custom-made housing.
Troubleshooting Tips
- LED Not Lighting Up: Check the polarity of the LED and the wiring to ensure that the positive lead of the LED is connected to the resistor, and the negative lead is connected to the ground.
- LED Flickering: This could be a loose connection. Check that all soldered joints are solid and that the heat shrink tubing is properly applied.
- Battery Drains Quickly: If the battery drains too quickly, you may need to check the resistor value. A lower resistor value might allow too much current to pass through the LED, leading to excessive power consumption.
Considerations for Advanced Users
- Multiple LEDs: If you want to use multiple LEDs, you’ll need to either wire them in series or parallel, depending on your needs. In a series configuration, you need to account for the combined forward voltage of all the LEDs. In a parallel configuration, each LED will need its own current-limiting resistor.
- Adding a Dimmer: For more control over the brightness, you can replace the switch with a potentiometer (variable resistor). This allows you to adjust the amount of current flowing to the LED, thus dimming or brightening the light.
- Alternative Power Sources: If you want a rechargeable solution, consider using a rechargeable battery pack and adding a charging circuit. This is especially useful for portable light kits.
Conclusion
Assembling a battery-powered LED light kit using Kynar 30 AWG wire wrap, non-adhesive polyolefin heat shrink tubing, and a switch is a straightforward and rewarding project. By following the steps outlined above, you can create a clean, efficient circuit that powers your LED safely. The process involves careful planning, soldering, and wiring, but with attention to detail, even beginners can successfully complete this project.
The use of Kynar wire and heat shrink tubing ensures that your circuit is not only functional but also neat and protected from shorts or other potential issues. This is an excellent project for learning the basics of electronics while also creating something practical, whether it be for model-making, custom lighting, or hobby projects.
Once you’ve mastered the basics, you can expand your project by adding more features, such as dimming controls, multiple LEDs, or different power sources, to suit your specific needs.

