
Sep 19, 2024
3 Steps to Cutting and Stripping Solid Lead Wire (Bread Boards)
Cutting and stripping solid lead wire to create jumper wires for use in breadboards is a fundamental skill in electronics prototyping. Jumper wires are essential for establishing electrical connections between different components on a breadboard. While it may seem simple, there are specific techniques and tools that ensure that the wires are prepared safely and effectively for reliable connections.
In this guide, I’ll cover everything from choosing the right tools, understanding lead wire specifications, step-by-step wire cutting and stripping, and tips to avoid common mistakes.
Table of Contents:
- Understanding Jumper Wires and Lead Wire
- Essential Tools and Materials
- Safety Considerations
- Steps to Cut and Strip Solid Lead Wire for Jumper Wires
- Measuring and Cutting the Wire
- Stripping the Insulation
- Preparing the Stripped Wire
- Inserting Jumper Wires into a Breadboard
- Avoiding Common Mistakes
- Advanced Tips for Neat and Reliable Connections
- Conclusion
1. Understanding Jumper Wires and Lead Wire
Before diving into the cutting and stripping process, it’s important to understand the type of wire typically used for breadboards and jumper wires.
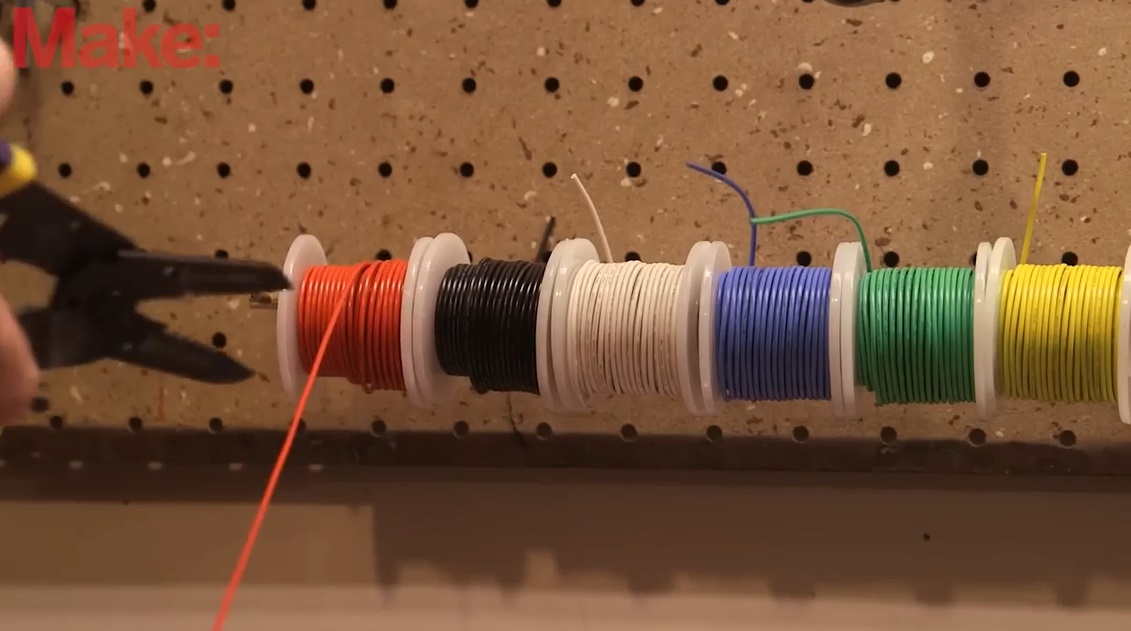
Solid core wire is most commonly used for breadboard connections because its rigidity makes it easy to insert into the breadboard’s sockets without bending or curling. Solid core wires are typically made of copper and are coated with a layer of insulation (usually PVC).
Jumper wires are small, single-wire connections that help create temporary circuits on a breadboard. They can be either pre-cut and stripped or custom-made, as described in this guide.
For breadboards, the wire gauge (thickness) most commonly used is 22 AWG (American Wire Gauge) hook up wire. This size strikes the right balance between rigidity and flexibility and fits snugly into the breadboard.
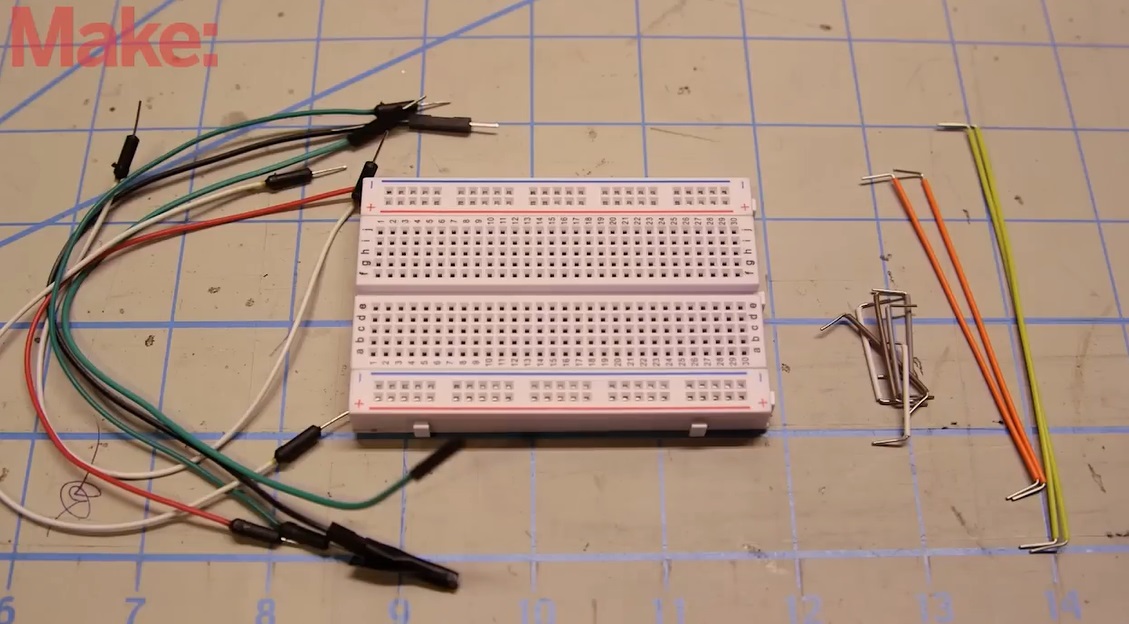
2. Essential Tools and Materials
To create jumper wires, you’ll need the following tools and materials:
- Solid-core wire (22 AWG) – Preferably copper wire with PVC insulation.
- Wire cutters – Used to cut the wire to the desired length.
- Wire strippers – Specifically designed to remove insulation from wires without damaging the core.
- Ruler or measuring tape – For measuring the length of jumper wires.
- Needle-nose pliers (optional) – For bending or holding wires during assembly.
Optional Tools:
- Multimeter – To check continuity after the jumper wire is inserted.
- Heat shrink tubing – To improve insulation or make connections more secure.
- Soldering iron and solder – For more permanent connections if required.
3. Safety Considerations
Working with wire cutters and strippers involves handling sharp tools, so safety is important:
- Wear protective eyewear to guard against flying bits of wire.
- Ensure the tools are in good condition – dull wire cutters can make the job harder and increase the risk of injury.
- Work on a stable surface – A clean, flat table will make the job safer and more efficient.
- Dispose of wire trimmings properly – Small bits of wire can become hazardous if left lying around.
4. Steps to Cut and Strip Solid Lead Wire for Jumper Wires
4.1. Measuring and Cutting the Wire
Step 1: Determine the required length
Decide how long each jumper wire needs to be. This will depend on the layout of your breadboard and the distance between the components or connections you are trying to bridge. A typical jumper wire length ranges from 1 to 10 cm, but this varies based on your project’s complexity.
Step 2: Cut the wire
Use your wire cutters to cut the solid-core wire to the desired length. Hold the wire firmly with one hand, and squeeze the wire cutters with the other hand to make a clean cut.
Tips:
- Ensure the wire cutter’s blade is aligned correctly to make a straight and clean cut.
- Always leave a little extra length when cutting so that you have room to strip the wire and insert it securely into the breadboard.
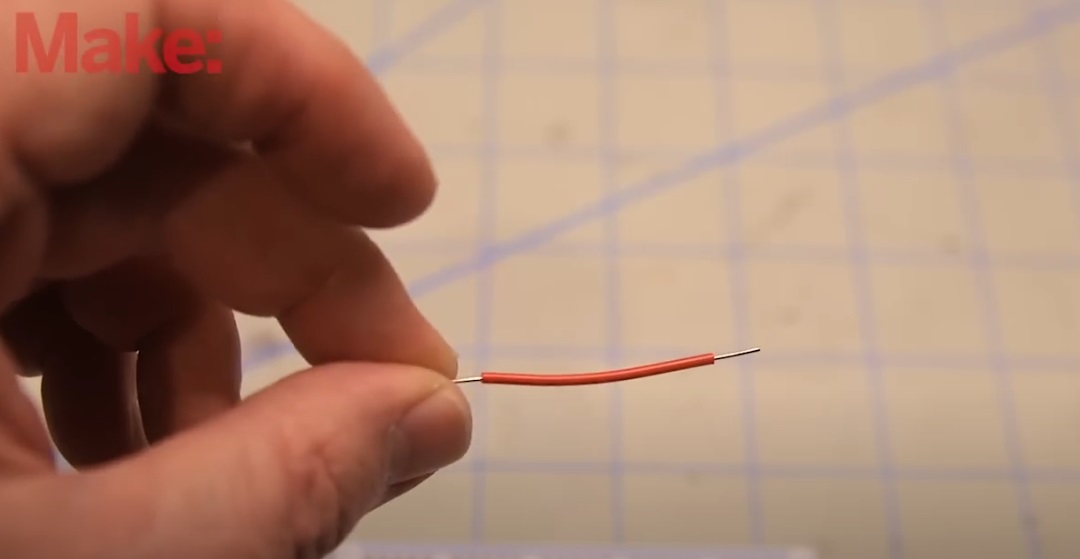
4.2. Stripping the Insulation
Step 3: Set the correct wire stripper size
Choose the correct notch on the wire stripper based on the wire gauge you’re using. For 22 AWG wire, most wire strippers will have a dedicated slot. Make sure to use the right size so that you only strip off the insulation and do not cut into the wire itself.
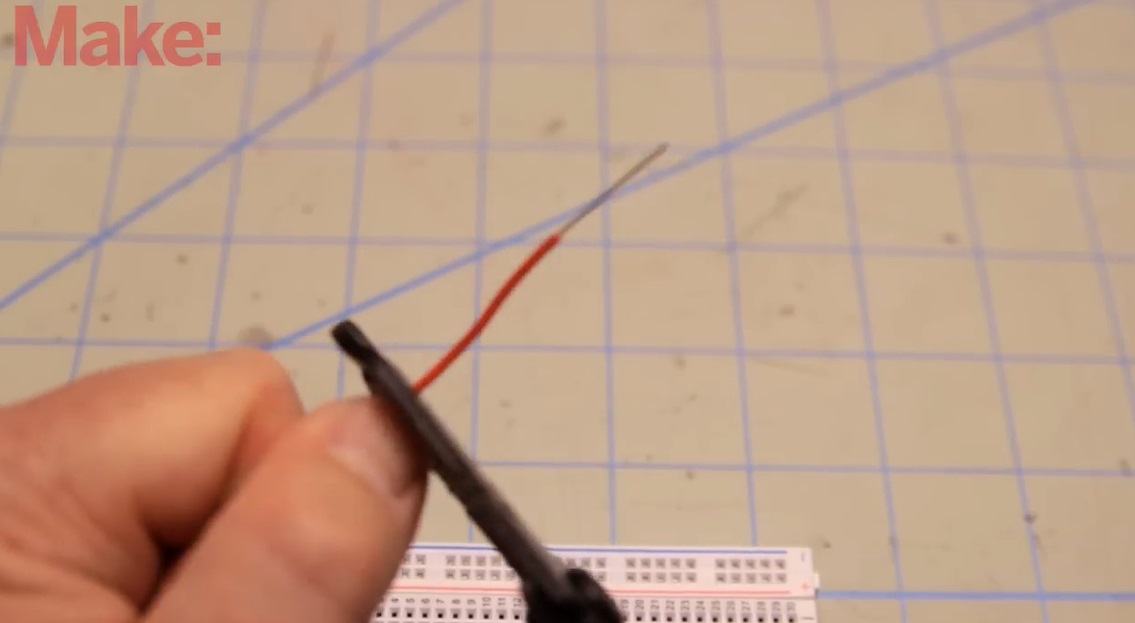
Step 4: Strip the wire
Insert one end of the wire into the correct notch on the wire stripper. Squeeze the handles of the wire stripper gently until you feel it bite into the insulation, but not the copper wire. Then, pull the stripper towards the end of the wire, effectively removing the insulation.
Tips:
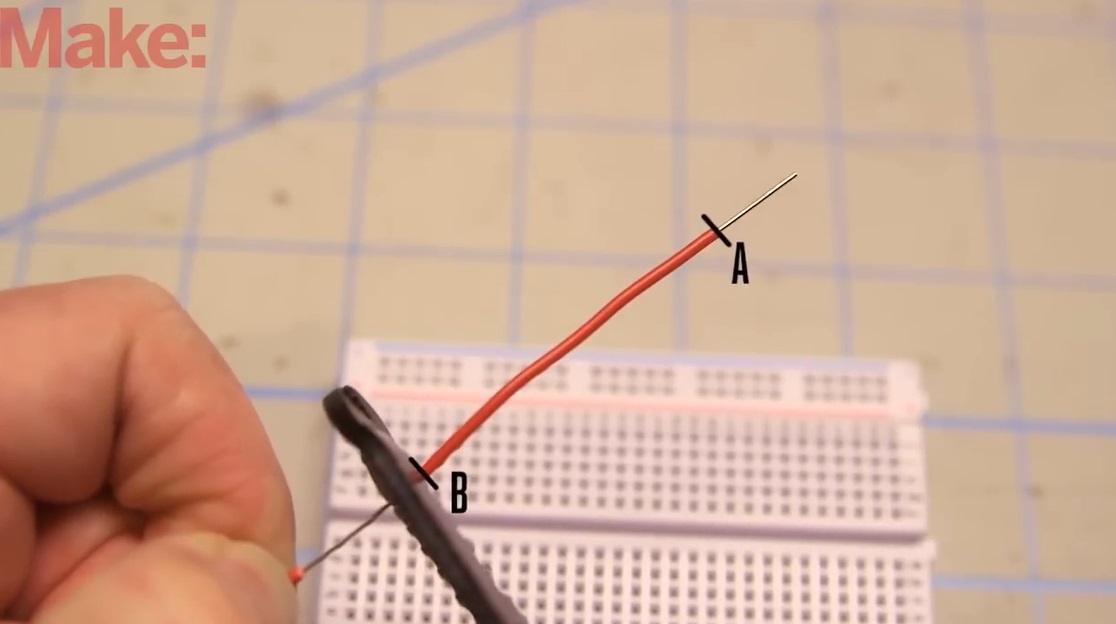
- Strip about 1/4 to 1/2 inch (6-12 mm) of insulation from both ends of the wire. This length is generally sufficient for making connections in a breadboard.
- If you accidentally nick the wire, trim it back slightly and strip it again to avoid a weak connection.
4.3. Preparing the Stripped Wire
Step 5: Straighten the stripped wire
After stripping the insulation, the exposed copper core may be slightly bent. Use your fingers or needle-nose pliers to straighten the exposed portion of the wire. A straight wire will insert more easily into the breadboard.
Step 6: Inspect the wire ends
Examine the stripped ends to make sure the copper is clean and not damaged. Tarnished or damaged wire may not create a good electrical connection.
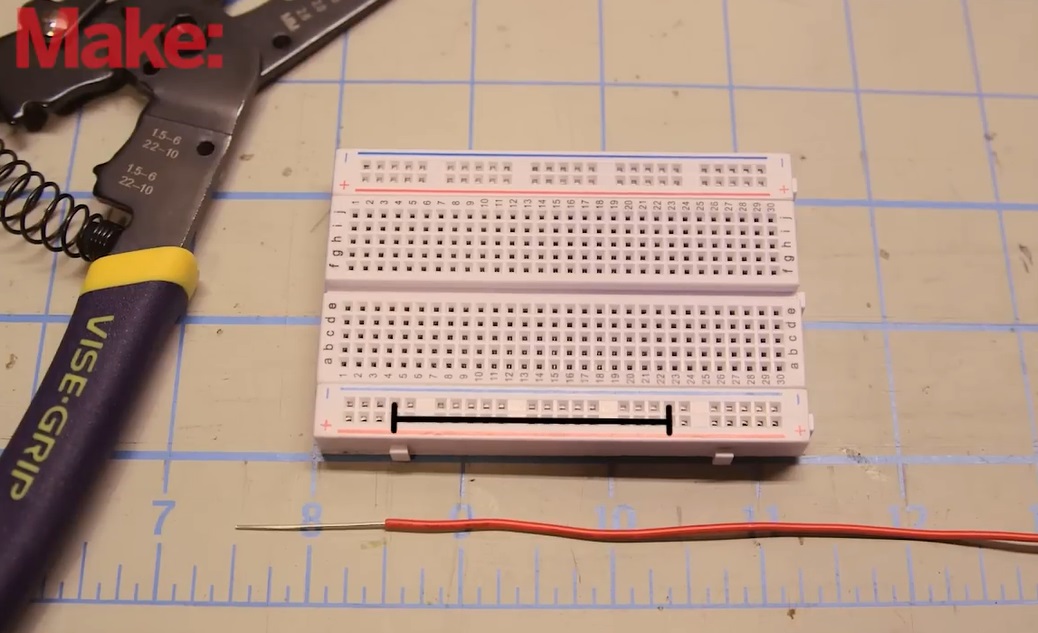
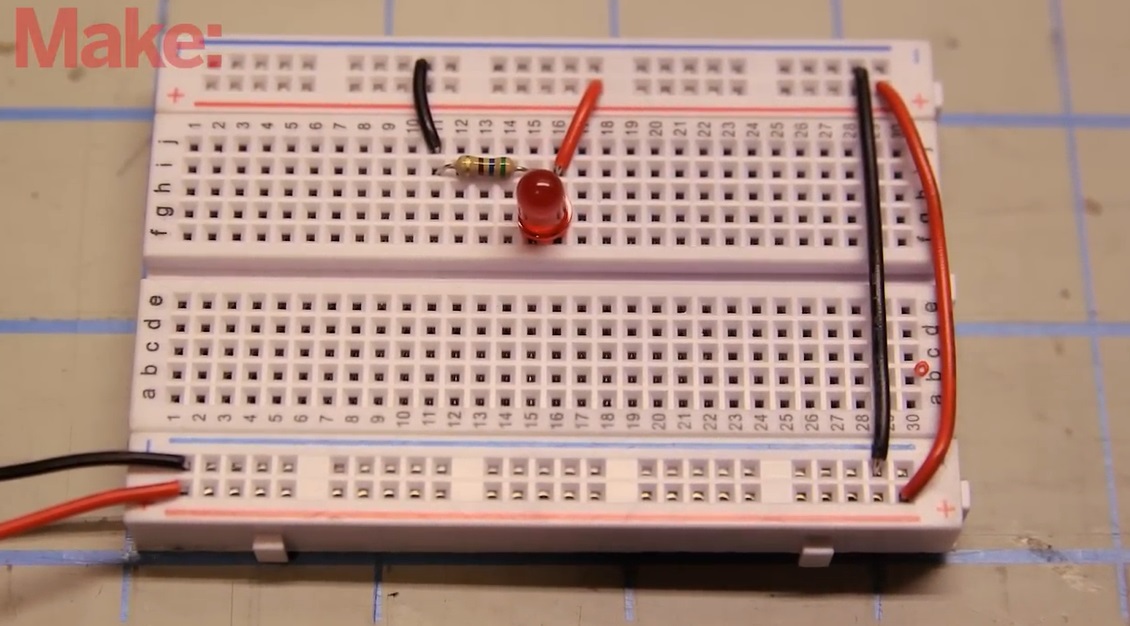
5. Inserting Jumper Wires into a Breadboard
Now that your wires are prepared, it’s time to insert them into the breadboard.
Step 7: Identify the correct insertion points
Breadboards are typically organized into rows and columns, with connected holes that allow you to complete circuits. Identify the holes where your jumper wires will be inserted based on your circuit diagram.
Step 8: Insert the wire
Carefully push the stripped end of the jumper wire into the appropriate hole on the breadboard. It should slide in easily and feel snug, providing a solid electrical connection.
Tip:
If the jumper wire doesn’t go in smoothly, you may have bent it slightly or stripped too much insulation. Adjust the wire as needed to ensure a clean insertion.
6. Avoiding Common Mistakes
Here are some common mistakes people make when cutting and stripping wire for jumper wires and how to avoid them:
- Cutting wires too short: Always measure and cut the wire slightly longer than needed to avoid having wires that barely reach or are too tight on the breadboard.
- Nicking the wire: Be careful not to cut into the copper when stripping insulation. A nicked wire is more prone to breaking, which can lead to circuit failures.
- Using the wrong gauge wire: Make sure to use 22 AWG wire for breadboards. Wire that is too thin (higher gauge) might not make a good connection, and thicker wire (lower gauge) might not fit in the breadboard holes.
- Frayed or unclean connections: If the wire is not inserted cleanly into the breadboard, it could cause poor or intermittent connections. Always straighten the wire and clean the copper if necessary.
7. Advanced Tips for Neat and Reliable Connections
Once you master the basics of cutting and stripping solid-core wire, you can improve the quality and appearance of your jumper wires with these advanced tips:
- Color-code your wires: Use different colored wires to represent various connections like power (red), ground (black), and signal (other colors). This makes troubleshooting easier.
- Use heat shrink tubing: If you want extra protection or a cleaner look, you can apply heat shrink tubing to the stripped sections of the wire. After stripping, slide a piece of tubing over the wire and heat it to shrink it around the exposed wire.
- Twist the wire ends: After stripping, twist the exposed copper strands (if working with stranded wire) to ensure a solid insertion into the breadboard. Solid-core wire usually doesn’t need this, but it can help maintain a clean end.
8. Conclusion
Cutting and stripping solid lead wire to create jumper wires is a simple but essential skill for anyone working with breadboards and prototyping circuits. By following the steps outlined in this guide—measuring, cutting, stripping, and preparing the wires—you can ensure reliable, clean connections in your circuits.
Mastering these techniques will not only improve the performance of your projects but also make the process of building and troubleshooting circuits much smoother.


