Sep 5, 2024
This is How to Crimp Ferrules to Flexible Cables like Welding Leads
Ferrules, though small and often overlooked, play a significant role in ensuring the safety, reliability, and efficiency of electrical connections. These unassuming components are vital in many industries, especially in electrical and electronics engineering. In this comprehensive discussion, we’ll explore what a ferrule is, why it is used, how it enhances safety, and provide a detailed step-by-step guide on how to crimp one onto a 6 AWG copper wire.
0:00 – Intro about cutting and stripping insulation
0:37 – What is a ferrule?
1:00 – Safety
1:30 – How to crimp ferrules
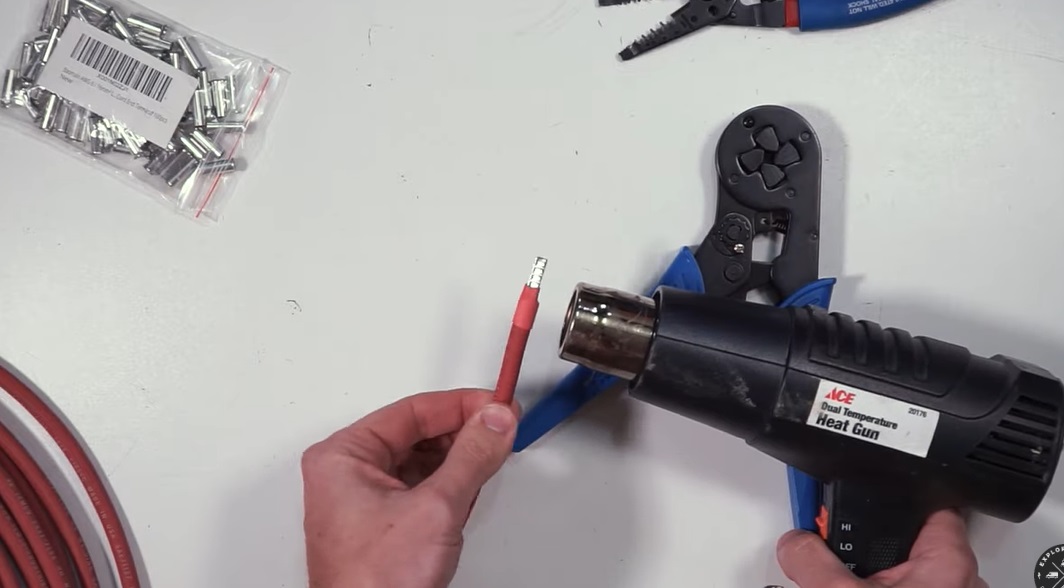
2:00 – Adding heat shrink tubing
What is a Ferrule?
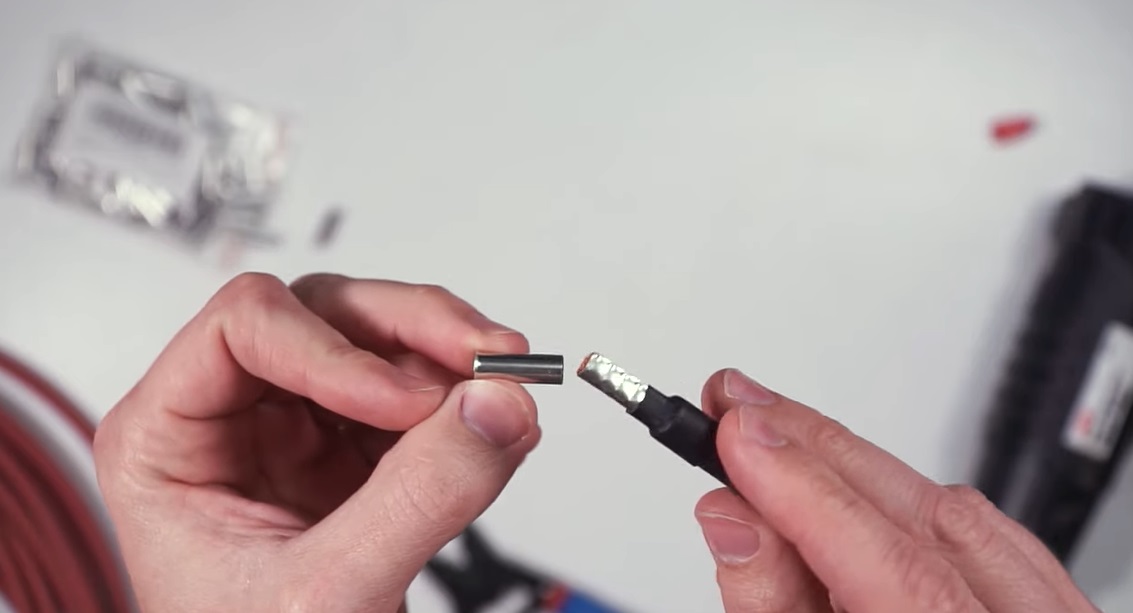
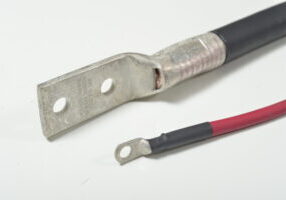
A ferrule is a small cylindrical or tubular piece of metal, typically made from copper, brass, or aluminum, and often tin-plated for corrosion resistance. It is designed to be crimped onto the end of a stranded wire, such as welding cable, to create a solid and reliable connection. Ferrules are used in a variety of applications, from industrial machinery to household appliances, and are essential components in ensuring stable and safe electrical connections.
Ferrules come in different types and sizes, with insulated and non-insulated versions. Insulated ferrules have a plastic collar that protects the wire insulation and prevents short circuits, while non-insulated ferrules are just the metal tube. The selection of a ferrule depends on the wire gauge, the type of connection being made, and the specific application requirements.
Why Ferrules Are Used
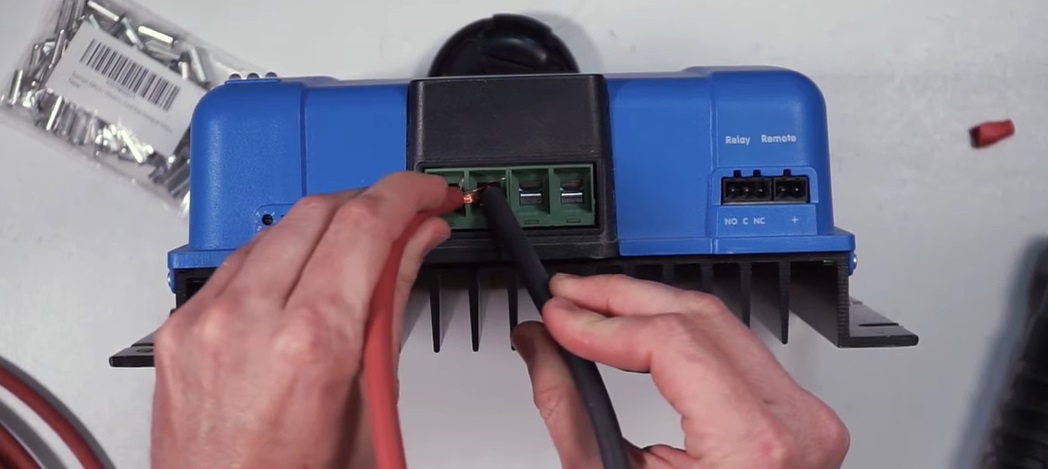
The primary purpose of a ferrule is to improve the quality and reliability of electrical connections. When a stranded wire is inserted into a terminal without a ferrule, several issues can arise:
- Loose Strands: The individual strands of the wire can spread out when inserted into a terminal, leading to poor contact, increased resistance, and potential overheating. This can cause inefficiency in the electrical connection and may lead to failure over time.
- Corrosion and Oxidation: Without a ferrule, the exposed wire strands can oxidize or corrode over time, especially in harsh environments. This degradation can increase electrical resistance and reduce the effectiveness of the connection.
- Vibration and Movement: In applications where the connection is subject to vibration or movement, such as in industrial machinery or automotive systems, the wire strands can loosen, leading to intermittent connections or complete disconnection.
- Difficulties in Insertion: Inserting a stranded wire into a terminal can be challenging without a ferrule, as the strands can splay out and make it difficult to achieve a secure connection.
Ferrules address these issues by providing a uniform, compressed end to the wire, ensuring that all strands are held together tightly. This improves the quality of the connection and enhances the overall performance and safety of the system.
Safety Benefits of Using Ferrules
The use of ferrules significantly enhances the safety of electrical connections, especially in critical applications. Here are some of the key safety benefits:
- Prevention of Short Circuits: When wire strands are not properly contained, they can spread out and make contact with other terminals or conductive surfaces, leading to short circuits. A ferrule encapsulates the wire strands, preventing them from touching other components and reducing the risk of short circuits.
- Consistent Electrical Contact: Ferrules ensure a consistent and secure electrical contact by compressing the wire strands together. This reduces the risk of loose connections, which can cause arcing, overheating, and potential fire hazards.
- Reduction of Electrical Resistance: By providing a uniform connection, ferrules reduce the electrical resistance at the connection point. Lower resistance means less heat generation, which in turn reduces the risk of insulation damage or fire.
- Enhanced Durability: In environments where electrical connections are exposed to vibration, movement, or harsh conditions, ferrules provide added durability. They prevent the wire strands from loosening or breaking over time, ensuring a longer-lasting and more reliable connection.
- Improved Mechanical Strength: The crimped ferrule adds mechanical strength to the connection, reducing the likelihood of the wire being pulled out of the terminal. This is especially important in applications where the wire is subject to mechanical stress.
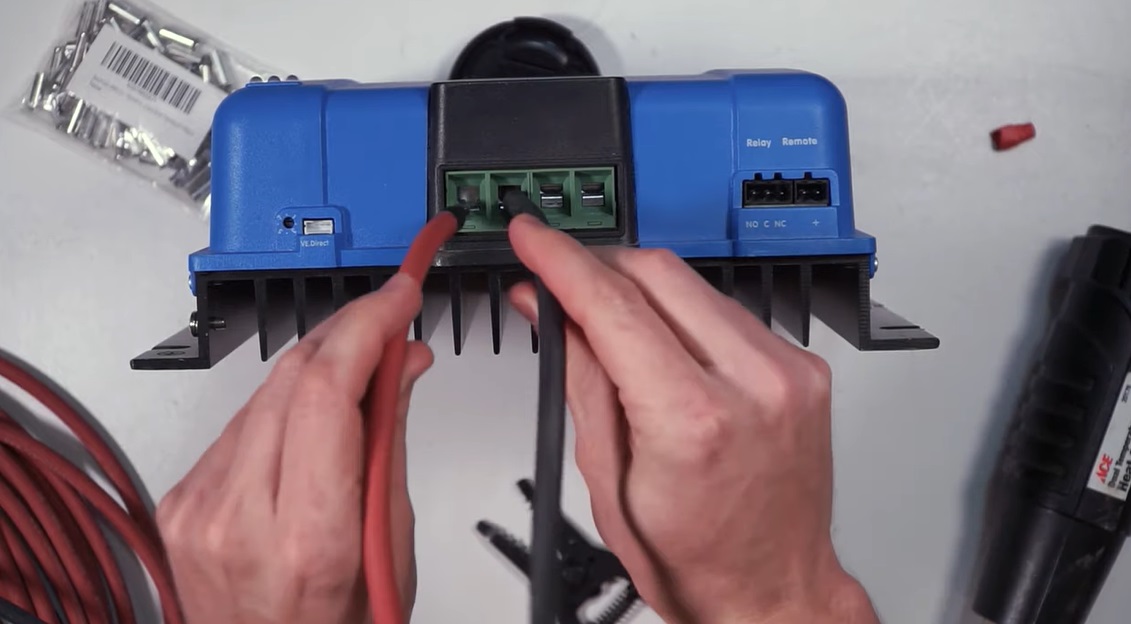
- Easier and More Reliable Installation: Using ferrules simplifies the installation process. The smooth, tubular shape of the ferrule makes it easier to insert the wire into terminals or connectors, reducing the likelihood of installation errors and ensuring a secure connection every time.
Crimping a Ferrule onto a 6 AWG Copper Wire: A Step-by-Step Guide
Crimping a ferrule onto a 6 AWG copper wire is a straightforward process, but it requires attention to detail to ensure a secure and reliable connection. Here’s a detailed guide on how to properly crimp a ferrule onto a 6 AWG copper wire.
Step 1: Gather the Necessary Tools and Materials
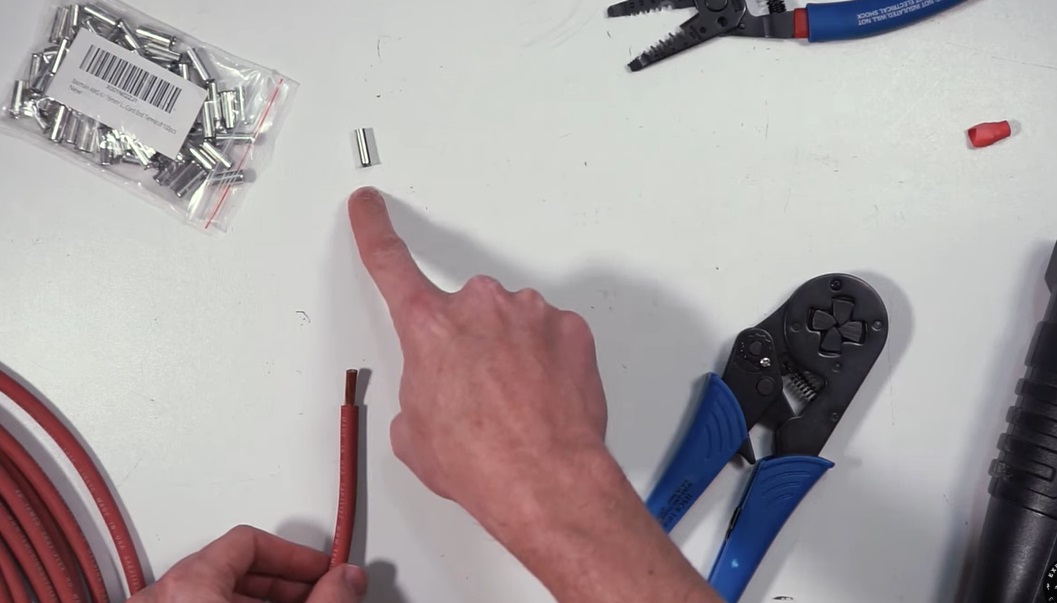
Before you begin, make sure you have the following tools and materials:
- 6 AWG Copper Wire: This is the wire you will be working with. Ensure that it is clean and free from any corrosion or damage.
- Ferrule: Choose a ferrule that matches the gauge of your wire (6 AWG). The ferrule should be long enough to cover the exposed wire strands and provide a secure crimp. For 6 AWG wire, the ferrule should have an internal diameter that fits snugly over the stripped wire.
- Wire Stripper: A wire stripper is used to remove the insulation from the end of the wire. Make sure it is set to the correct gauge to avoid damaging the wire strands.
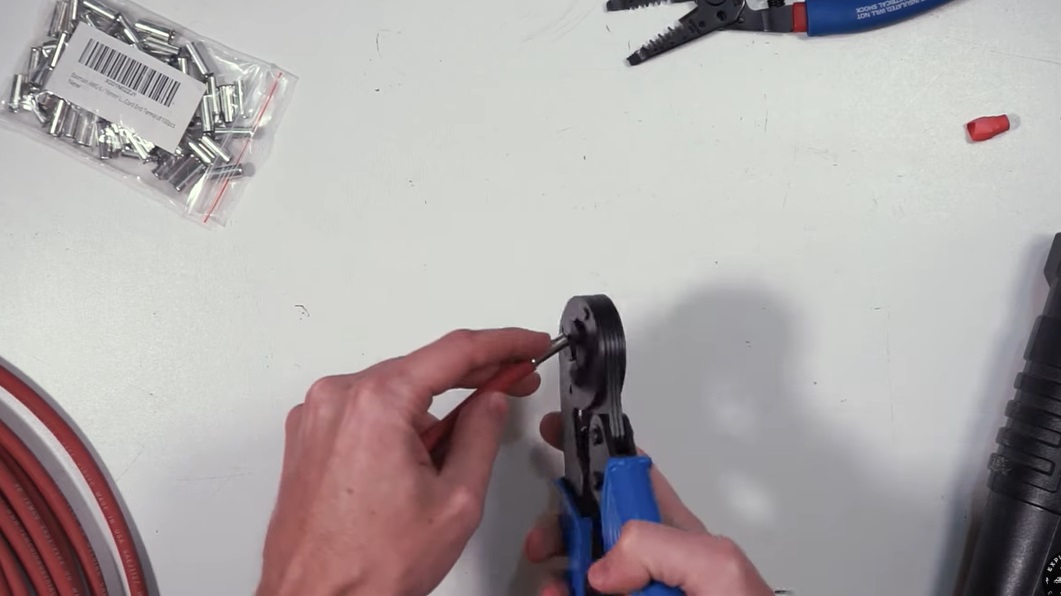
- Ferrule Crimping Tool: A specialized crimping tool designed for crimping ferrules is required. The tool should have a slot or die that corresponds to the size of the ferrule and the wire gauge.
- Insulation Stripper (if necessary): If your wire has additional insulation that needs to be removed, an insulation stripper may be needed.
Step 2: Strip the Wire
Using the wire stripper, carefully strip the insulation from the end of the copper wire. For a 6 AWG wire, strip off enough insulation so that the exposed wire fits completely into the ferrule, but not so much that there is excess wire sticking out. Typically, you would strip about 10-12 mm of insulation, but this can vary depending on the length of the ferrule.
It’s important to ensure that you don’t nick or cut any of the wire strands during this process, as this can weaken the connection.
Step 3: Insert the Wire into the Ferrule
Once the wire is stripped, insert the exposed copper strands into the ferrule. Make sure that all the strands are contained within the ferrule and that none are left outside. The ferrule should fit snugly over the wire, with the insulation meeting the end of the ferrule.
If you are using an insulated ferrule, the plastic collar should sit just over the insulation of the wire, providing additional protection and preventing the wire from pulling out.
Step 4: Position the Ferrule in the Crimping Tool
Next, place the ferrule with the wire inside it into the crimping tool’s appropriate size slot for 6 AWG wire. Make sure that the ferrule is fully seated in the tool and that it is positioned correctly for crimping.
The crimping tool may have a specific orientation or markings to indicate where the ferrule should be placed. Follow the manufacturer’s instructions to ensure proper placement.
Step 5: Crimp the Ferrule
With the ferrule in place, squeeze the handles of the crimping tool firmly to compress the ferrule around the wire. The crimping process will deform the ferrule, pressing it tightly around the wire strands and creating a secure connection.
Some crimping tools have a ratcheting mechanism that ensures a complete crimp before releasing, while others require you to apply steady pressure until the crimp is complete. Make sure to apply sufficient force to create a solid crimp, but be careful not to over-crimp, as this could damage the wire or ferrule.
Step 6: Inspect the Crimp
After crimping, carefully inspect the ferrule to ensure that it is evenly compressed around the wire and that no wire strands are exposed. The crimp should be tight and secure, with the ferrule firmly attached to the wire.
Check for any signs of deformation or damage to the ferrule or wire. If the crimp appears uneven or if there are any loose strands, it may be necessary to cut the ferrule off and start the process again with a new ferrule.
Step 7: Test the Connection (Optional)
If possible, test the electrical connection to ensure that it is functioning correctly. This can be done by measuring the resistance across the connection or by performing a continuity test. A good connection should have low resistance and show continuity without interruption.
In applications where the connection is critical, such as in high-current circuits or safety systems, it may be advisable to perform additional testing to ensure that the crimped ferrule is performing as expected.
Conclusion
Ferrules are essential components in creating secure, reliable, and safe electrical connections, especially in applications involving stranded wire. By understanding what a ferrule is, why it is used, and how it enhances safety, you can appreciate the importance of this small but crucial component.
Crimping a ferrule onto a 6 AWG copper wire, as outlined in this guide, is a process that requires attention to detail and the proper use of tools. When done correctly, it ensures a strong, durable, and low-resistance connection that enhances both the performance and safety of your electrical system.
Whether you’re working in an industrial setting, on automotive systems, or in residential wiring, using ferrules correctly can make a significant difference in the quality and longevity of your electrical connections. By following the steps outlined above, you can ensure that your connections are secure, reliable, and safe, providing peace of mind and long-term reliability in your electrical installations.

