
Oct 7, 2024
Soldering Lead Wires to Manufacture a Wire Harness
Soldering and tin-dipping lead wires to create a small wire harness is a critical process in electrical assembly, ensuring secure and reliable connections between components. This guide will walk you through the entire process, detailing tools, materials, techniques, and tips. I’ll also cover soldering safety, quality assurance, and best practices for wire harness production.
Table of Contents:
- Understanding Wire Harness Basics
- Tools and Materials
- Soldering vs. Crimping: A Brief Comparison
- Soldering and Tinning Process Overview
- Step 1: Preparation of Wires
- Step 2: Stripping and Tinning the Wires
- Step 3: Soldering Lead Wires to Components
- Step 4: Heat Shrink and Insulation
- Harness Assembly and Layout
- Testing and Quality Assurance
- Soldering Safety
- Common Mistakes and How to Avoid Them
1. Understanding Wire Harness Basics
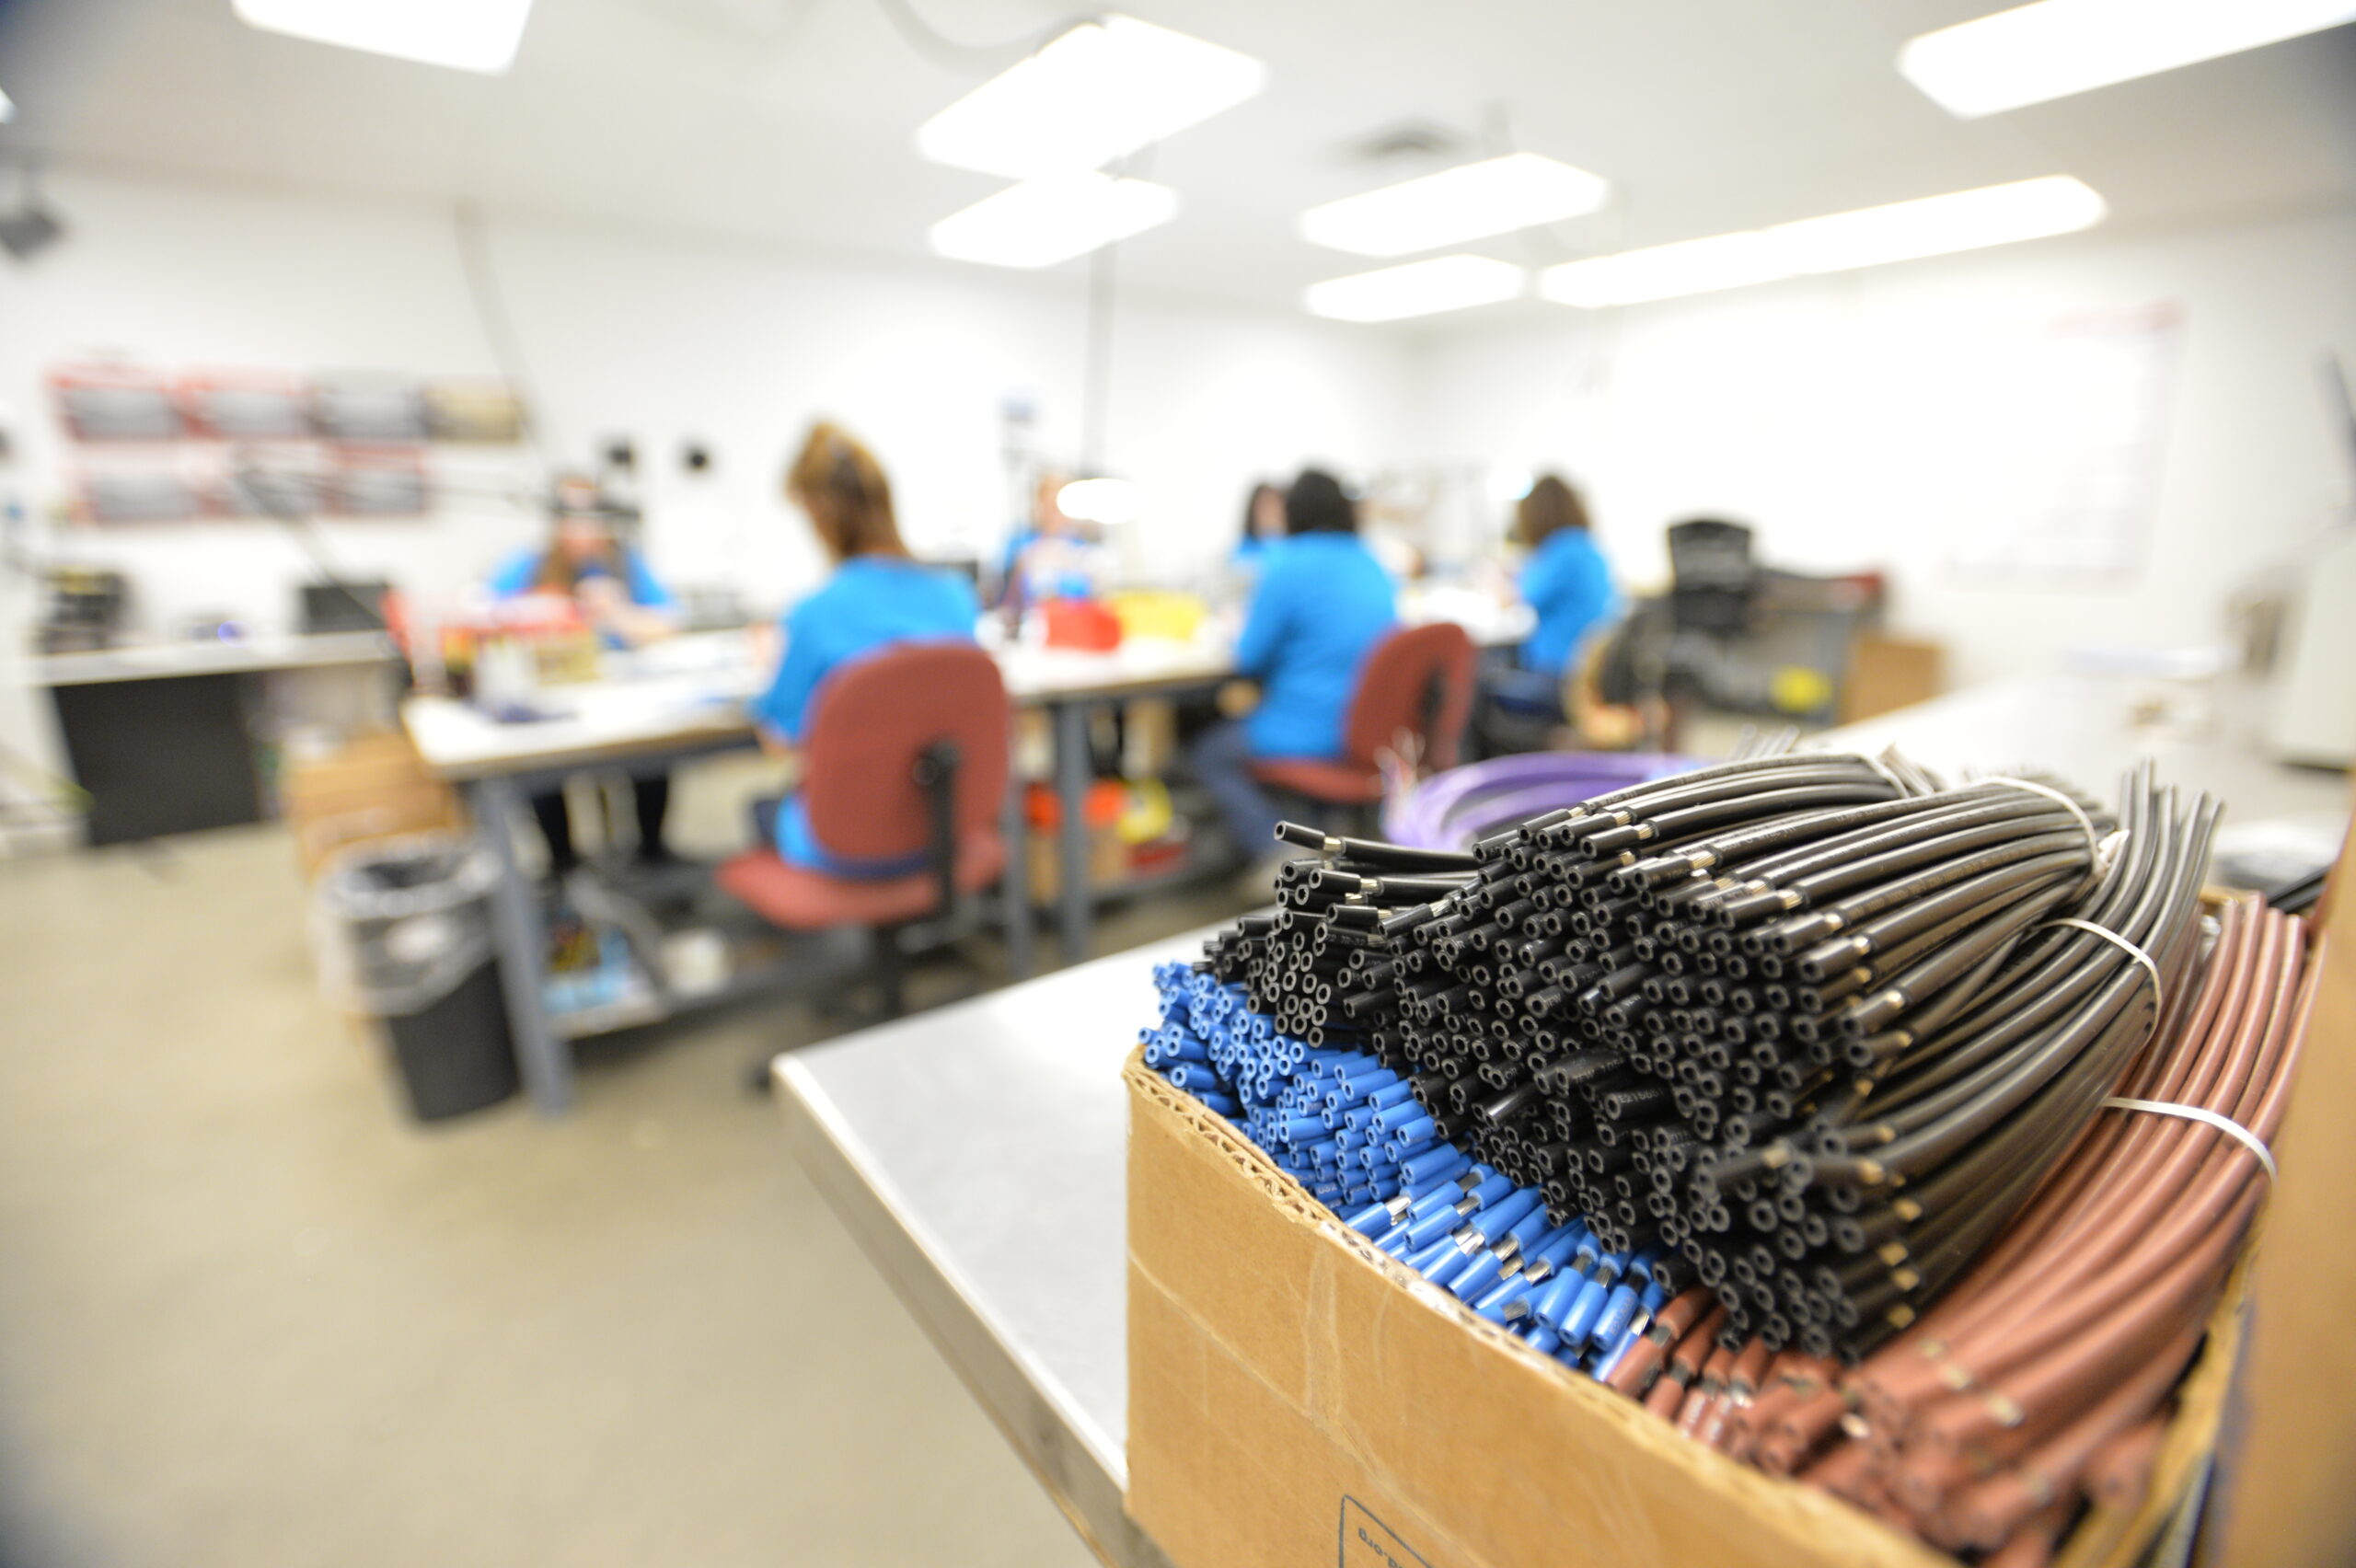
A wire harness is a systematic grouping of lead wires designed to transmit electrical power and signals in various electrical systems. In a small wire harness, lead wires (single-conductor wires) are the primary components that are routed and bundled together to connect different parts of an electrical system.
When assembling a wire harness, there are two main methods for attaching connectors to wires: crimping and soldering. Soldering is preferred in cases where a mechanically strong, reliable, and low-resistance connection is needed.
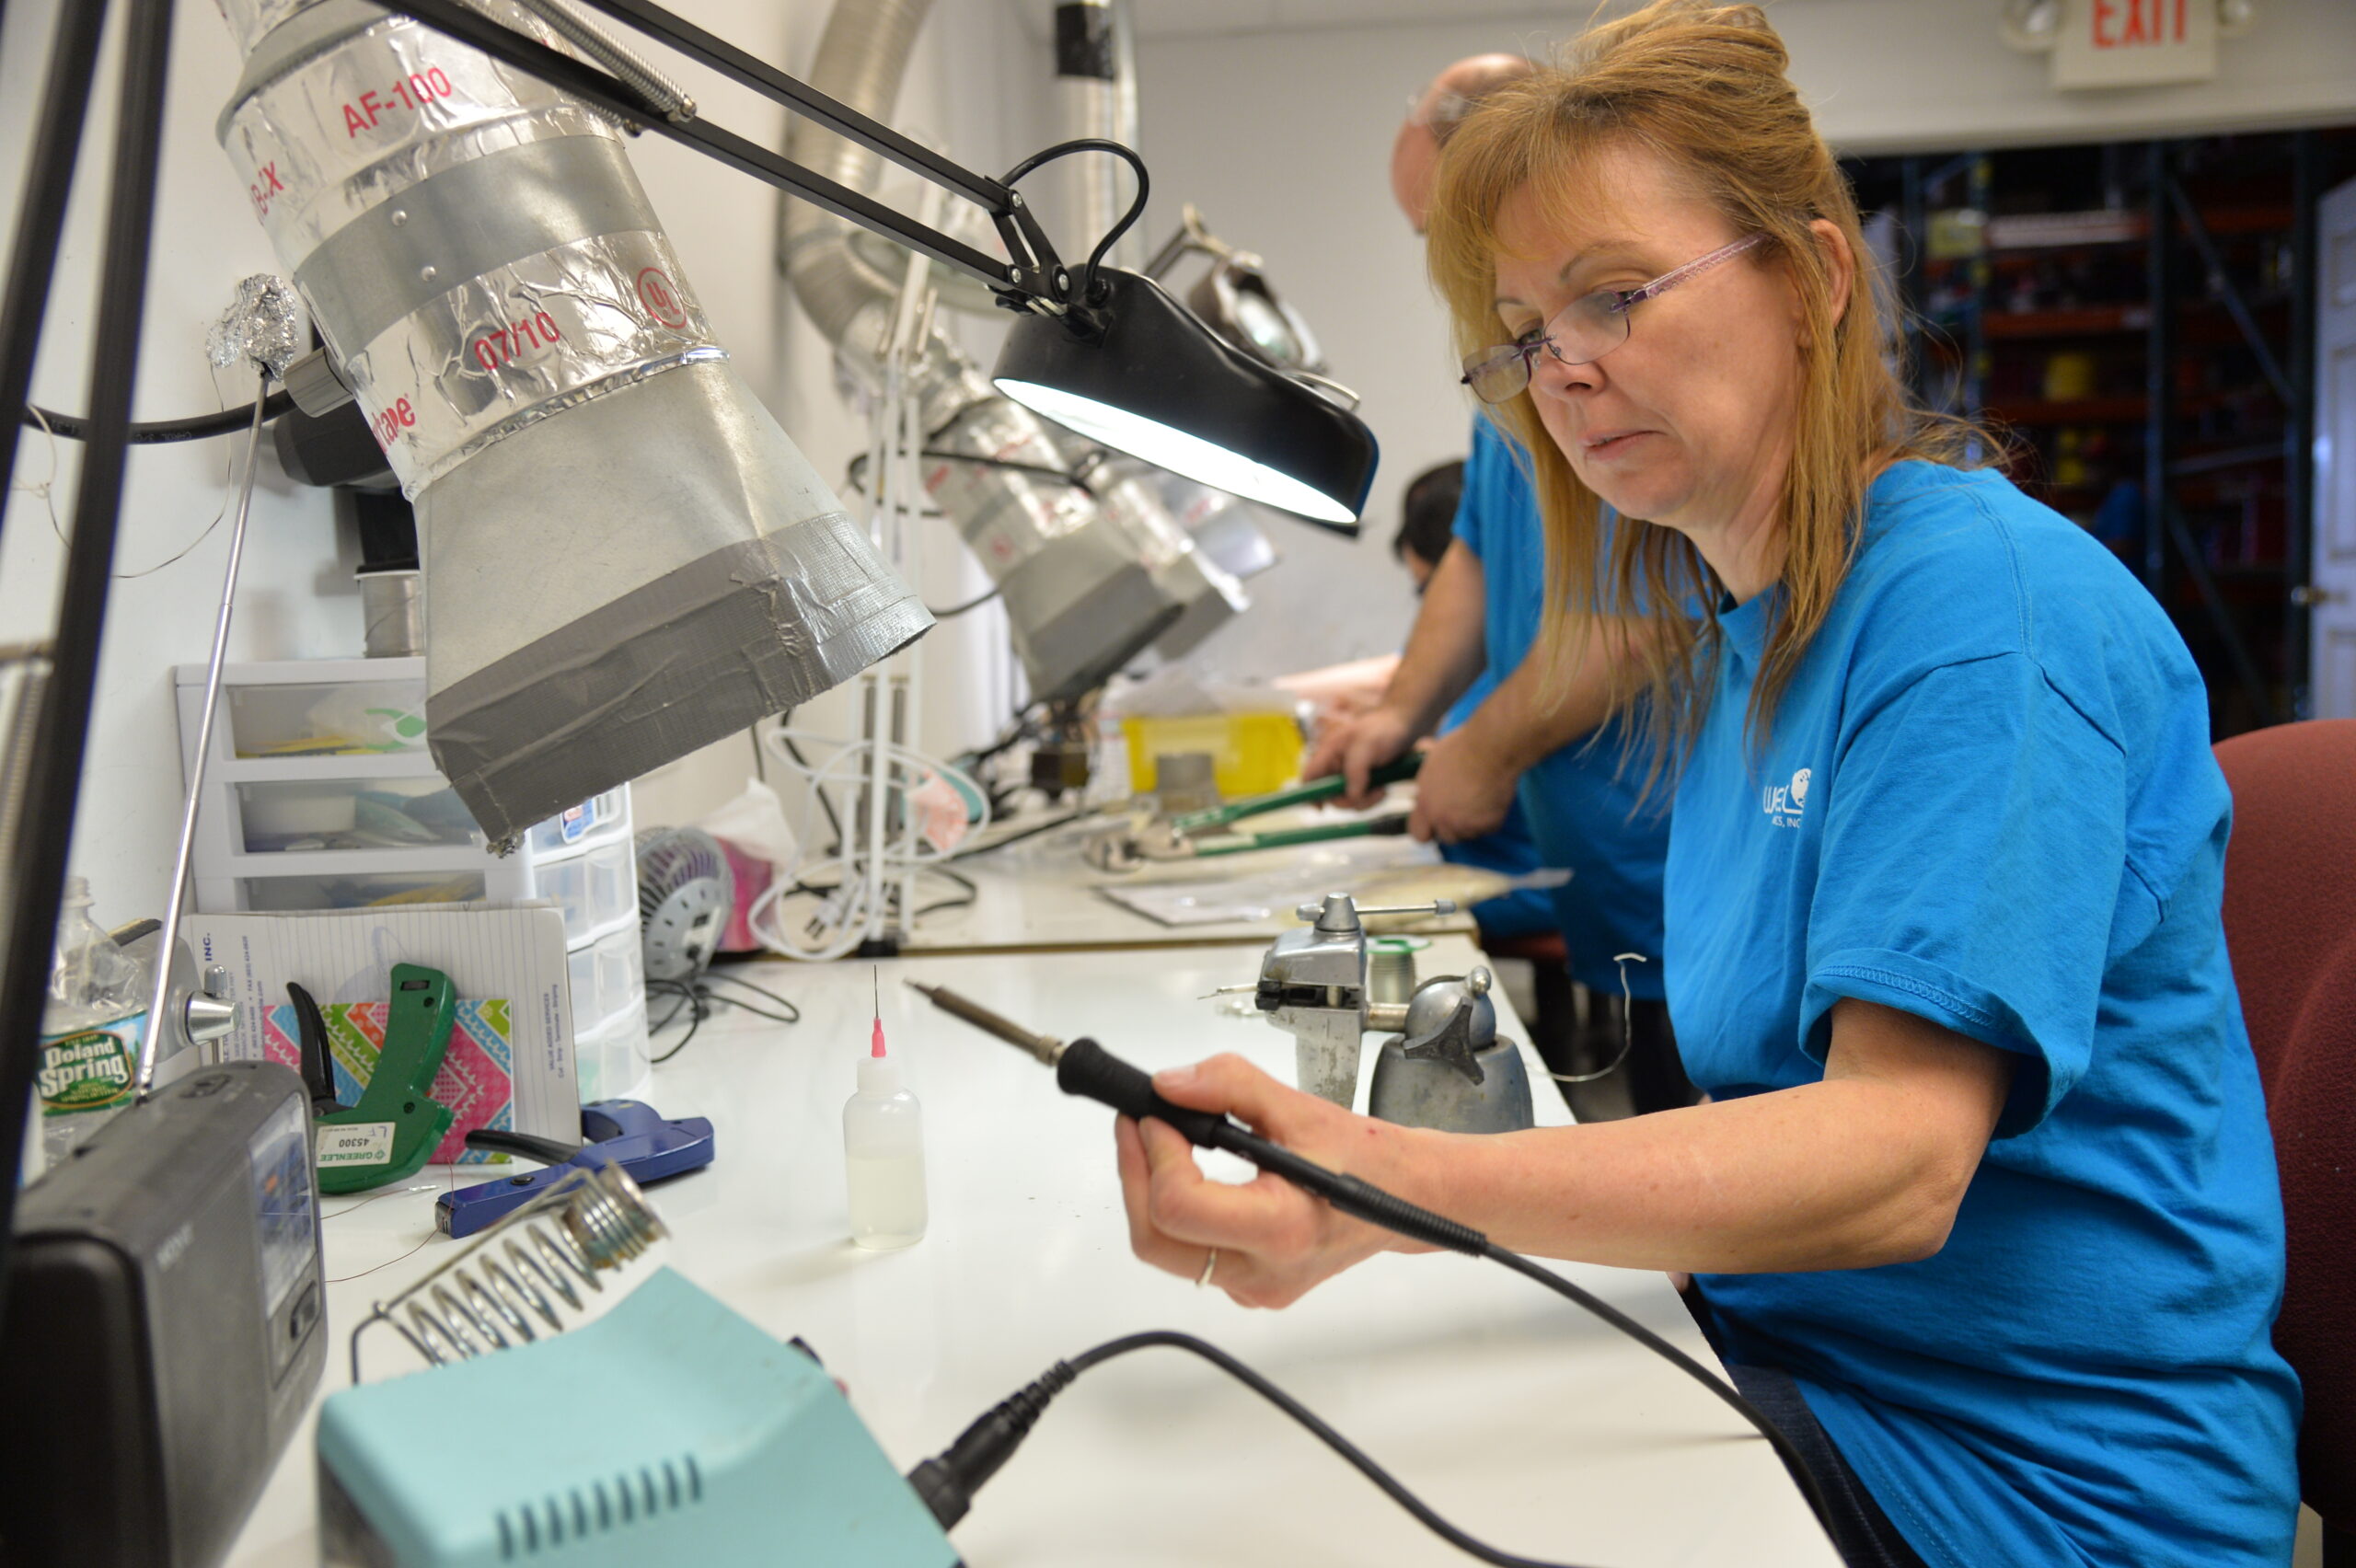
2. Tools and Materials
Here’s a list of essential tools and materials needed for soldering and tin-dipping:
Tools:
- Soldering iron or soldering station: Choose one with adjustable temperature settings (recommended range: 350°C to 400°C for lead solder).
- Solder wire: Typically, a lead-based (60/40) solder or a lead-free solder (depending on regulatory requirements).
- Wire stripper: For removing insulation from wires.
- Helping hands tool or vise: To hold wires or components while soldering.
- Heat gun: For shrinking heat-shrink tubing used for insulation.
- Multimeter: To test for electrical continuity and resistance.
- Tweezers or needle-nose pliers: For handling small wires and components.
- Heat-shrink tubing: For insulating soldered joints.
Materials:
- Lead wires: The wires that will be connected to the components.
- Solder flux: Essential for cleaning and preparing surfaces for soldering.
- Rosin-core solder: Commonly used for electrical work.
- Heat-shrink tubing: To protect and insulate soldered joints.
- Isopropyl alcohol: For cleaning up after soldering.
3. Soldering vs. Crimping: A Brief Comparison
Soldering involves joining metal surfaces by melting a filler metal (solder) between them. It offers:
- Pros: Strong electrical connections, good resistance to environmental stress, and compact joints.
- Cons: Requires skill, can introduce heat stress to components, and takes more time than crimping.
Crimping, on the other hand, mechanically bonds a connector to a wire using pressure:
- Pros: Fast, no heat required, and easy to perform.
- Cons: Not as strong as soldered joints, may degrade over time with vibration or movement.
In many cases, a combination of soldering and crimping can be used for the best results, but for this guide, we will focus on soldering.
4. Soldering and Tinning Process Overview
Let’s dive into the soldering and tinning process for creating a small wire harness.
Step 1: Preparation of Wires
Before soldering, you need to properly prepare the lead wires.
- Cutting the Wires to Length: Measure and cut the lead wires to the desired length for your wire harness layout. Use a pair of sharp wire cutters to get a clean cut.
- Organize the Wires: If you’re working on a small wire harness, make sure to organize the wires by their connection points and group them for easy access during the assembly.
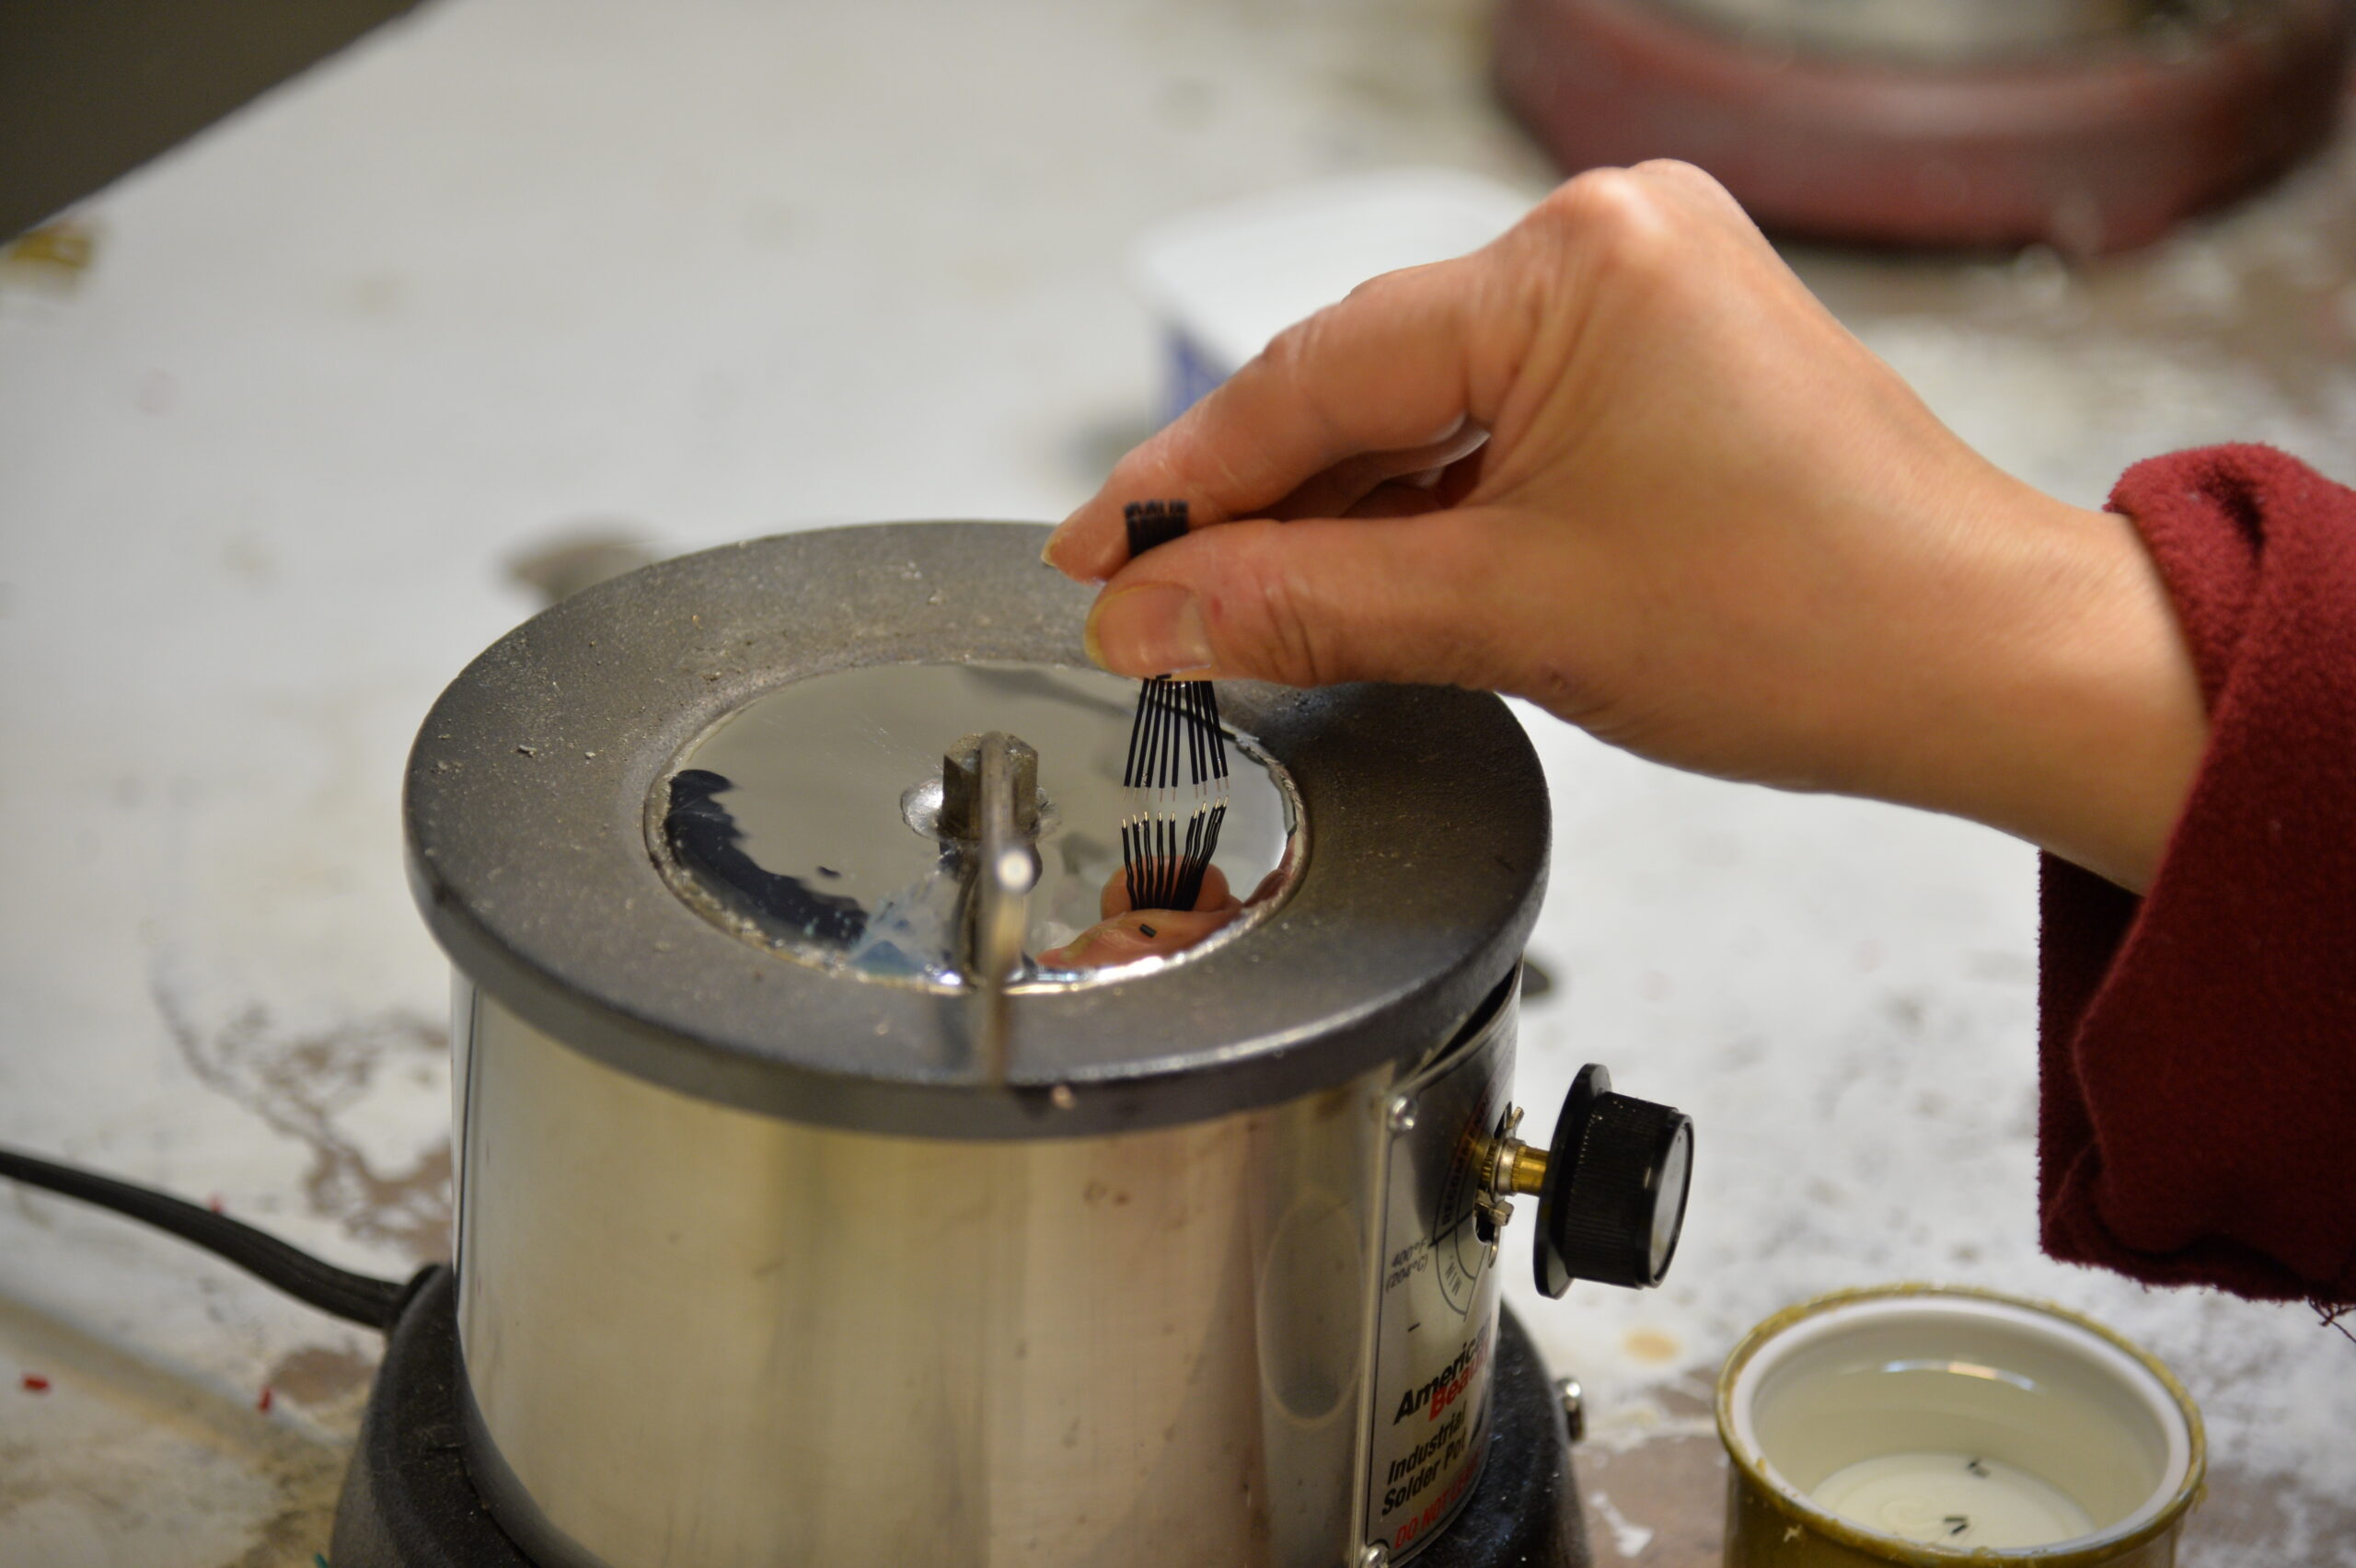
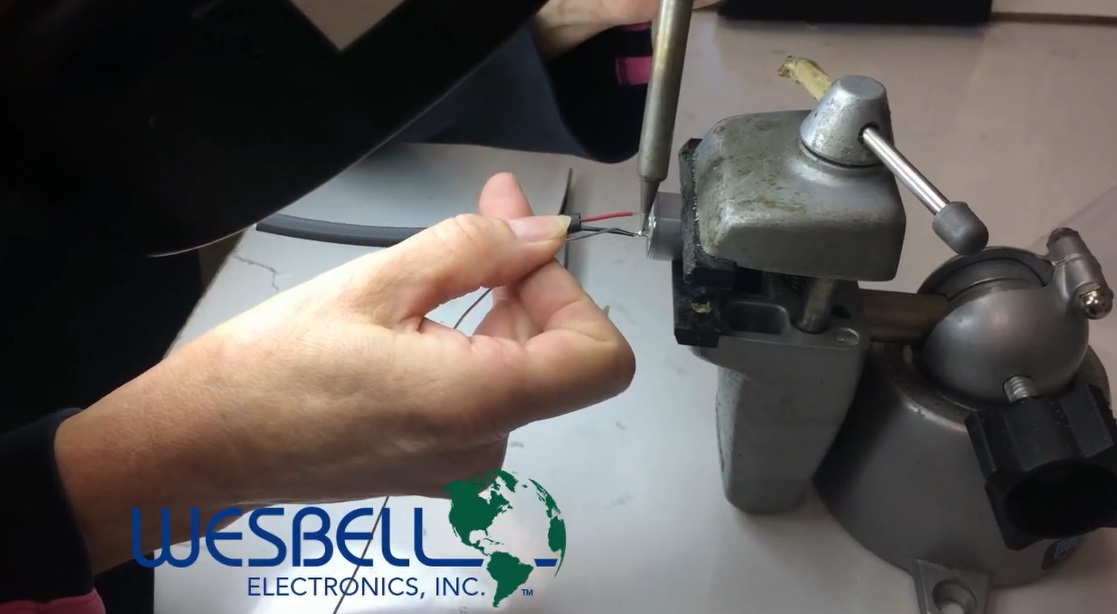
Step 2: Stripping and Tinning the Wires
The process of tinning involves coating the exposed strands of wire with solder to prevent fraying and oxidation, making the wires easier to work with during soldering.
- Strip the Wire: Use a wire stripper to carefully remove about 5-10 mm of insulation from the end of the wire. Make sure not to damage the copper strands.
- Apply Flux: Dip the exposed wire strands in flux, which will clean the metal and help the solder flow smoothly.
- Heat the Wire: Heat the exposed wire with the soldering iron, applying the solder to the wire until it’s fully coated with a thin, shiny layer. This is the tinning process.
Tips:
- Avoid holding the iron on the wire too long to prevent overheating.
- Use rosin-core solder that contains flux to make the tinning process easier.
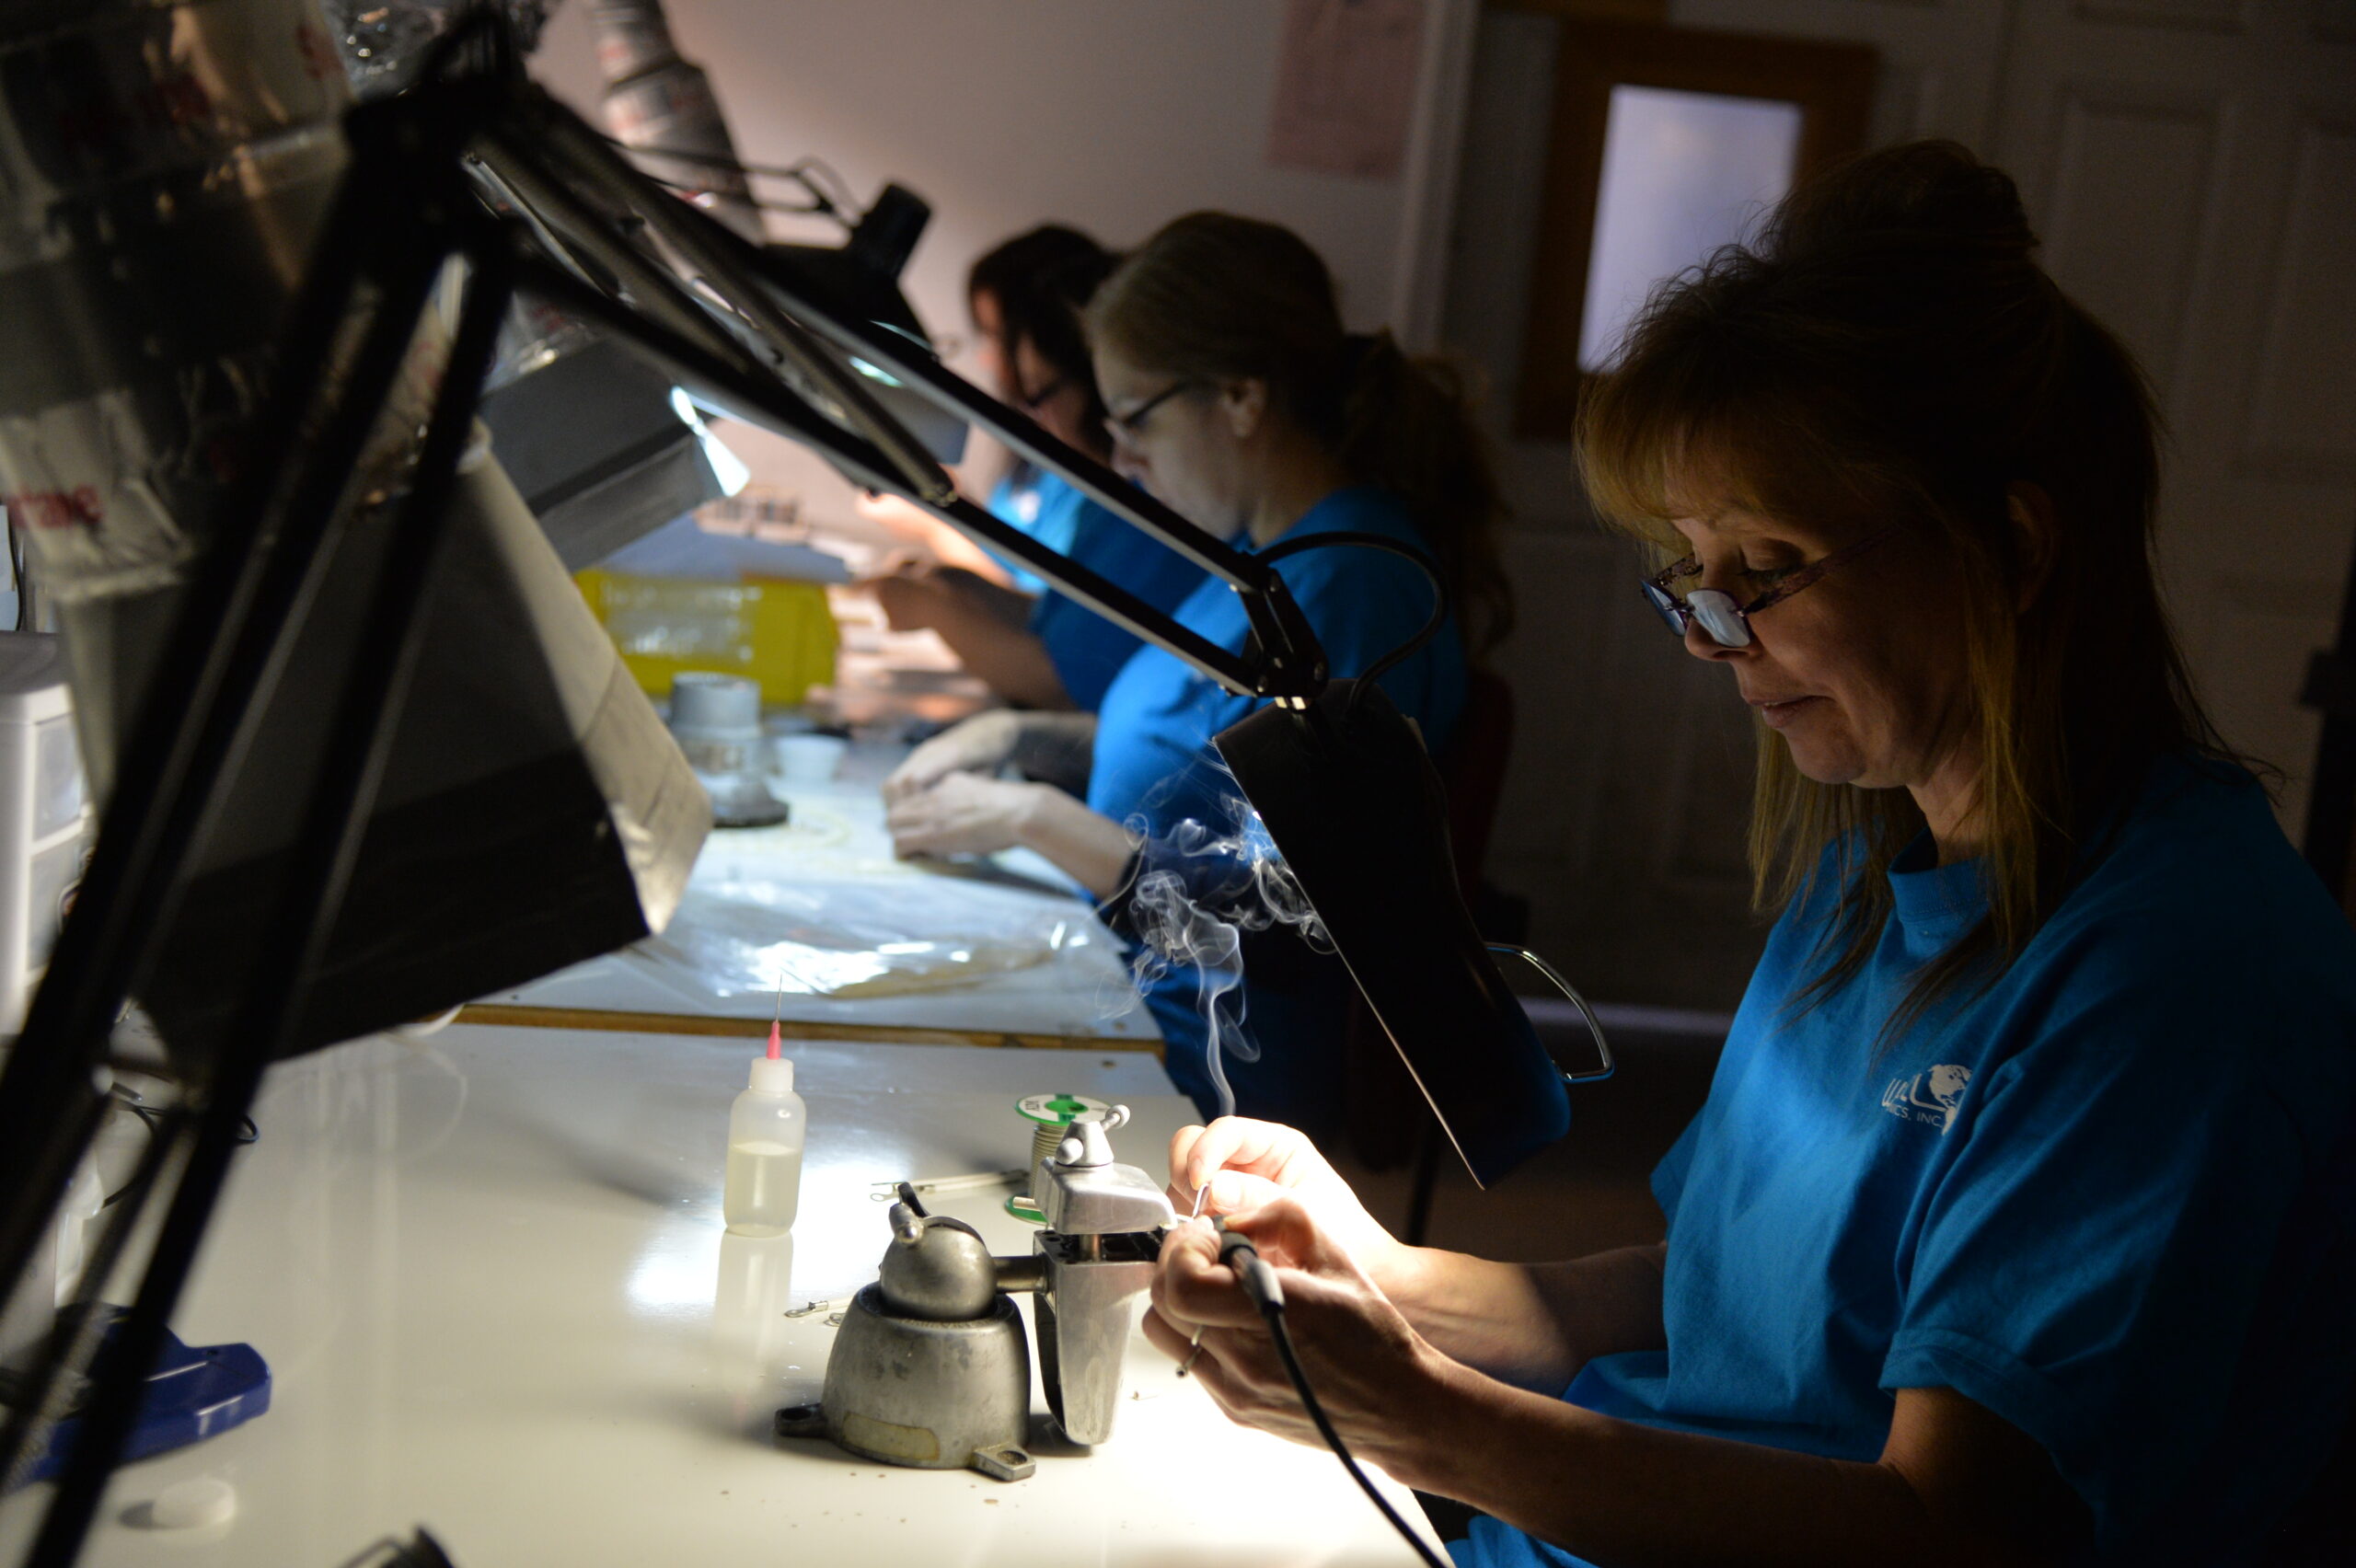
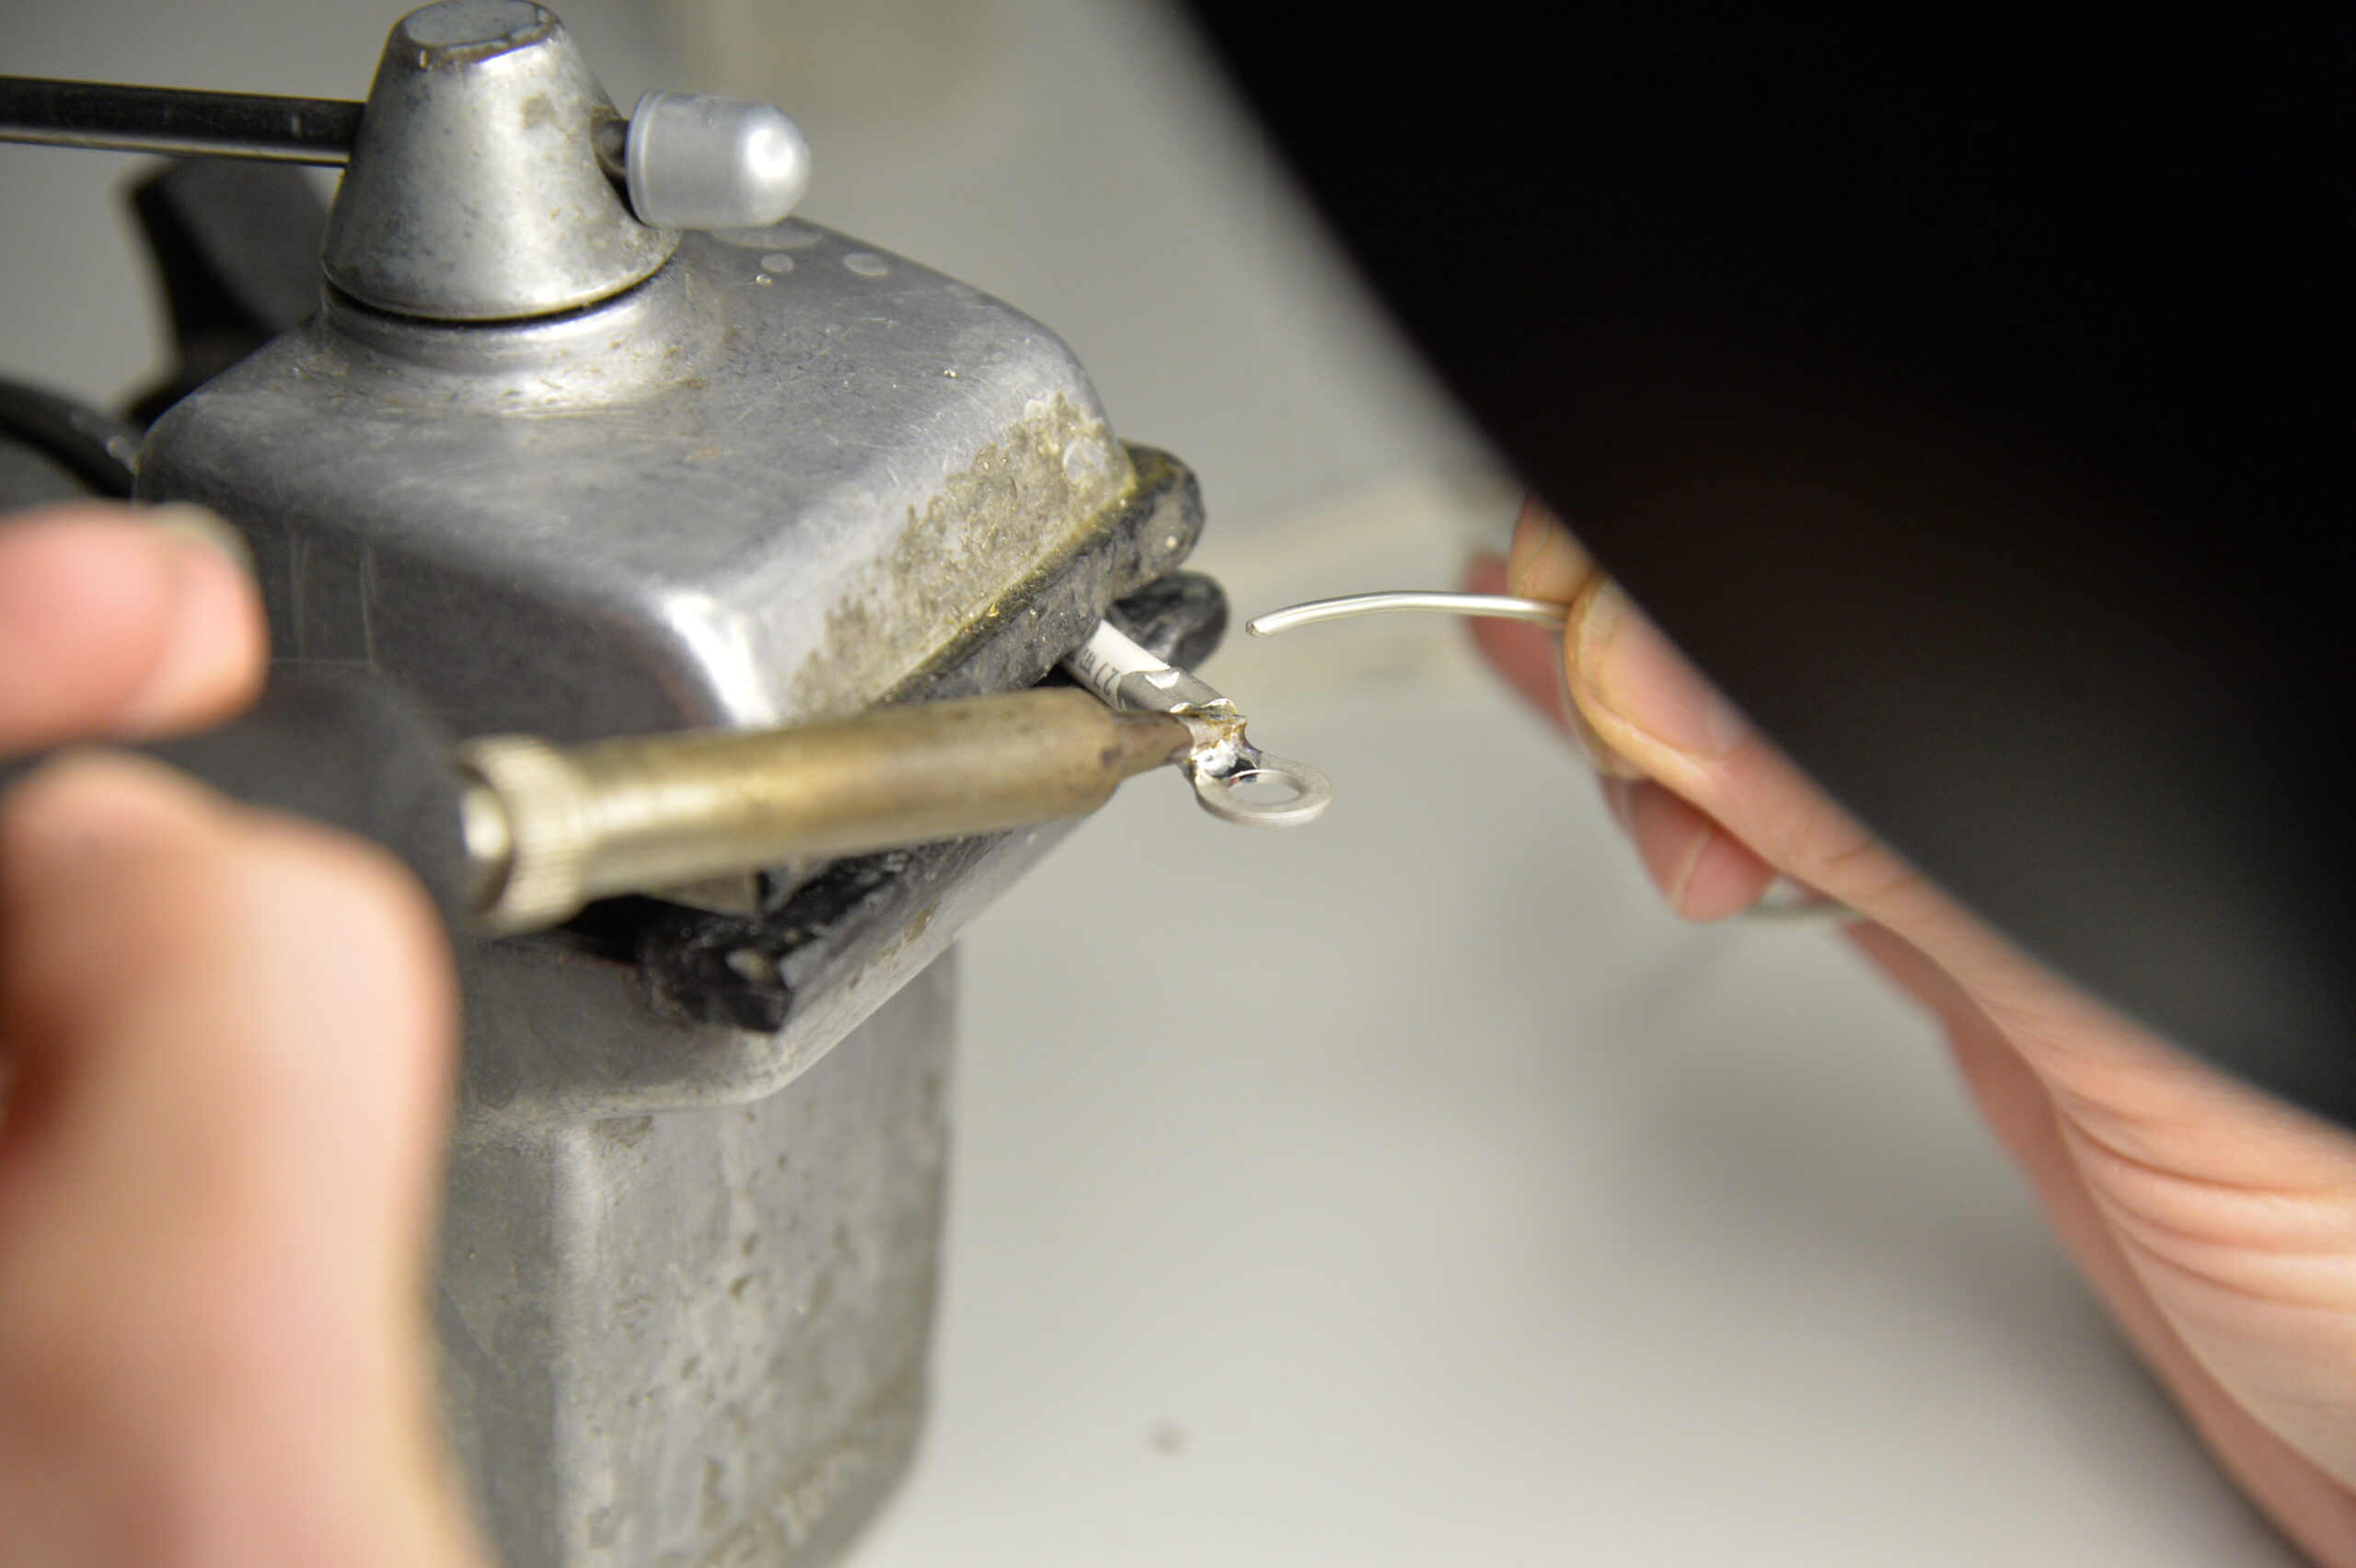
Step 3: Soldering Lead Wires to Components
Once the wires are tinned, you’re ready to solder them to the connectors or other components in your wire harness.
- Tin the Component Leads: If the components (e.g., terminals or connectors) aren’t pre-tinned, you’ll need to apply a small amount of solder to their terminals or pads.
- Join the Wire to the Component: Place the tinned wire against the tinned terminal or pad. Heat the joint with the soldering iron until the solder flows and merges. Avoid excessive solder as it can lead to cold joints or excess resistance.
- Secure the Joint: Remove the soldering iron and allow the joint to cool naturally. You should see a shiny, well-formed joint. A dull or cracked solder joint is a sign of a poor connection.
Tips:
- Use helping hands to keep the wire and the component stable while soldering.
- Always ensure the joint is mechanically stable before applying heat.
Step 4: Heat Shrink and Insulation
After soldering, it’s critical to protect the joints from environmental stress and electrical shorts.
- Apply Heat-Shrink Tubing: Slide the heat shrink tubing over the soldered joint. Use a heat gun to evenly shrink the tubing until it forms a tight seal around the joint.
- Bundle the Wires: Once all the wires are soldered and insulated, use zip ties or electrical tape to neatly bundle the wires according to the harness design.
Tips:
- Choose heat-shrink tubing that is appropriately sized for the wire.
- If the wire harness will be subject to movement or stress, consider using additional insulation or reinforcement around critical joints.
5. Harness Assembly and Layout
At this point, your lead wires should be securely soldered and insulated. Now, you can focus on laying out the wire harness.
- Plan the Harness Layout: Use a schematic or wiring diagram to determine the proper wire routing and connection points. Arrange the wires in a logical and organized manner to minimize interference and stress.
- Secure the Wires: Use wire looms, clips, or zip ties to secure the wires at regular intervals. This will prevent strain on the solder joints and keep the harness tidy.
- Label the Wires: For more complex wire harnesses, it’s helpful to label the wires for easier troubleshooting and maintenance in the future.
6. Testing and Quality Assurance
Once your wire harness is complete, testing and quality assurance are critical to ensure functionality and reliability.
- Continuity Test: Use a multimeter to check for continuity across all soldered joints. If the multimeter shows no resistance, the connection is good.
- Resistance Check: Measure the resistance across the wire harness to ensure that all connections are low-resistance.
- Flex Test: Gently flex and move the wire harness to ensure that no connections break or become loose under slight stress.
Tip: Keep a log of all test results, especially if you’re producing multiple wire harnesses for a project.
7. Soldering Safety
Soldering involves high temperatures and potentially harmful fumes. Here are essential safety precautions to follow:
- Wear Protective Gear: Always wear safety glasses to protect your eyes from solder splashes. Gloves can also protect your hands from heat and flux residue.
- Ventilation: Ensure proper ventilation in your workspace to avoid inhaling fumes, especially if using lead-based solder.
- Work on a Stable Surface: Always solder on a flat, heat-resistant surface to avoid accidents.
- Keep Your Workspace Clean: Avoid clutter around your work area to reduce the risk of accidents.
8. Common Mistakes and How to Avoid Them
Here are some common pitfalls in soldering and wire harness assembly, along with tips to avoid them:
- Cold Solder Joints: This happens when the solder doesn’t melt fully or flows poorly, resulting in a weak connection. Always heat the joint sufficiently before applying solder.
- Overheating Components: Excessive heat can damage both the wires and components. Always limit the time the soldering iron stays in contact with the joint.
- Excess Solder: Too much solder can cause shorts or increase resistance. Use just enough solder to cover the joint smoothly.
- Poor Wire Stripping: If you damage the copper strands while stripping the wire, it will weaken the connection. Always use the correct size of wire stripper and be gentle.
Conclusion
Soldering and tinning lead wires to make a small wire harness is a meticulous process that requires careful preparation, patience, and attention to detail. By following the steps outlined in this guide, you’ll be able to create strong, reliable connections in your wire harness, ensuring both safety and functionality. Whether you’re working on a small DIY project or producing harnesses for professional use, mastering these techniques is essential for a successful outcome.
By practicing and refining your soldering skills, you’ll be able to handle increasingly complex wire harness assemblies with confidence. Always remember to test your work thoroughly, as quality assurance is key to ensuring that your wire harness will function as expected in its intended application.


