
Sep 23, 2024
Removing and Attaching a Welding Cable DINSE Connector
Welding is an essential technique in various industries, and proper cable connections ensure the smooth functioning of welding equipment. One such connection mechanism widely used in modern welding equipment is the DINSE connector. These connectors offer a reliable, quick-connect system that makes it easy to attach and detach welding cables from machines or torches. DINSE connectors are standardized and come in different sizes, suitable for a variety of welding setups. In this comprehensive guide, I will walk you through the detailed process of removing and attaching a DINSE connector to a welding cable.
Understanding the Welding Cable and DINSE Connector
Before diving into the actual process, it’s essential to grasp what a welding cable and a DINSE connector are, as this helps ensure you handle the materials correctly.
Welding Cable
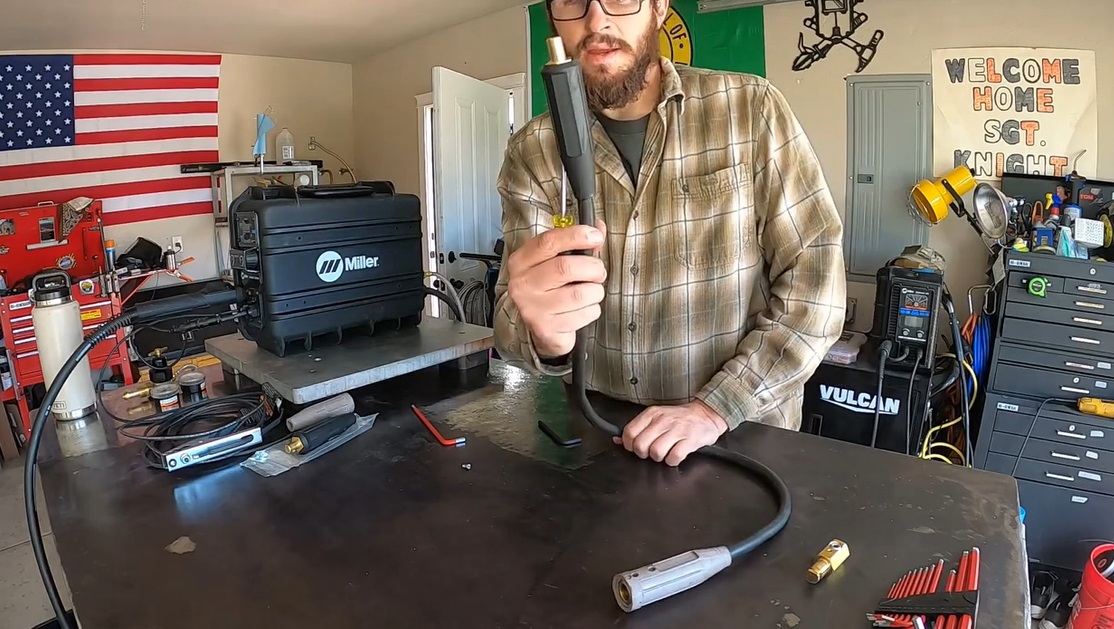
A welding cable is a durable, flexible conductor made of copper or aluminum and insulated with a layer of durable, heat-resistant rubber or PVC. The cable is designed to carry high currents required for welding operations. It’s important to use a welding cable with the correct gauge for the application to avoid overheating or electrical resistance.
DINSE Connector
DINSE connectors are plug-and-socket devices used to join the welding cable to a welding machine or welding torch. They provide a secure, easy-to-use connection and are available in several sizes like 35-50, 50-70, and 70-95, depending on the cable’s amperage capacity. The male and female components of the DINSE system form a twist-lock mechanism that prevents accidental disconnection during welding.
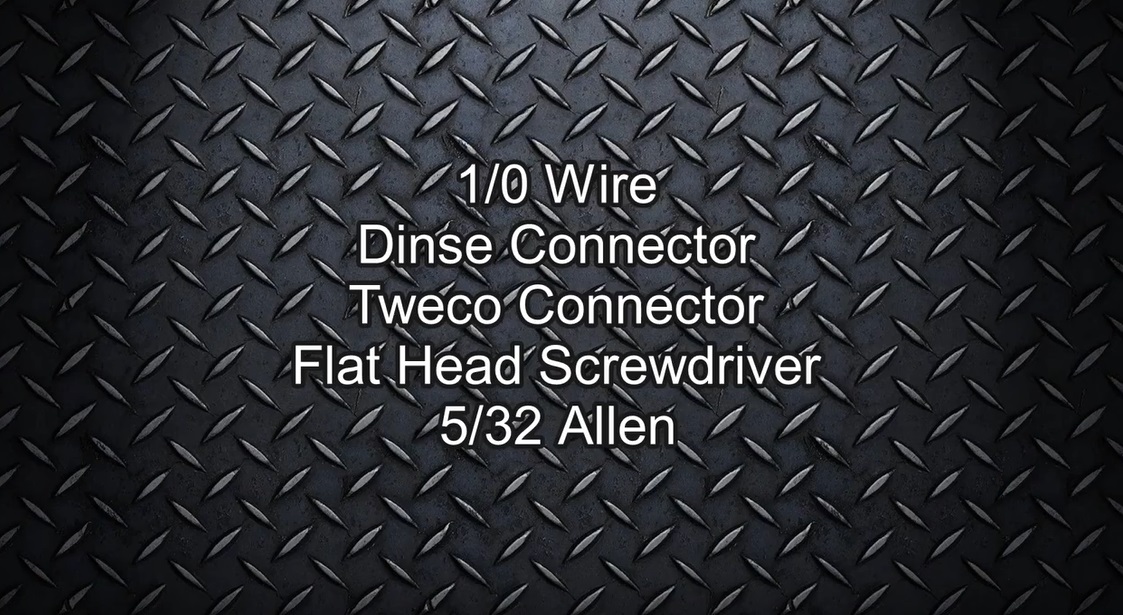
Tools and Materials Needed
To remove and attach a DINSE connector, you will require the following:
- Welding Cable – Ensure the correct cable gauge, typically ranging from 4 AWG to 4/0 AWG.
- DINSE Connector (male and female components)
- Crimping Tool or Lug Crimping Device – For securing the cable to the lug or connector.
- Wire Strippers/Cutters – To strip the insulation from the cable.
- Hex Wrench or Allen Key – Required for loosening or tightening the screws.
- Screwdriver – Depending on the connector model.
- Heat Shrink Tubing – For insulation and protecting the connection.
- Heat Gun – For shrinking the tubing.
- Multimeter – To check the continuity of the connection.
- Personal Protective Equipment (PPE) – Gloves, safety glasses, etc.
Step-by-Step Process for Removing a DINSE Connector
Step 1: Power Off and Disconnect the Equipment
Before handling any electrical components, ensure the welding machine is completely powered off and unplugged from the mains. This eliminates any risk of accidental electrical shock.
Step 2: Inspect the Cable and Connector
Visually inspect the cable and the DINSE connector. Look for signs of wear, damage, or overheating, especially at the connection points. A damaged connector or cable must be replaced to prevent poor electrical contact and performance issues.
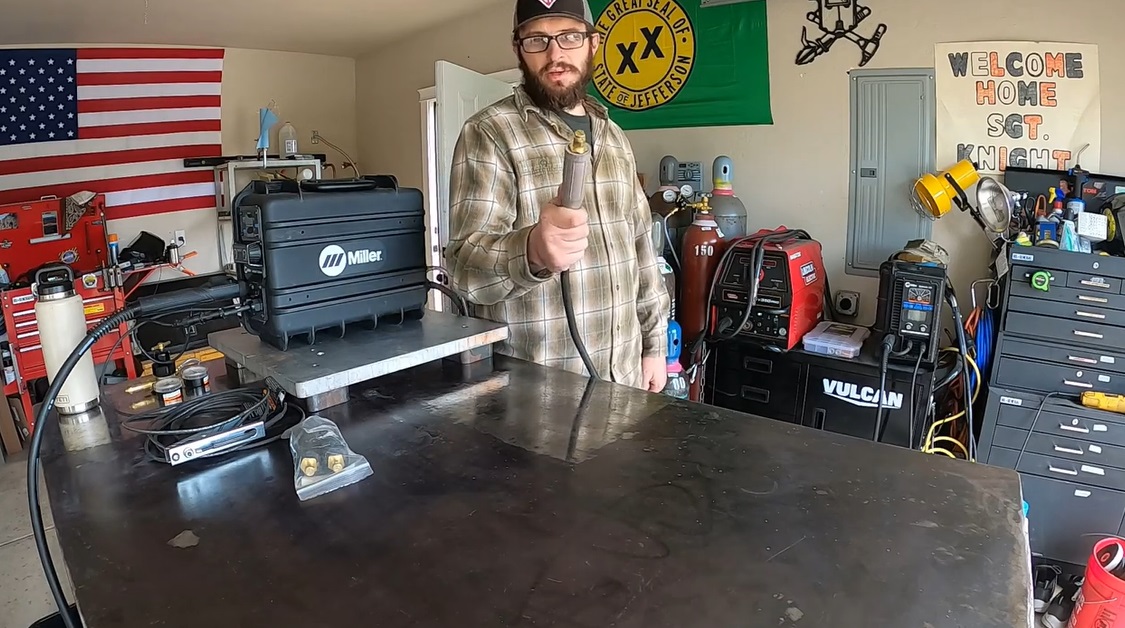
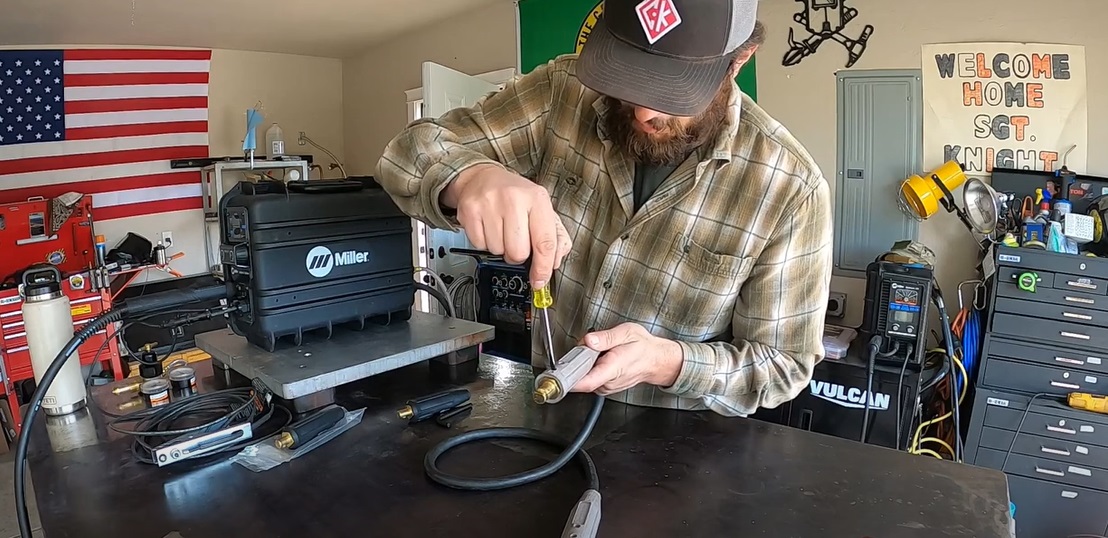
Step 3: Loosen the Securing Screws
Most DINSE connectors have set screws or locking mechanisms that hold the cable in place. Using a hex wrench or screwdriver, loosen the screws that secure the cable to the connector. Be cautious when loosening to avoid damaging the connector.
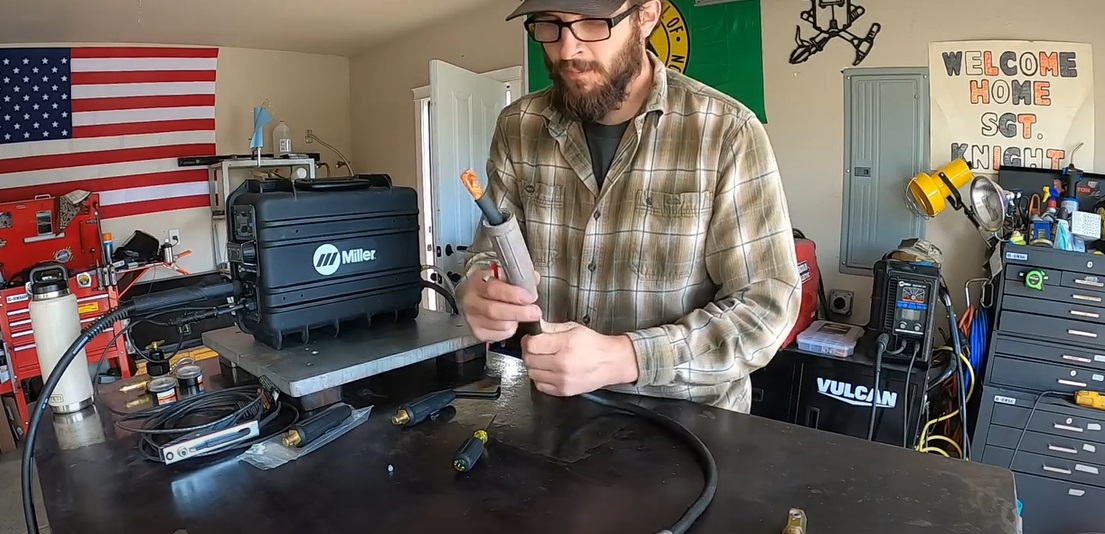
Step 4: Detach the Cable
Once the screws have been loosened, gently pull the cable out of the connector housing. Depending on the type of connector, this step may vary slightly. Some DINSE connectors may have a lug crimped to the cable, while others may have a direct screw-in type connection.
Step 5: Remove Heat Shrink Tubing or Insulation
If heat shrink tubing is used to protect the cable connection, use a knife or scissors to carefully cut the tubing and remove it. Be cautious not to cut into the cable insulation itself.
Step 6: Inspect the Cable End
Once the cable is disconnected from the DINSE connector, inspect the stripped end of the cable for wear or corrosion. If the cable end is damaged, it may need to be cut off and re-stripped before re-attaching a new connector.
Step-by-Step Process for Attaching a DINSE Connector
Step 1: Select the Correct DINSE Connector
Choose the right DINSE connector size based on the diameter and current rating of your welding cable. The DINSE connector should correspond to the cable gauge you are using (e.g., 35-50 for 4 AWG cable, 50-70 for 1/0 cable, etc.).
Step 2: Strip the Cable
Using wire strippers or a sharp utility knife, carefully strip about 1 inch (25 mm) of insulation from the end of the welding cable. Be cautious to avoid cutting the copper or aluminum strands. If the cable has multiple layers of insulation, ensure that only the outermost layer is removed, leaving the conductor exposed.
Step 3: Attach a Cable Lug (if applicable)
For some DINSE connectors, the cable end is crimped into a copper lug before being inserted into the connector. Using a crimping tool, place the stripped cable end into the lug and compress it until a secure crimp is achieved. Ensure the lug fits properly into the DINSE connector socket.
Step 4: Insert the Cable into the DINSE Connector
Slide the prepared cable end into the DINSE connector’s contact sleeve. If the connector uses a set screw design, ensure the copper conductor is properly seated in the connector. Tighten the screws or the locking mechanism securely, making sure that the cable remains firmly in place.
Step 5: Apply Heat Shrink Tubing
To provide additional insulation and strain relief, slide a heat shrink tube over the cable before inserting it into the connector. Once the cable is secured in place, slide the heat shrink tubing over the joint where the cable meets the DINSE connector. Use a heat gun to shrink the tubing, creating a tight, protective seal.
Step 6: Test the Connection
After securing the connection and applying insulation, it’s important to test the connection with a multimeter to ensure proper continuity and electrical flow. Set the multimeter to continuity mode and place the probes on each end of the cable (or connector). A consistent reading indicates a secure electrical connection.

Tips for Proper DINSE Connector Installation
- Ensure Proper Cable Gauge: Always use the correct cable gauge to prevent overheating or poor performance. Using too thin a cable can cause voltage drops, while an overly thick cable can make handling difficult.
- Tighten Screws Firmly: A loose connection between the cable and the DINSE connector can lead to arcing or heat buildup, which could cause the cable or connector to fail. Ensure all screws are tightened securely but avoid overtightening, which could strip the screw threads or damage the connector.
- Use Heat Shrink for Extra Insulation: Always use 2:1 polyolefin heat shrink tubing over the connection point to prevent accidental exposure to live conductors and to provide strain relief, increasing the longevity of the connection.
- Inspect Regularly: After installation, regularly check the DINSE connector and cable for signs of wear, loosening, or damage. This will help identify potential problems early, preventing costly repairs or safety hazards.
Common Issues and Troubleshooting
Overheating of the DINSE Connector
Overheating often results from poor connections or undersized cables. Ensure that all connections are tight, the correct cable gauge is used, and the DINSE connector matches the cable’s current rating.
Intermittent Connections
If the welding machine is cutting in and out or the arc is unstable, check for loose connections within the DINSE connector or cable lugs. Retighten any loose components and check for signs of corrosion.
Damaged or Worn Cables
Cables that are kinked, cut, or frayed near the connector need to be replaced or repaired. Never use a damaged cable, as it could lead to electrical shorts or fires.
Conclusion
Attaching and removing a welding cable DINSE connector is a straightforward but critical task that directly impacts the safety, performance, and durability of your welding setup. By following the steps outlined in this guide and adhering to best practices such as using the correct tools, ensuring proper cable gauge, and testing connections, you can maintain a reliable and secure electrical connection for your welding operations.
Regular inspections and proper care will prolong the life of both the cable and the connector, reducing downtime and avoiding potential hazards in the workplace. Whether you are a seasoned welder or a novice, understanding how to properly handle DINSE connectors is an essential skill in the world of welding.


