
Sep 7, 2024
How to Install a Tesla Charger (DIY Electrical Wiring Guide)
Wiring a Tesla charger using 8 AWG THHN wire requires attention to detail, knowledge of electrical codes, and proper installation techniques. This guide will walk you through the process, covering everything from planning to safety considerations. Whether you’re a DIY enthusiast or a seasoned electrician, these instructions will help ensure a successful installation.
Understanding the Basics
What You Need
- Tesla Wall Connector: The Tesla Wall Connector is designed for home installation, providing faster charging than a standard outlet.
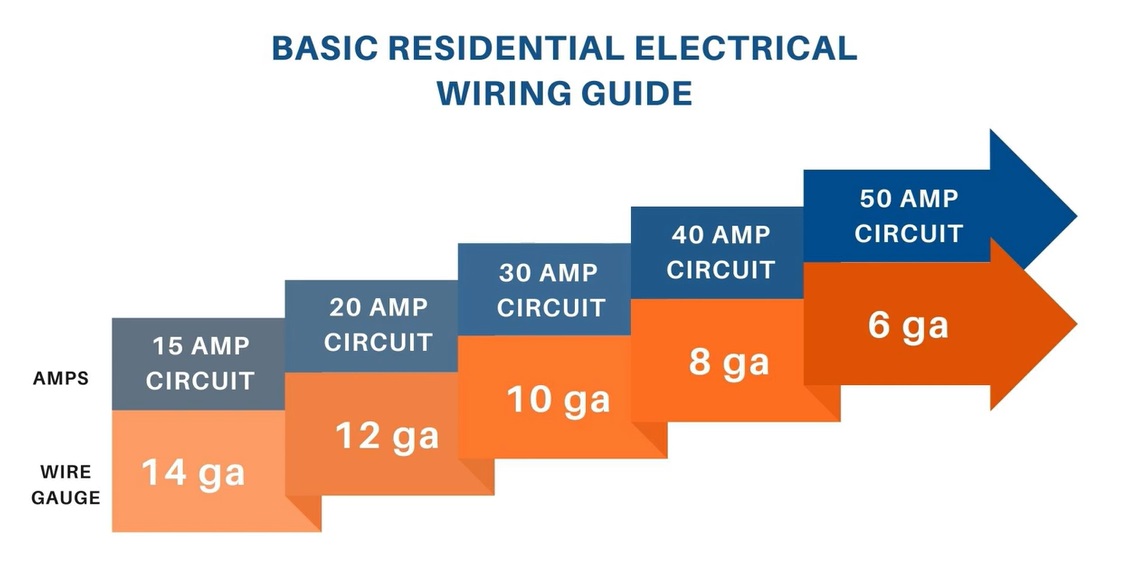
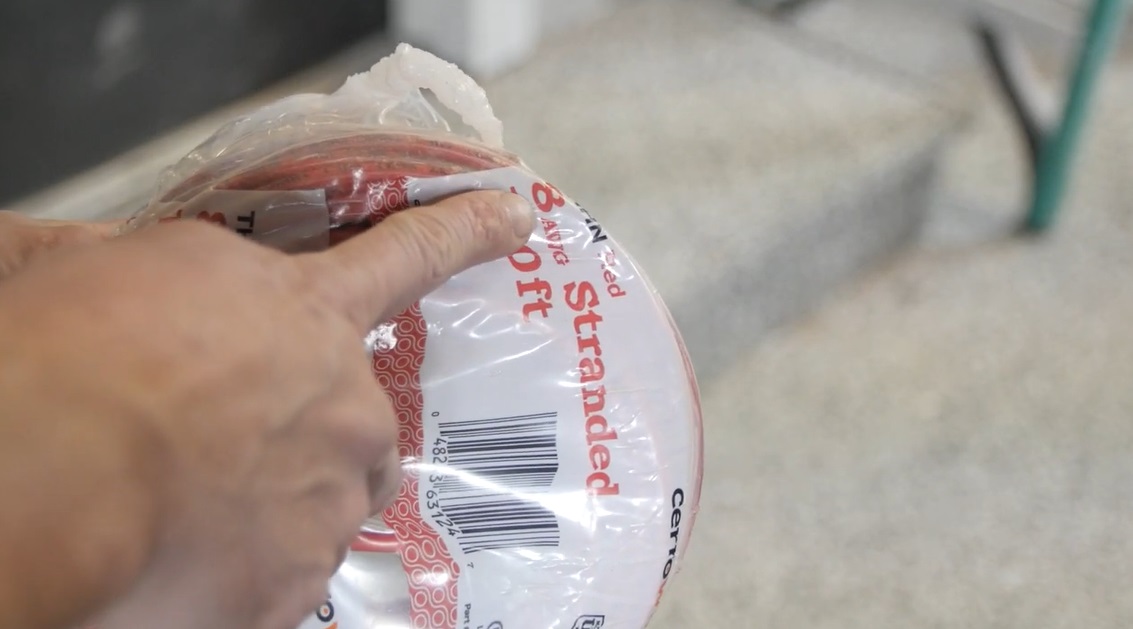
- 8 AWG THHN Wire: THHN (Thermoplastic High Heat-Resistant Nylon-coated) wire is commonly used for residential and commercial wiring. The 8 AWG (American Wire Gauge) size is appropriate for carrying the necessary current.
- Electrical Conduit: For protecting the THHN wire, you’ll need conduit, either rigid metal, EMT (electrical metallic tubing), or PVC (polyvinyl chloride), depending on local codes and the environment where you’re installing it.
- Circuit Breaker: A 60-amp breaker is typically used for this application, but it may vary based on your specific installation and local code requirements.
- Disconnect Switch: Depending on your local electrical code, you may need to install a disconnect switch near the charger.
- Tools: Wire stripper, conduit bender, drill, fish tape, voltage tester, and screwdrivers.
Understanding the Electrical Requirements
Before you start, it’s important to understand the electrical requirements for the Tesla charger:
- Voltage: The Tesla Wall Connector typically operates at 240 volts.
- Current: Depending on your charger and settings, it can draw between 32 to 60 amps. The 8 AWG wire is rated to handle up to 55 amps, so ensure that your setup matches this requirement. If the charger draws more than 55 amps, you may need to upgrade to 6 AWG wire.
- Distance: Consider the distance between the breaker panel and the charging location. Voltage drop over long distances can impact performance. For runs longer than 100 feet, consult the NEC (National Electrical Code) to determine if a larger wire size is necessary.
Step-by-Step Installation Guide
1. Planning and Preparation
Before starting the installation, you’ll need to plan the wiring route and gather the necessary permits and approvals. Here’s how to go about it:
- Assess the Location: Choose a location near your parking area, keeping in mind the reach of the charging cable. Ensure the wall is strong enough to support the charger.
- Plan the Route: Determine the path from the breaker panel to the charger. This will include running conduit through walls, attics, basements, or along the exterior of your home.
- Obtain Permits: In most jurisdictions, a permit is required for electrical work. Check with your local building department for requirements.
- Check Local Codes: Adhere to local building and electrical codes, which may vary. National codes like the NEC should be followed, but local amendments may apply.
2. Installing the Circuit Breaker
You’ll start by installing the appropriate circuit breaker in your electrical panel. Here’s how:
- Turn Off the Main Power: Safety first! Ensure the main breaker is off before working in the panel.
- Choose the Right Breaker: Select a breaker that matches the requirements of your charger. For most Tesla Wall Connectors, a 60-amp double-pole breaker is recommended.
- Install the Breaker: Remove a knockout from the panel, snap the breaker into place, and connect it to the bus bar. Ensure that it’s securely fastened and that the connections are tight.
3. Running the Conduit and Wire
This step involves running the conduit from the breaker panel to the charging location, pulling the wire through, and making the necessary connections.
- Measure and Cut Conduit: Measure the distance along the planned route and cut the conduit to size. Remember to account for bends and fittings.
- Bend the Conduit: Use a conduit bender to make the necessary bends. Ensure that the bends are smooth and within code limits.
- Install the Conduit: Secure the conduit to walls, ceilings, or other surfaces using appropriate brackets. Ensure it is level and straight.
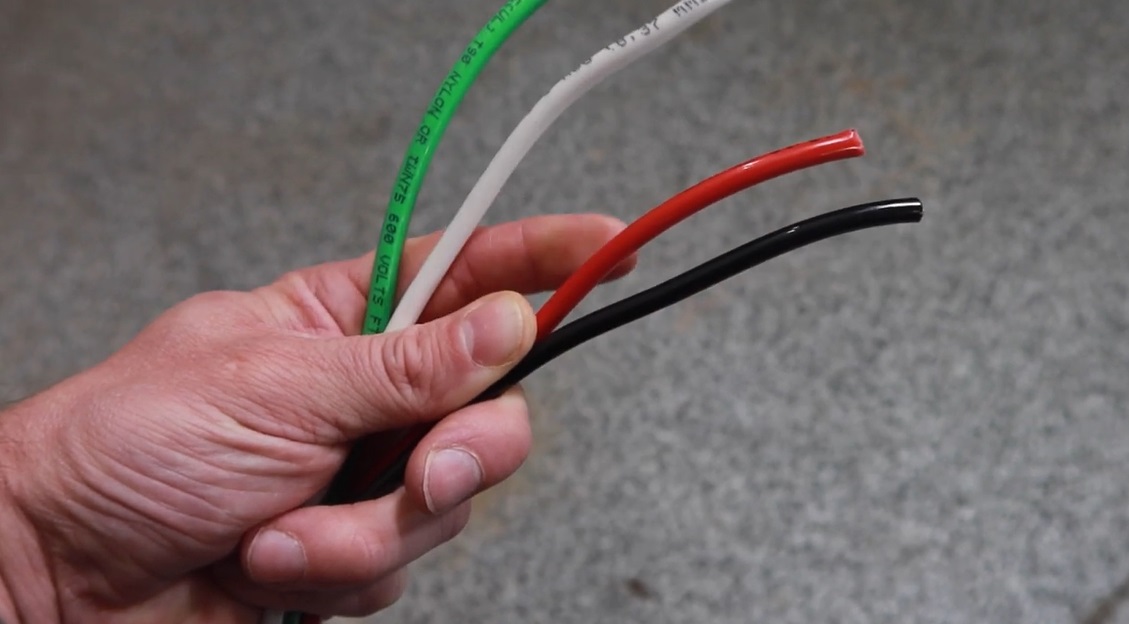
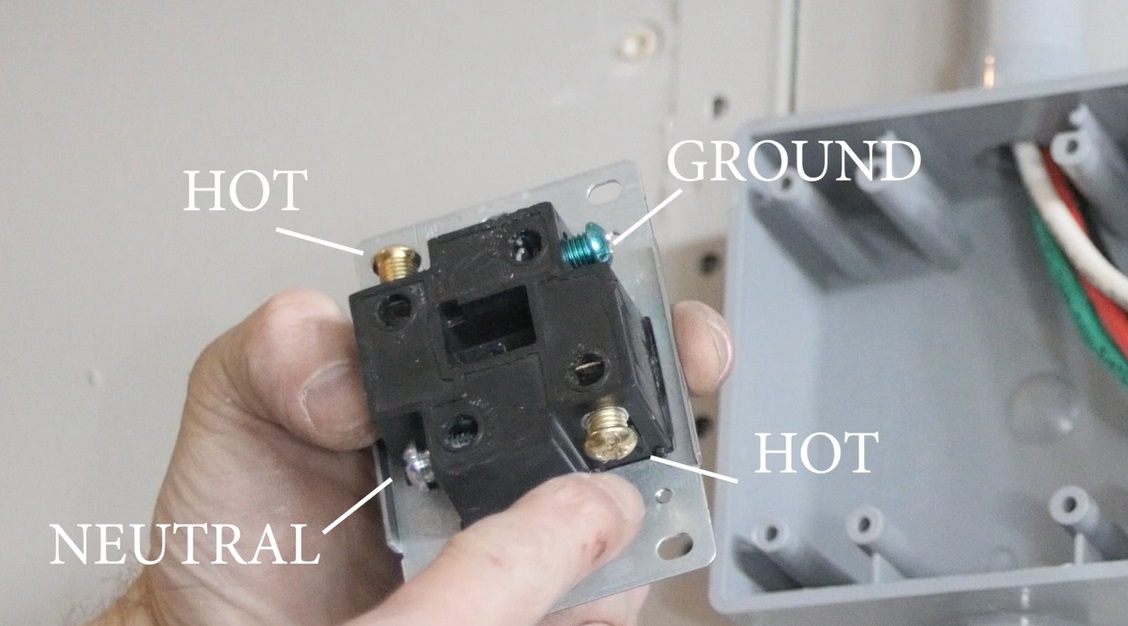
- Pull the Wire: Use fish tape to pull the 8 AWG THHN wire through the conduit. For a Tesla charger, you’ll typically need three wires: two hot wires (black and red), a neutral wire (white), and a ground wire (green or bare). Ensure the wire is rated for the conduit fill capacity.
4. Wiring the Tesla Charger
With the conduit and wire in place, you can now connect the wire to the Tesla Wall Connector.
- Mount the Charger: Follow the manufacturer’s instructions to mount the charger to the wall. Use appropriate anchors and ensure it is level.
- Connect the Wires: Open the charger’s terminal box and connect the wires. The black and red wires go to the L1 and L2 terminals, the white wire to the neutral terminal, and the ground wire to the ground terminal. Make sure all connections are tight and secure.
- Close the Terminal Box: Once the connections are made, close the terminal box and ensure that all seals and gaskets are in place to protect against the elements.
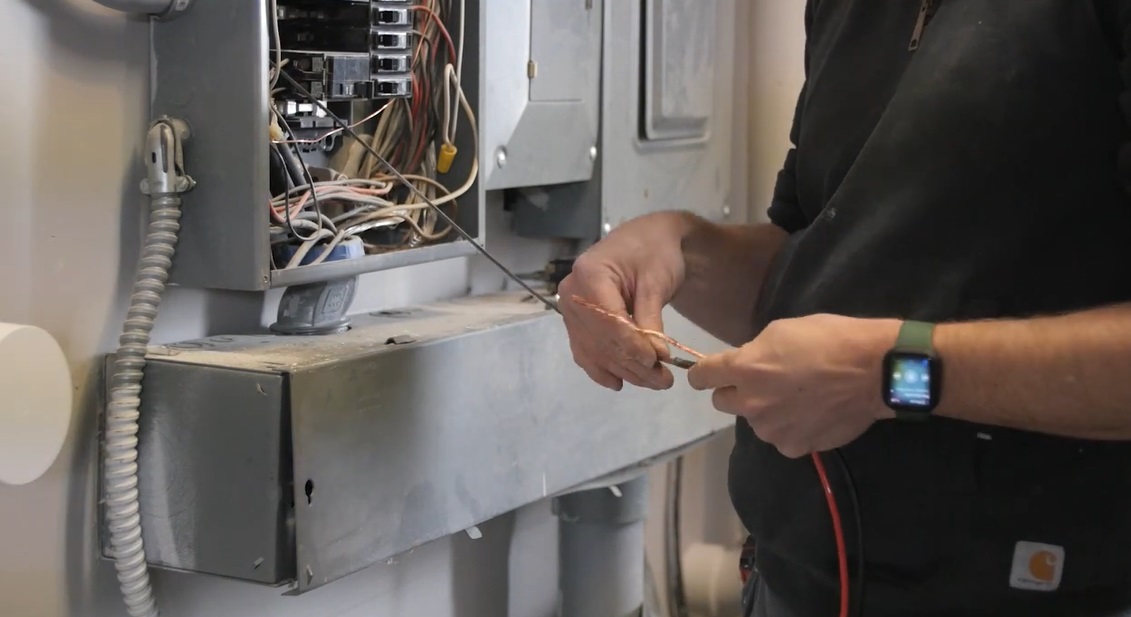
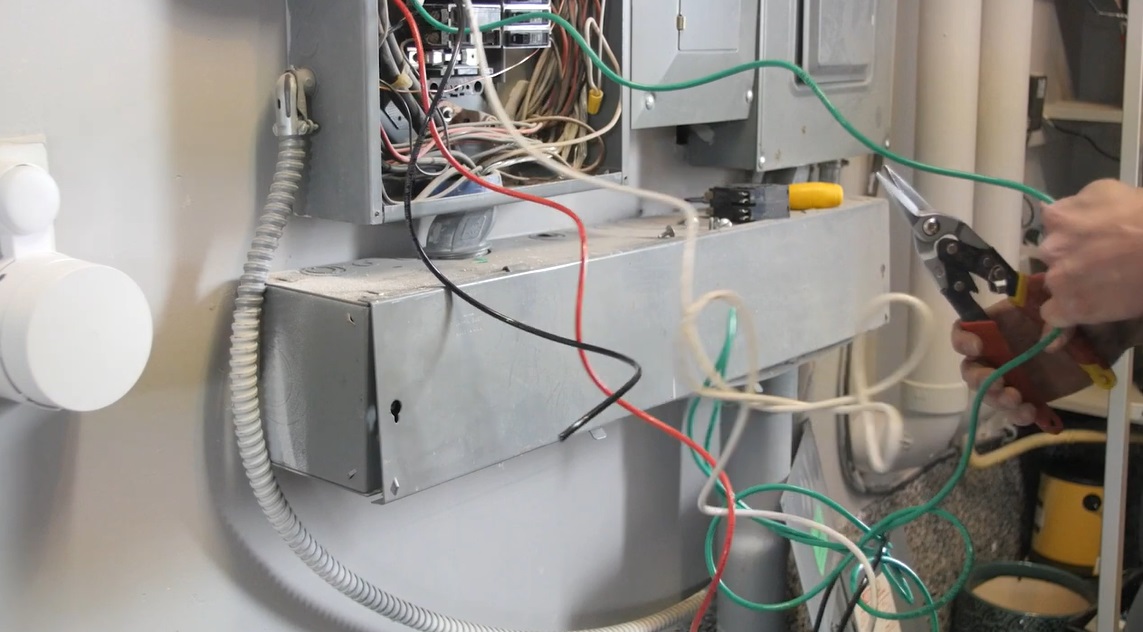
5. Connecting to the Breaker Panel
The final step involves connecting the wire at the breaker panel.
- Connect the Hot Wires: Attach the black and red wires to the breaker terminals. Ensure a secure connection and that the wires are properly seated.
- Connect the Neutral Wire: Connect the white wire to the neutral bus bar.
- Connect the Ground Wire: Attach the green or bare ground wire to the ground bus bar.
- Double-Check All Connections: Ensure all connections are tight, and there are no loose wires or exposed conductors.
6. Testing and Final Checks
Before turning on the power, a few final checks are in order:
- Inspect the Installation: Look over the entire installation, ensuring all connections are secure and the conduit is properly installed.
- Check Grounding: Verify that the system is properly grounded, as this is critical for safety.
- Turn On the Power: With everything in place, turn on the main breaker, followed by the Tesla charger breaker. Use a voltage tester to confirm that power is reaching the charger.
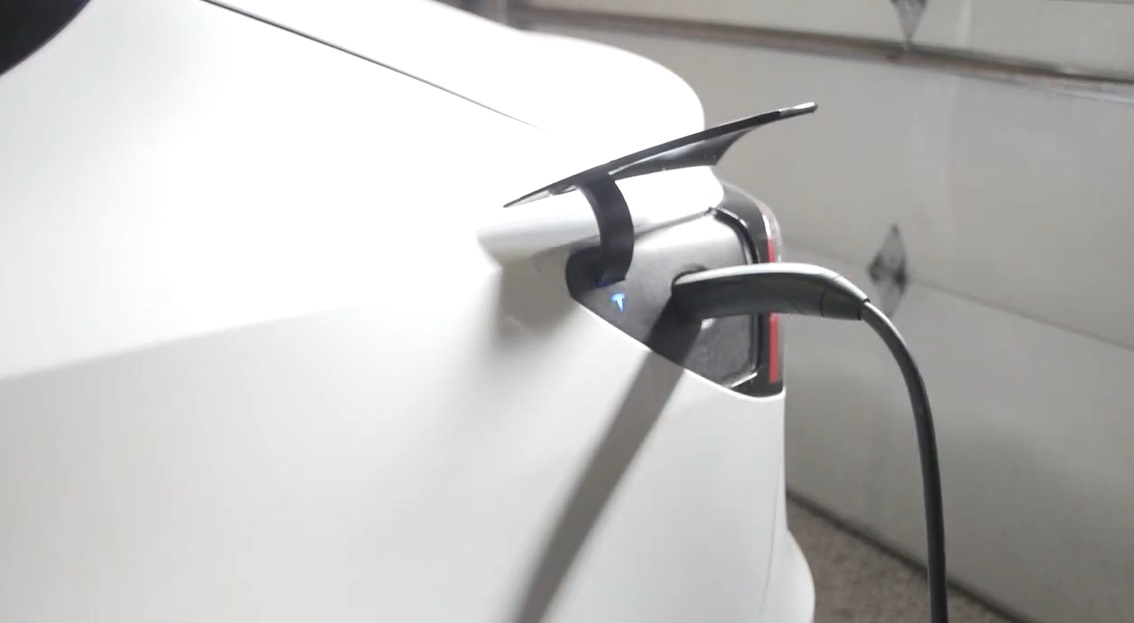
- Test the Charger: Plug in your Tesla and monitor the charging process. Check for any error codes or issues. The charging process should begin smoothly.
Safety Considerations
Wiring a Tesla charger is a serious electrical project that must be done correctly to ensure safety and compliance with local codes. Here are some key safety tips:
- Turn Off the Power: Always turn off the power at the main panel before starting any electrical work.
- Use Proper Tools: Ensure you have the right tools for the job, including insulated tools for working with electrical wiring.
- Follow the Code: Adhere strictly to the NEC and any local amendments. This ensures your installation is safe and legal.
- Hire a Professional if Needed: If you’re not confident in your abilities, hire a licensed electrician. They have the experience and knowledge to handle the job safely.
Troubleshooting and Common Issues
After installation, you may encounter a few issues. Here’s how to address some common problems:
- Charger Not Powering On: Double-check all connections, ensure the breaker is on, and verify that power is reaching the charger.
- Slow Charging: This could be due to a voltage drop, especially if the distance from the panel to the charger is long. Check the wire size and connections.
- Error Codes: Tesla chargers provide diagnostic codes if something goes wrong. Refer to the charger’s manual for troubleshooting specific codes.
Conclusion
Wiring a Tesla charger using 8 AWG THHN wire is a manageable project for those with some electrical wiring experience. By following these detailed steps, you can ensure a safe and efficient installation that will provide reliable charging for your Tesla. Remember to prioritize safety, follow local codes, and seek professional help if needed. With careful planning and execution, you’ll soon enjoy the convenience of charging your Tesla at home.


