
Sep 25, 2024
How to Cut, Strip, Tin and Twist PVC Lead Wires (UL1007 and UL1015)
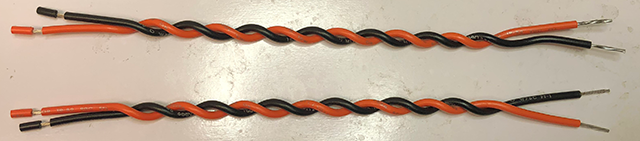
Cutting, stripping, tinning, and twisting PVC lead wires is an essential skill in electrical work, electronics, and various industries that deal with wiring. Properly preparing lead wires ensures secure connections, reliable electrical performance, and enhanced safety in applications. This guide will cover in detail the tools, materials, and techniques required to perform these tasks effectively on PVC-insulated wires.
Table of Contents:
- Overview of PVC Lead Wires
- Tools and Materials Required
- Cutting PVC Lead Wires
- Stripping PVC Insulation
- Twisting Wires
- Tinning Wires
- Best Practices and Tips
- Safety Considerations
- Conclusion
1. Overview of PVC Lead Wires
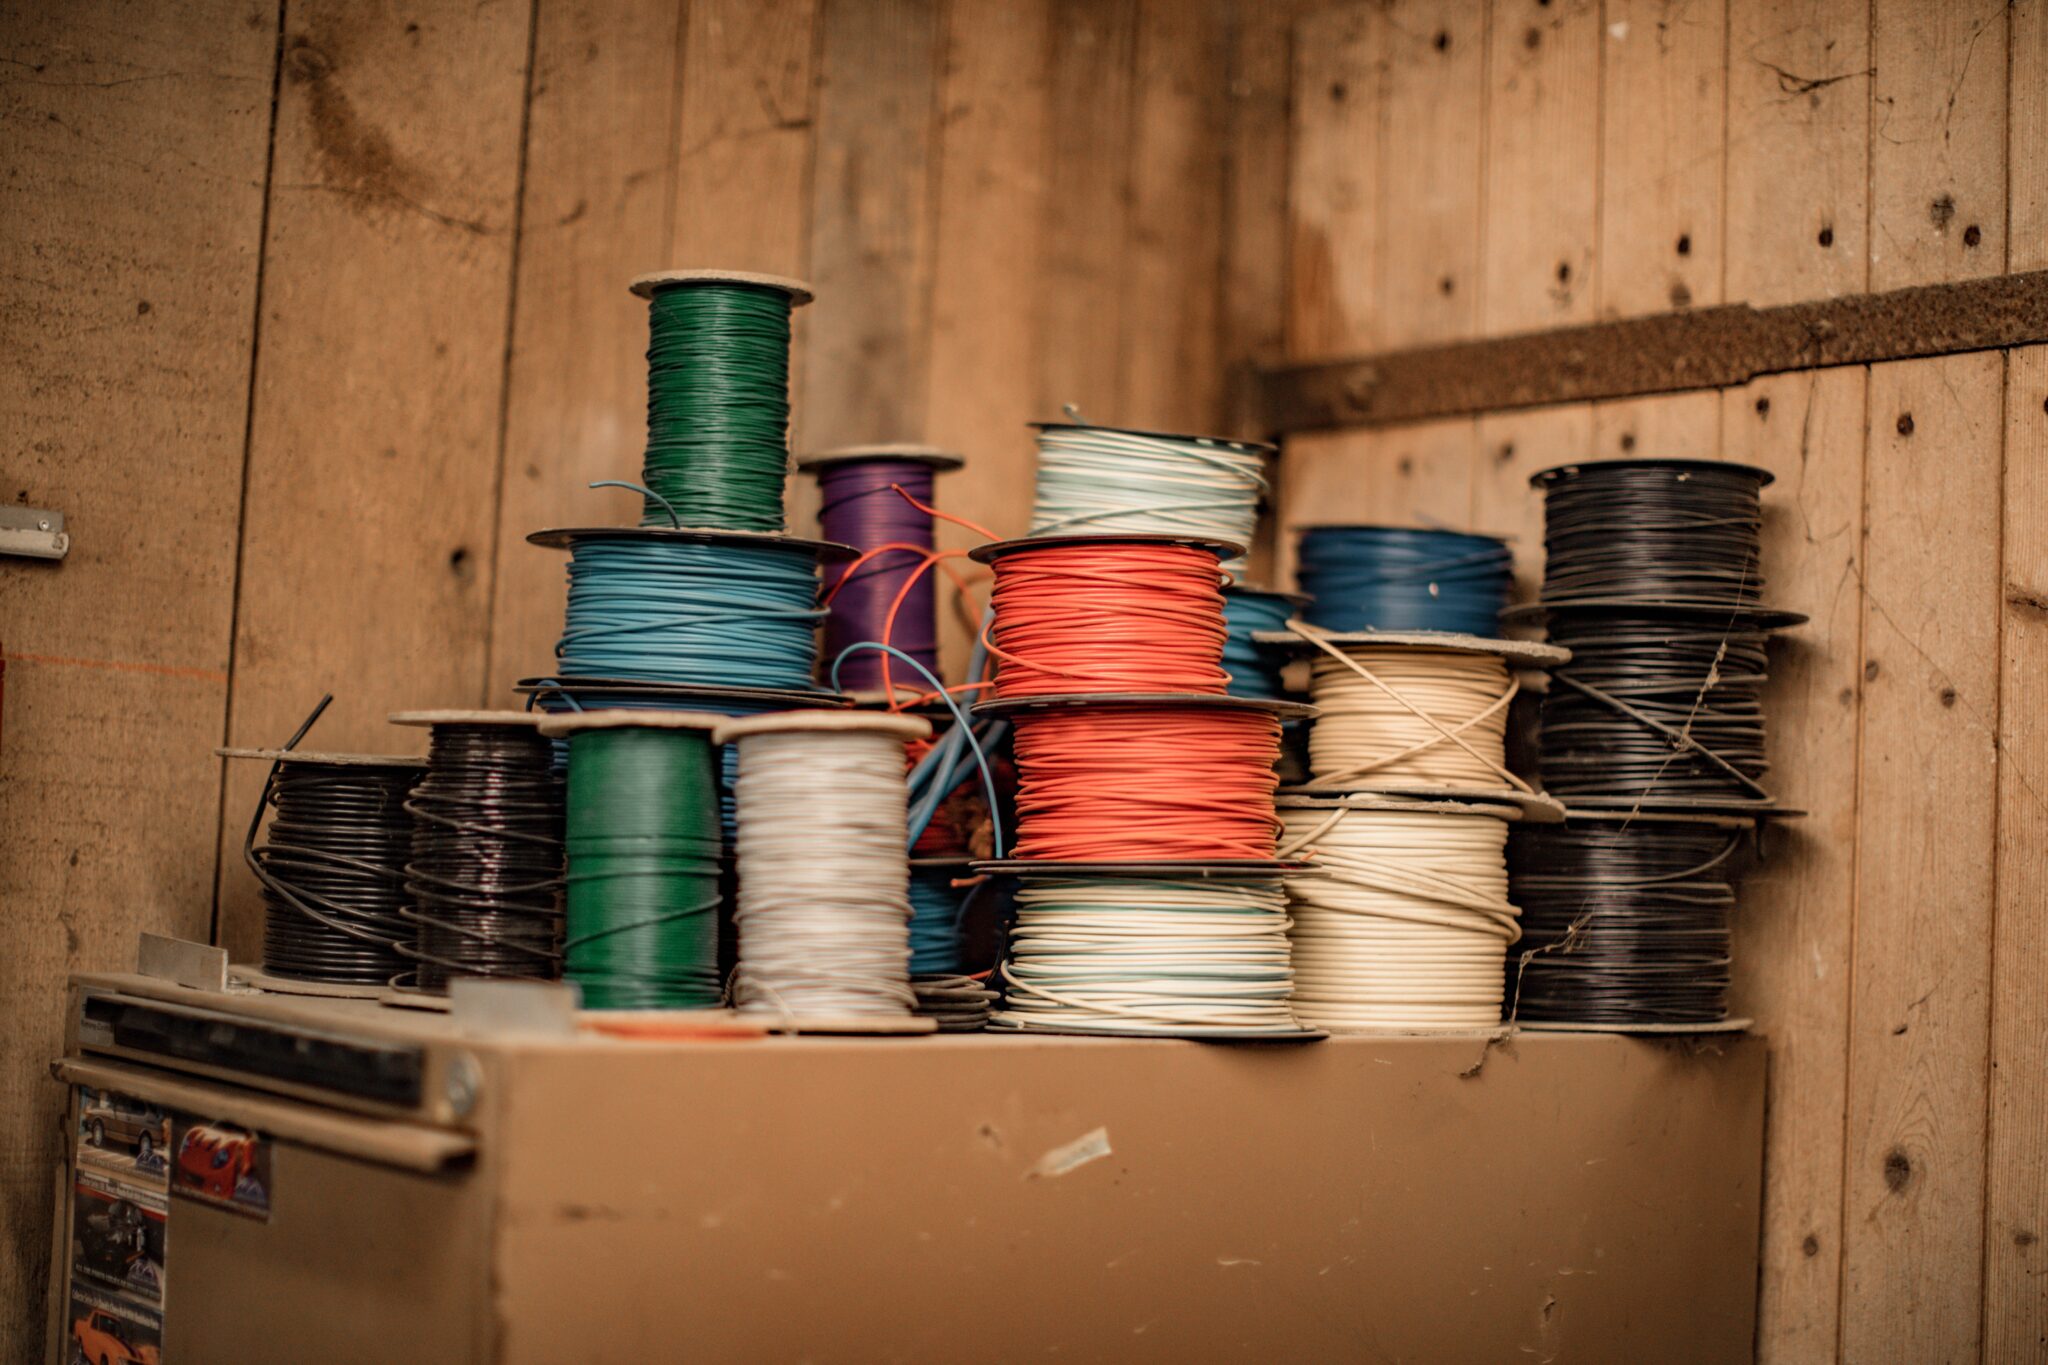
PVC (Polyvinyl Chloride) lead wires are widely used in electrical installations and electronic applications due to their durability, flexibility, and insulation properties. These wires come in various sizes and are typically insulated with PVC, which protects the copper or aluminum conductors from mechanical damage, moisture, and electrical shorts.
The wire’s size or gauge (measured in American Wire Gauge, AWG) influences how you handle the wire when cutting, stripping, twisting, and tinning. The steps provided in this guide are applicable to most common gauges, but always adjust your technique based on the wire size and the specific needs of the project.
2. Tools and Materials Required
Before beginning, gather the following essential tools and materials:
- Wire Cutters: Used to cut the PVC lead wire to the required length.
- Wire Strippers: These tools allow you to strip the PVC insulation without damaging the underlying conductor.
- Soldering Iron: A tool to apply heat and melt solder for tinning the wire ends.
- Solder: Typically made of a tin-lead alloy or a lead-free alternative, it coats the wire strands during tinning.
- Flux (optional): Improves solder flow for better tinning results.
- Needle-Nose Pliers: Useful for twisting and shaping wire ends.
- Heat Shrink Tubing (optional): Provides additional insulation after the tinning process.
- Multimeter: To check the connectivity and integrity of the wires after preparation.
- Safety Gear: Including safety glasses, gloves, and ventilation for soldering.
3. Cutting PVC Lead Wires
Step 1: Measure the Wire Length
- Begin by determining the desired length of the PVC lead wire. Use a ruler or tape measure to mark the length.
Step 2: Cut the Wire
- Use wire cutters that are appropriate for the wire gauge you’re working with. Position the cutters perpendicular to the wire and apply pressure to make a clean cut. Ensure the cut is precise and even, as this affects the ease of subsequent stripping, twisting, and tinning operations.
- If the cut is uneven, you risk exposing too much conductor, or leaving stray strands that can cause short circuits later on.
Tip: When working with multistrand wire, ensure that all the strands are cut evenly, as any frayed ends can make the wire difficult to twist or tin properly.
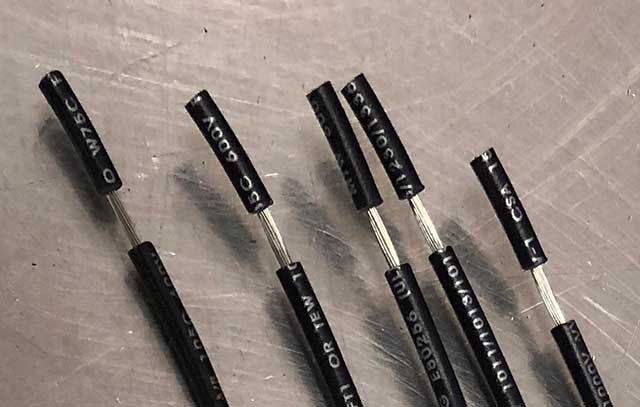
4. Stripping PVC Insulation
Stripping the PVC insulation requires care to avoid damaging the conductor beneath the insulation.
Step 1: Select the Right Stripping Tool
- Use a wire stripper with the appropriate slot size for your wire gauge. Many wire strippers come with multiple size settings, ensuring you strip only the insulation and not the wire itself.
Step 2: Position the Wire in the Stripper
- Insert the wire into the correct gauge slot of the wire stripper, positioning it about 0.25 to 0.5 inches (6 to 12 mm) from the cut end, depending on how much exposed wire is needed for your connection.
Step 3: Remove the Insulation
- Squeeze the handles of the stripper and rotate slightly to break the insulation without cutting into the conductor. Then pull the stripper towards the end of the wire to remove the insulation.
- Inspect the stripped wire to ensure no nicks or cuts on the conductor itself. Damaged conductors can lead to poor conductivity and potential failure over time.
Step 4: Strip Multiple Wires (if required)
- Repeat this process for each wire you need to strip. When working with multi-stranded wire, ensure that the strands remain tightly packed after stripping.
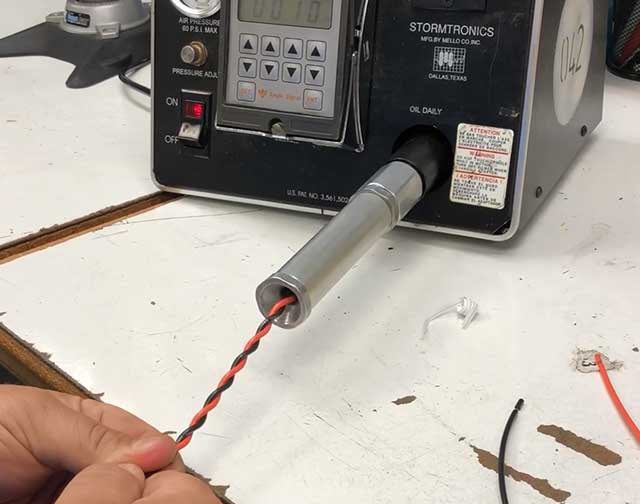
5. Twisting Wires
For multi-strand wires, twisting the individual strands is important before tinning to ensure uniformity, prevent fraying, and create a neat connection.
Step 1: Twist the Wire Strands
- After stripping the insulation, hold the end of the wire with one hand and use needle-nose pliers or your fingers to gently twist the strands together in a clockwise direction.
Step 2: Check the Tightness
- Ensure the twist is tight enough to hold the strands together but not overly tight, which could break the individual strands. A neat twist will create a solid, well-formed bundle that is easier to solder.
- This step is especially critical for wires that will be inserted into connectors, as a well-twisted wire ensures a stable connection without stray strands.

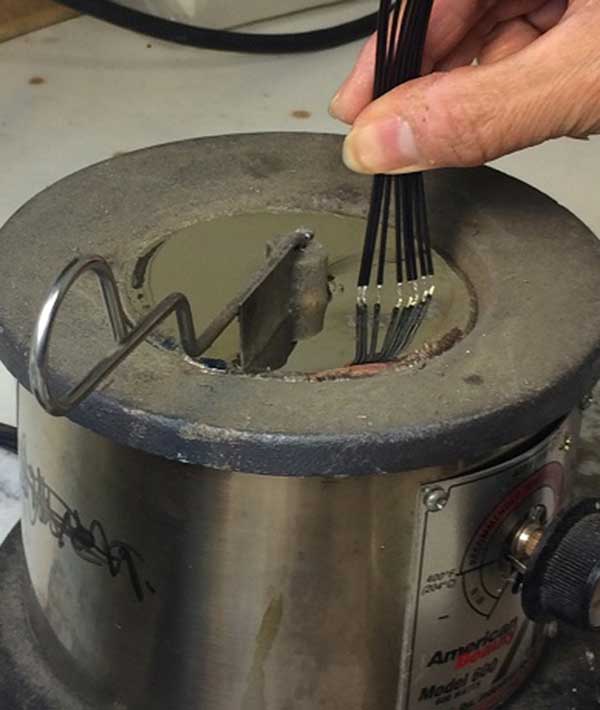
6. Tinning Wires
Tinning is the process of coating the stripped and twisted ends of a wire with solder. This improves the wire’s durability, prevents fraying, and ensures better conductivity when connecting to terminals or components.
Step 1: Prepare the Soldering Iron
- Heat the soldering iron to an appropriate temperature (around 350°C or 662°F is common for most applications). Make sure the tip is clean by wiping it with a damp sponge.
Step 2: Apply Flux (Optional)
- If you’re working with wires that are difficult to solder or want to ensure good solder flow, you can apply a small amount of flux to the exposed wire ends. Flux helps clean the metal surface and allows the solder to adhere smoothly.
Step 3: Apply Solder to the Wire
- Place the soldering iron tip against the twisted wire end to heat it for a few seconds.
- Once the wire is heated, bring the solder to the wire, not the soldering iron. The heat from the wire will melt the solder, which will then flow into and coat the wire strands.
- Coat the entire length of the exposed wire evenly with solder until the strands are fully saturated. Be sure not to over-solder; you just want a smooth, shiny coat that holds the strands together.
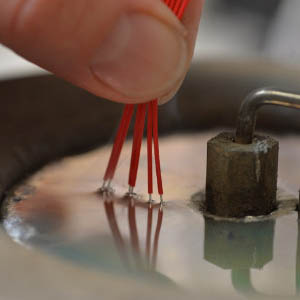
Step 4: Cool and Inspect
- Allow the wire to cool naturally for a few seconds. Avoid moving the wire while it cools to prevent the formation of a brittle or cracked solder joint.
- Inspect the tinned wire to ensure it has a smooth, shiny finish. A dull or rough finish may indicate a cold joint, which can lead to poor electrical connections.
Step 5: Repeat as Needed
- Repeat the tinning process for all wires that need to be connected or terminated.
7. Best Practices and Tips
- Select the Right Wire Gauge: Always use the proper gauge wire for your project to ensure it can handle the current load safely.
- Maintain Tool Condition: Keep your wire strippers and soldering iron in good working condition. Dull or misaligned strippers can damage wires, while a dirty soldering iron tip can lead to poor solder joints.
- Avoid Excess Heat: Be careful not to overheat the wire when soldering, as this can damage the PVC insulation or cause it to melt.
- Use Heat Shrink Tubing: For additional protection and insulation, consider adding heat shrink tubing over the tinned ends. This can help secure the connection and prevent short circuits.
- Work in a Well-Ventilated Area: Soldering produces fumes, so ensure you work in an area with good ventilation.
8. Safety Considerations
- Wear Safety Gear: Always wear safety glasses to protect your eyes from flying debris when cutting or stripping wire.
- Handle the Soldering Iron with Care: The iron’s tip is extremely hot, so avoid touching it to prevent burns. Use a soldering stand to rest the iron when not in use.
- Work in a Safe Environment: Keep your workspace clear of flammable materials and work on a heat-resistant surface when soldering.
9. Conclusion
Cutting, stripping, twisting, and tinning PVC lead wires are fundamental skills for anyone involved in electrical work, whether at a professional or hobbyist level. These steps ensure that your connections are reliable, durable, and safe. By following the best practices outlined in this guide, you can achieve clean and efficient wire preparation that enhances the quality and performance of your electrical projects.


