Aug 28, 2024
6 Steps to Crimp Ring Terminals Like a Pro (Copper Hook up wire or Lead wire)
Crimping ring terminals to copper lead wire is a fundamental skill in electrical work, often used to ensure solid and reliable connections in various wiring applications. Whether you are using insulated or non-insulated ring terminals, the process requires attention to detail to guarantee safety, durability, and electrical performance. This detailed explanation will cover the crimping process, the distinctions between insulated and non-insulated ring terminals, and the color-coding system commonly used for insulated terminals.
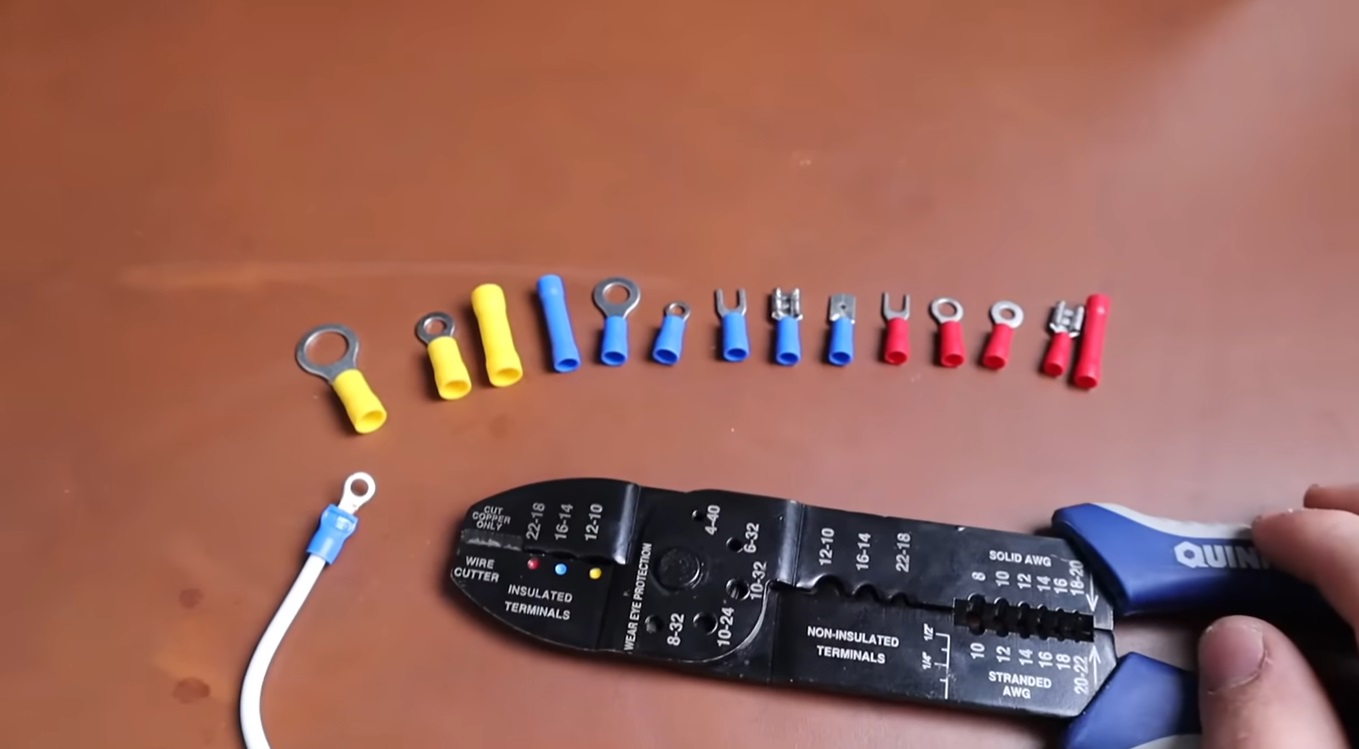
0:27 – Insulated terminals by color/gauge
1:17 – Crimping insulated VS non-insulated
1:48 – Stripping wire insulation
2:40 – Making the crimp
3:40 – Tips
Crimping Ring Terminals: Overview
Crimping is the process of compressing a terminal around a lead wire using a specialized crimping tool. When done correctly, crimping creates a cold weld between the terminal and the wire, which provides both a mechanical and electrical connection. This method is often preferred over soldering because it’s faster, easier, and doesn’t involve the risks of overheating the wire insulation.
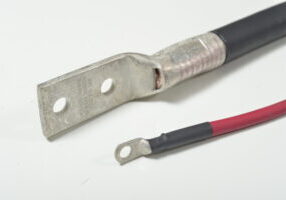
There are two major types of ring terminals:
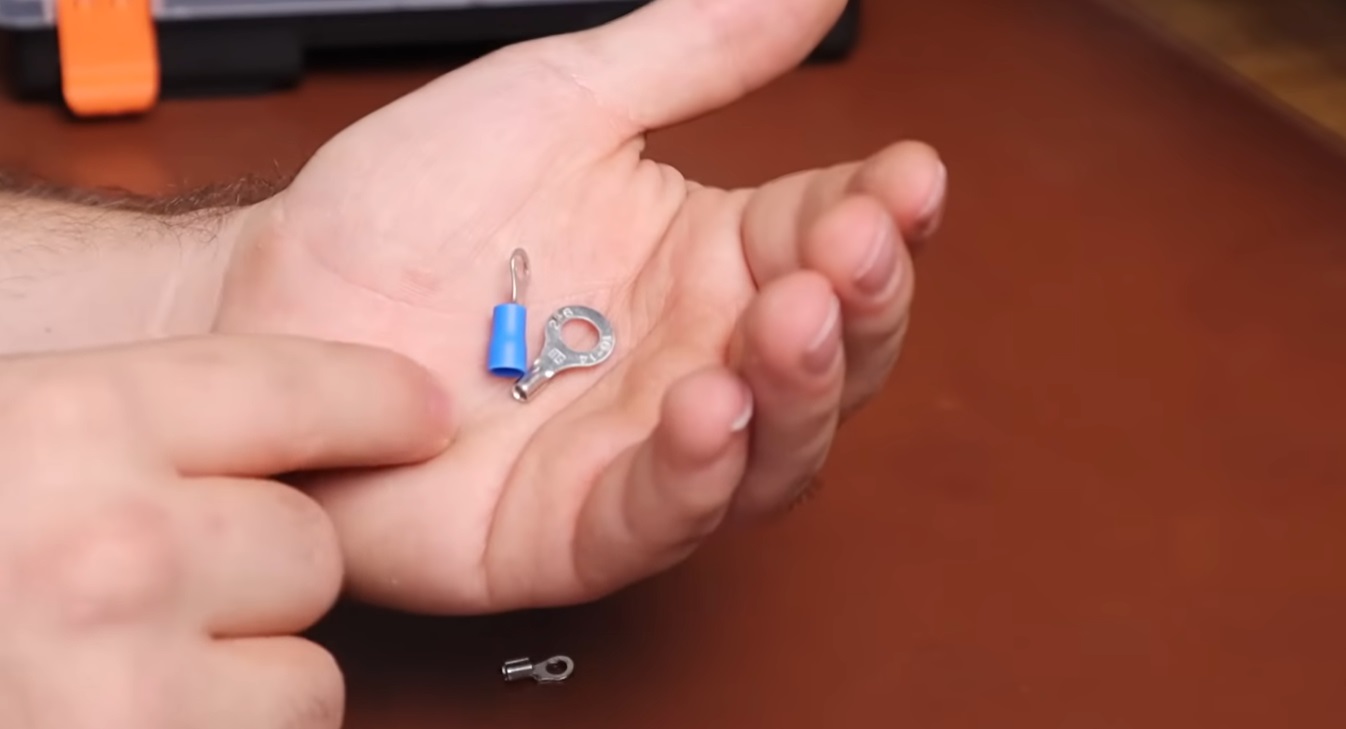
- Insulated ring terminals: These have a layer of insulation (typically PVC or nylon) around the metal barrel where the wire is inserted.
- Non-insulated ring terminals: These are made entirely of metal without any insulation around the barrel.
Each type has its specific use and crimping method.
Crimping Insulated Ring Terminals to Copper Wire
Step 1: Gather Your Tools and Materials
- Insulated ring terminals: Make sure the ring terminal is compatible with the wire gauge you’re working with.
- Copper wire: Choose the correct gauge of hook up wire that matches the terminal.
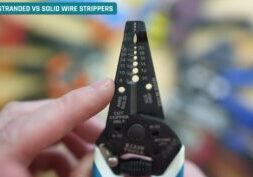
- Wire strippers: To strip the insulation from the copper wire.
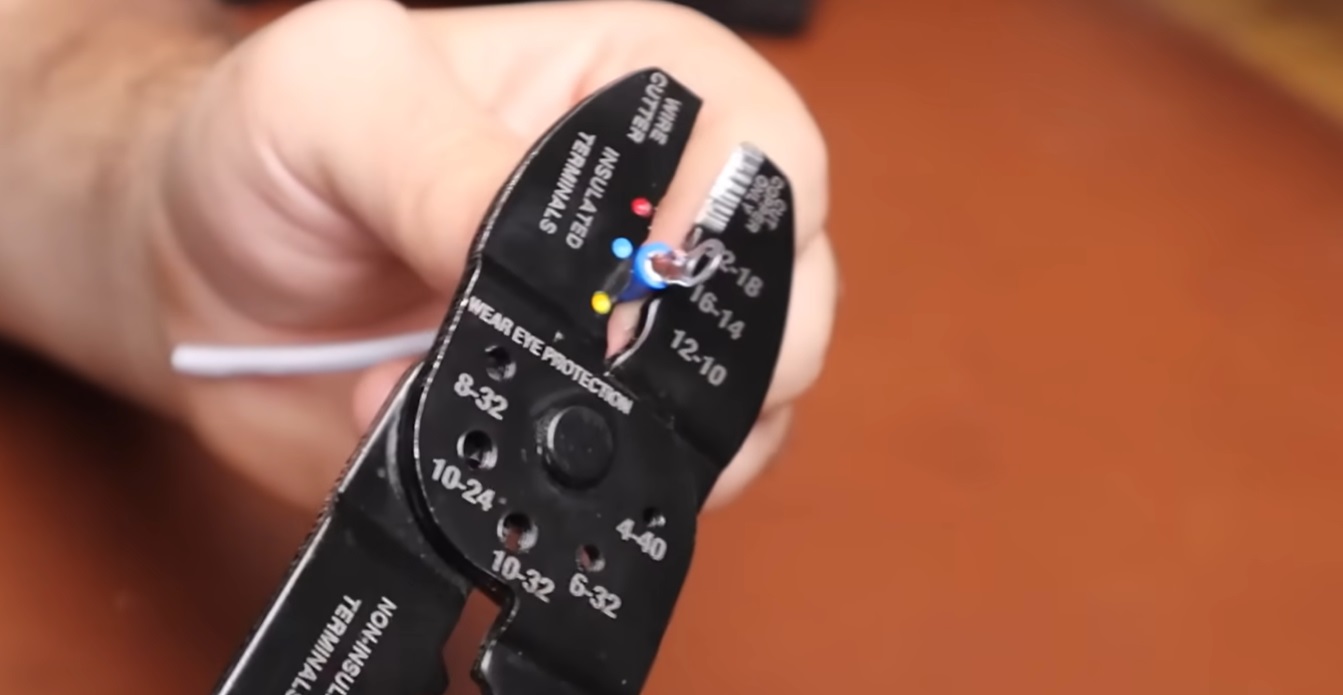
- Crimping tool: A crimping tool with a section specifically for insulated terminals. These crimpers typically have color-coded dies to match the color of the terminal insulation.
- Heat shrink (optional): For additional protection after crimping.
Step 2: Strip the Copper Wire
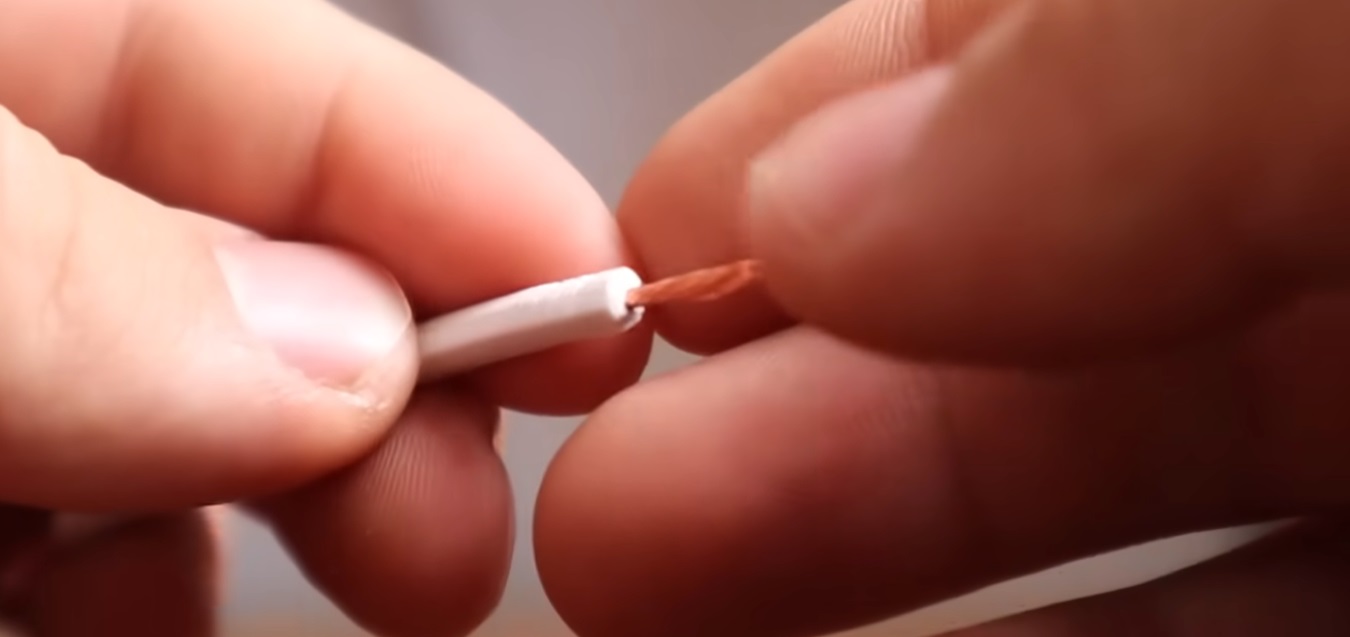
Strip approximately ¼ to ½ inch (6 to 12 mm) of insulation from the end of the copper wire. Use a wire stripper suited to the wire’s gauge, making sure not to nick or damage the copper strands inside.
- For stranded wire, it’s important to keep the strands intact.
- For solid copper wire, ensure the wire is not bent or kinked after stripping.
Step 3:
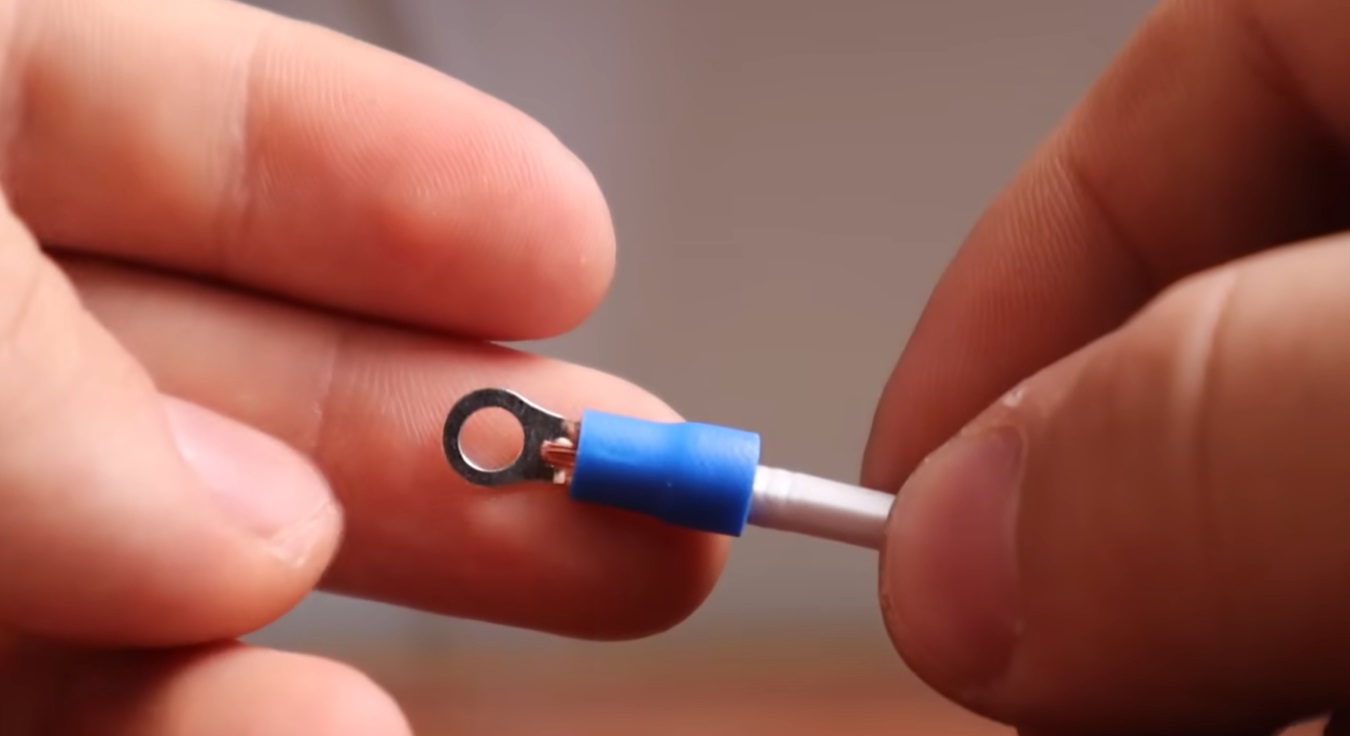
Insert the stripped copper wire into the barrel of the insulated ring terminal. Ensure that no bare wire is exposed outside of the barrel. The wire should fit snugly inside the terminal, filling the barrel without leaving excessive gaps.
- Make sure the wire goes in fully, touching the stop inside the terminal (if there is one).
- Double-check that the insulation on the wire meets the insulation on the terminal, with no copper exposed beyond the barrel.
Step 4: Position the Terminal in the Crimping Tool
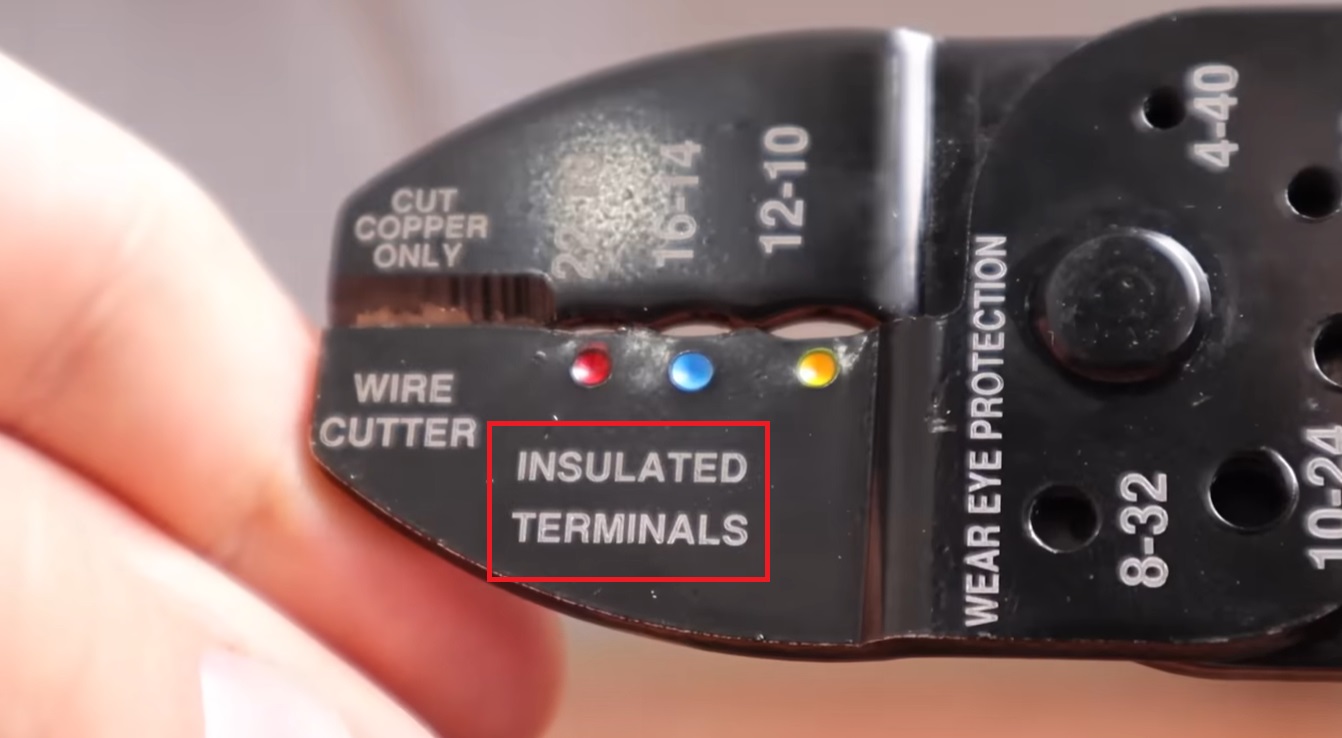
Place the ring terminal into the appropriate crimping slot on the crimping tool. The crimping tool should have color-coded slots that correspond to the color of the terminal insulation (more on color coding below).
- Red slot for terminals used with 22-16 AWG wire (small gauge).
- Blue slot for terminals used with 16-14 AWG wire (medium gauge).
- Yellow slot for terminals used with 12-10 AWG wire (large gauge).
Ensure that the crimping jaws of the tool are properly aligned with the barrel of the terminal. The part of the tool that applies pressure should be positioned over the metal portion of the terminal, not the insulation.
Step 5: Crimp the Terminal
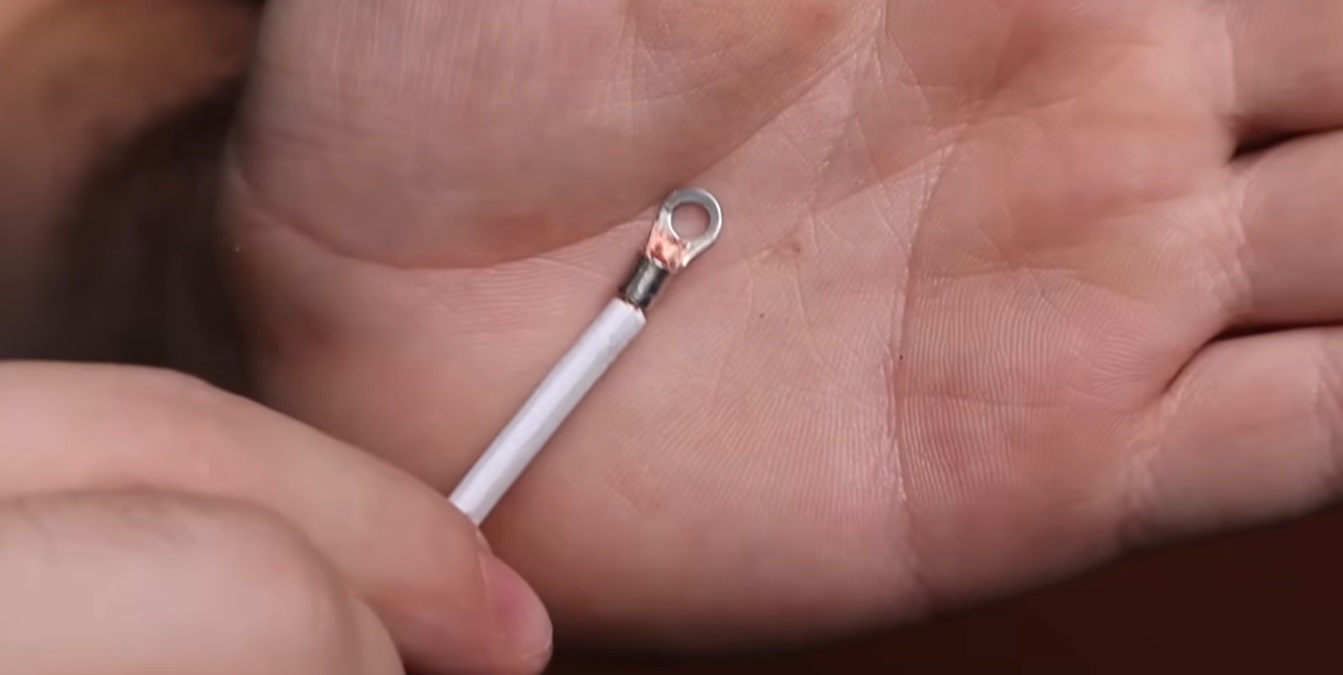
Squeeze the crimping tool firmly to compress the metal barrel around the copper wire. A proper crimp creates a cold weld that secures the wire mechanically and electrically to the terminal.
- You should feel the crimp tool fully engage, indicating that the terminal has been properly crimped.
- Check the connection visually to ensure that the crimp is tight and that the wire is firmly held in place. The insulation should not have been damaged during crimping.
Step 6: Inspect the Crimp
After crimping, pull gently on the terminal to ensure it’s securely attached to the wire. The connection should be strong, with no movement of the wire within the terminal. A weak crimp can lead to electrical failures or safety hazards.
If desired, use heat shrink tubing to cover the connection area for additional protection against moisture, vibration, and abrasion.
Crimping Non-Insulated Ring Terminals to Copper Wire
The process for crimping non-insulated ring terminals is similar to that of insulated terminals, with some differences due to the lack of insulation.
Step 1: Gather Your Tools and Materials
- Non-insulated ring terminals: These terminals should be sized to match the wire gauge.
- Copper wire: Ensure the wire gauge is appropriate for the terminal.
- Wire strippers: To strip the wire.
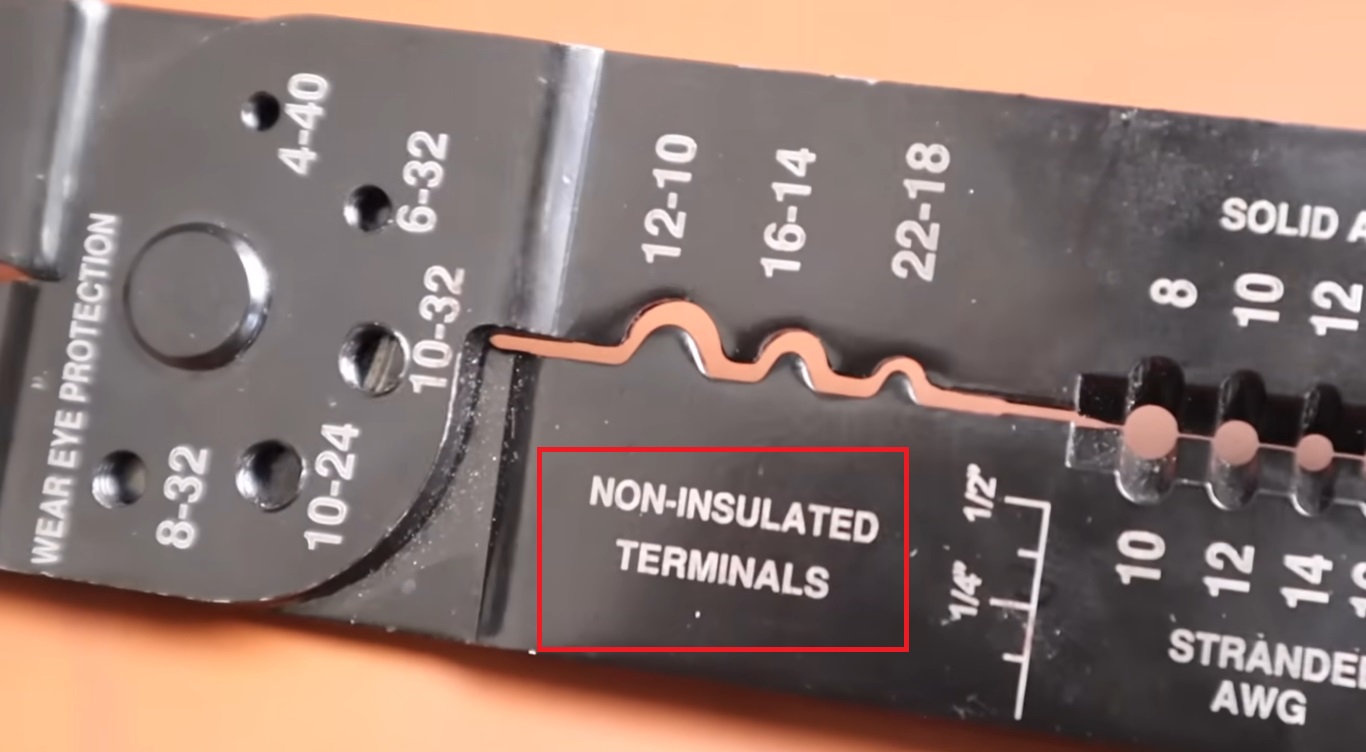
- Crimping tool: Use a crimping tool that is designed for non-insulated terminals. These tools typically have wider dies to compress the terminal without damaging it.
Step 2: Strip the Copper Wire
Strip about ¼ to ½ inch (6 to 12 mm) of insulation from the end of the wire, just as you would for an insulated terminal. Be careful not to damage the copper strands while stripping.
Step 3: Insert the Wire into the Terminal
Insert the stripped end of the copper wire into the barrel of the non-insulated ring terminal. The wire should fit snugly inside the barrel, filling the space without leaving any exposed strands.
Step 4: Position the Terminal in the Crimping Tool
Place the non-insulated terminal into the appropriate slot of the crimping tool. Non-insulated crimping tools don’t have color codes like insulated tools, so choose the slot that matches the terminal’s barrel size.
Align the terminal so that the crimping jaws will press down evenly on the barrel, forming a tight connection between the copper wire and the terminal.
Step 5: Crimp the Terminal
Squeeze the crimping tool firmly to compress the barrel around the copper wire. Since non-insulated terminals lack an insulating cover, the crimp will be more straightforward.
After crimping, ensure that the terminal is tightly secured to the wire by giving it a gentle pull. The wire should not slip out of the terminal. The crimp should form a neat and tight connection.
Step 6: Apply Heat Shrink (Optional)
If the application requires it, you can apply heat shrink tubing over the crimped area. Slide the tubing over the connection and apply heat until the tubing shrinks and tightly seals around the wire and terminal, providing additional insulation and protection.
Color Coding on Insulated Ring Terminals
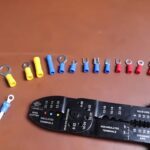
Insulated ring terminals are color-coded based on the lead wire gauge (AWG) they are designed to crimp. This makes it easy for installers to quickly choose the appropriate terminal for a given wire size. The color-coding system is standardized across most manufacturers, ensuring consistency in application.
Standard Color Codes:
- Red Insulation:
- AWG Range: 22-16 AWG
- Wire Diameter Range: 0.25 mm² to 1.5 mm²
- Application: Typically used for small wire connections, often found in low-current applications such as electronics, automotive systems, and small appliances.
- Blue Insulation:
- AWG Range: 16-14 AWG
- Wire Diameter Range: 1.5 mm² to 2.5 mm²
- Application: Used for medium-gauge wires, often seen in automotive wiring, home electrical circuits, and medium-load electrical devices.
- Yellow Insulation:
- AWG Range: 12-10 AWG
- Wire Diameter Range: 4 mm² to 6 mm²
- Application: Designed for large wire connections, typically used in higher current applications like industrial machines, heavy-duty automotive systems, and commercial electrical wiring.
Importance of the Color Code
The color coding on insulated terminals helps to prevent mistakes in selecting the correct terminal size for a given wire gauge. Using the wrong terminal size can result in poor electrical contact, increased resistance, or even dangerous overheating. Therefore, the color code is an essential feature in ensuring that the correct terminal is selected for the application.
In addition to guiding the user to the right size, the color code also helps with crimping. Crimping tools designed for insulated terminals will have colored crimping jaws that correspond to the terminal insulation color. This simplifies the process, reducing the likelihood of errors during installation.
Conclusion
Crimping ring terminals to copper wire is a precise and crucial process that ensures reliable and safe electrical connections. Whether working with insulated or non-insulated terminals, the steps are similar but require attention to detail to ensure the integrity of the connection. Proper crimping involves selecting the correct terminal for the wire gauge, using a suitable crimping tool, and verifying that the connection is secure.
The color coding on insulated ring terminals simplifies the process of choosing the right terminal for a particular wire size, ensuring consistency and reducing the chances of mistakes. By following these procedures, you can create durable and long-lasting connections in any electrical system.
Understanding and applying these techniques properly is essential for both professional electricians and hobbyists working on automotive, residential, or industrial electrical projects.
Call for a quote on Cut, Stripped and Crimped Wire here >
(800) 334-8400

